Gingin
Active member
Hello everybody,
I am still working on Abort Procedure, and I wanted to try a contigency one, the 2 EO Green abort to Bermdua
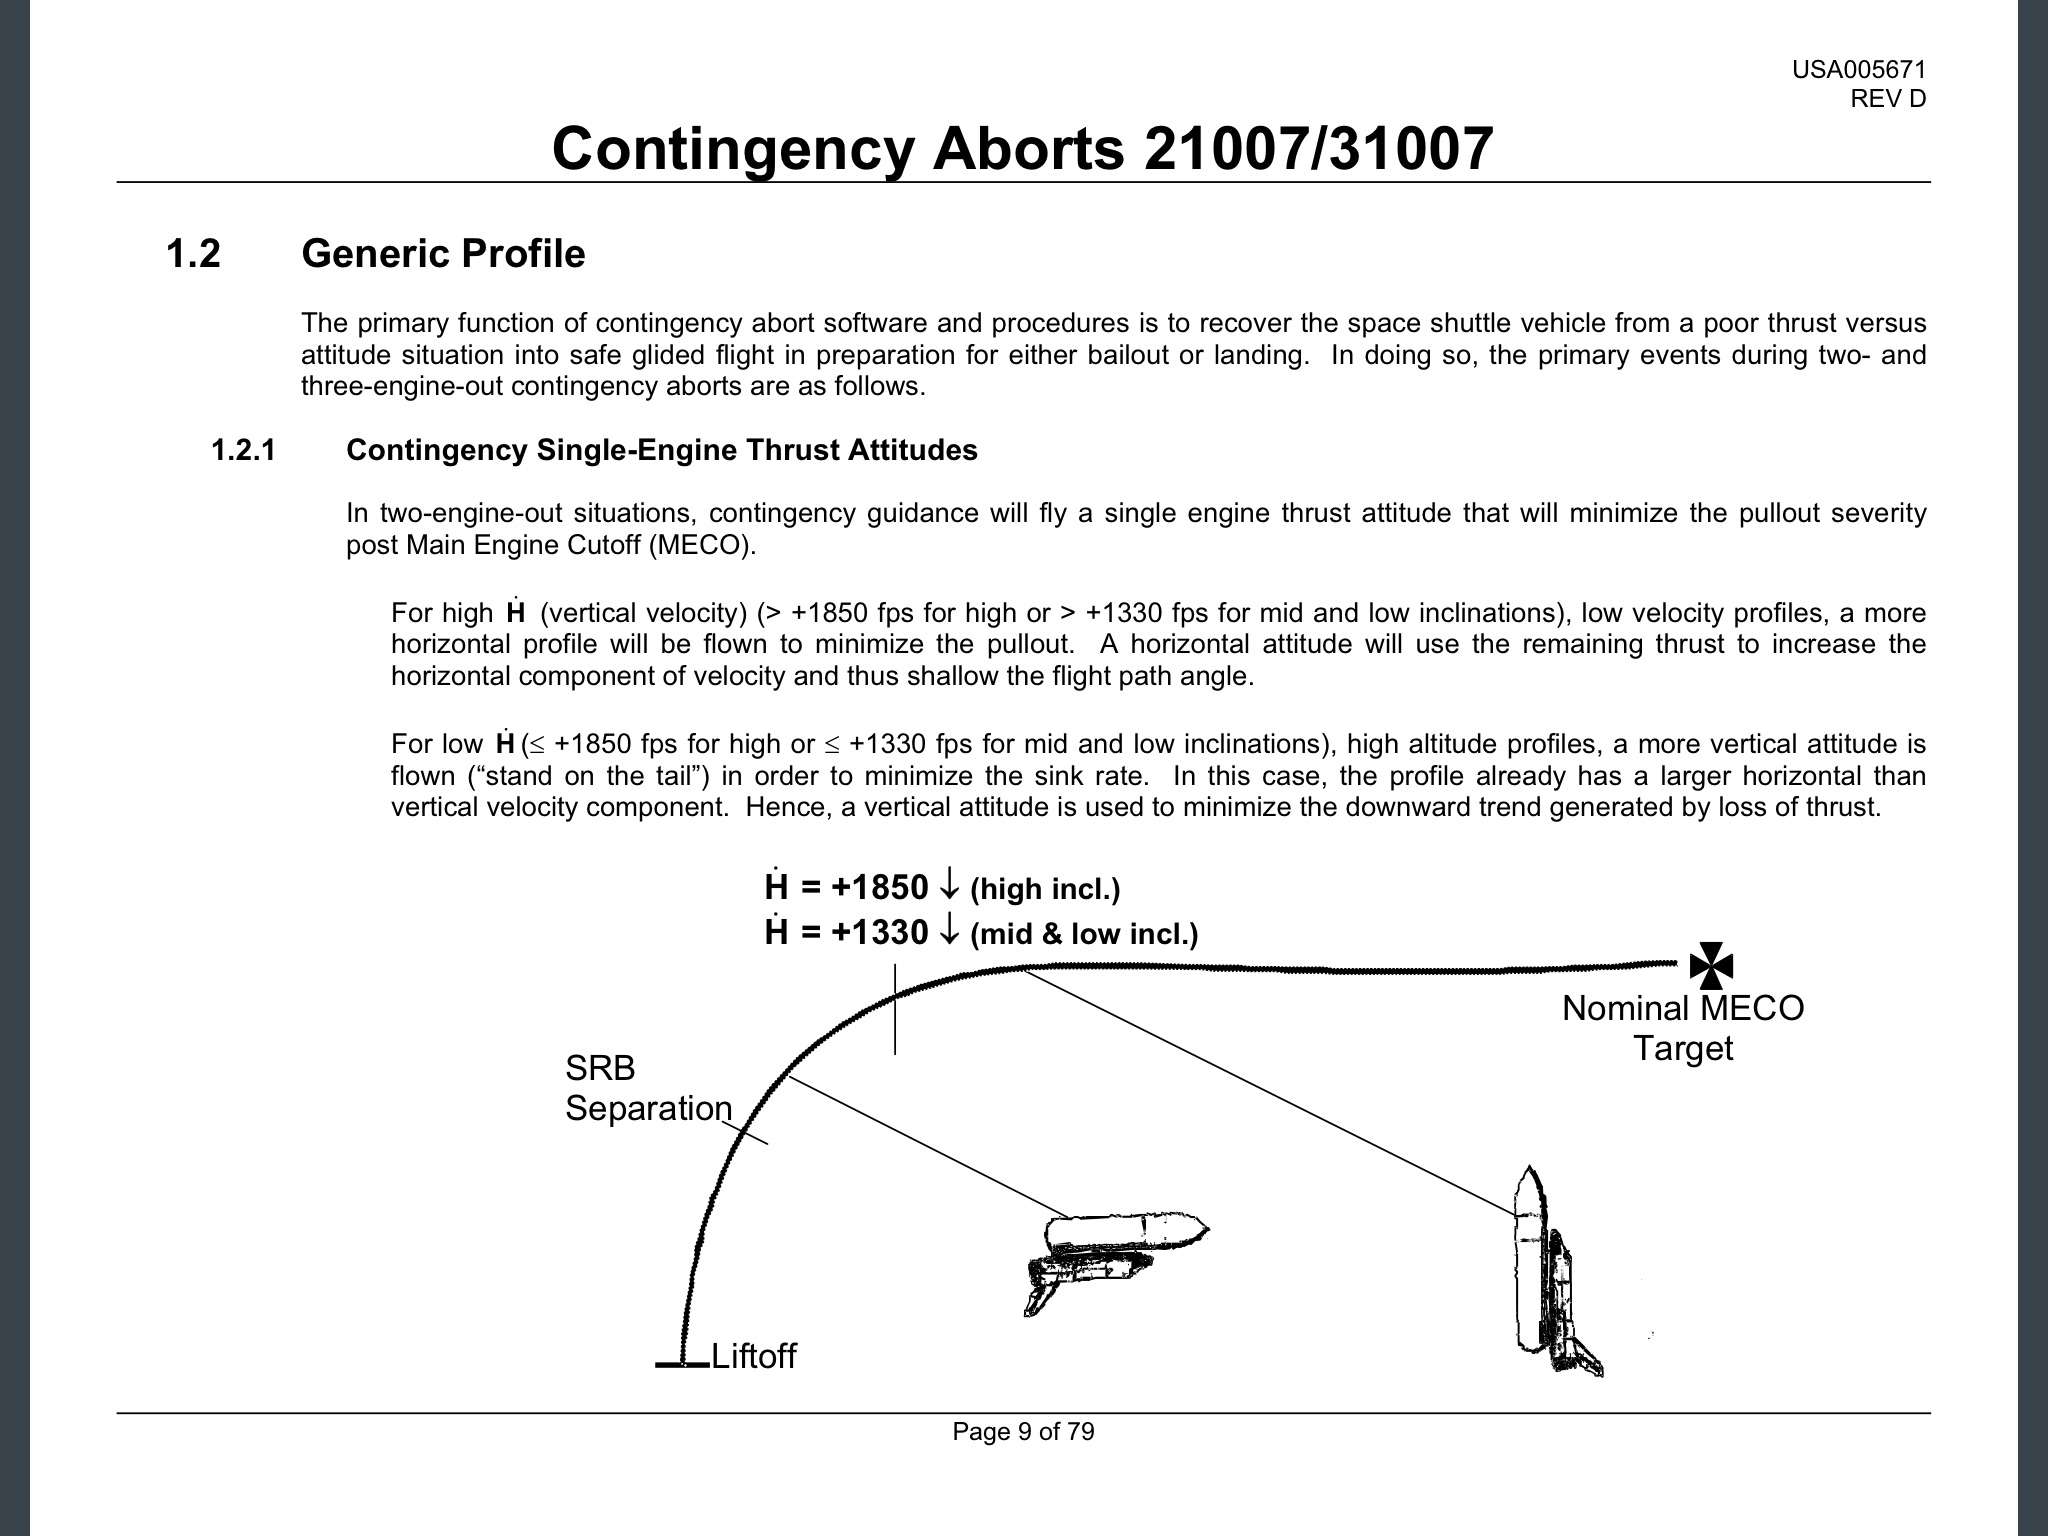
A link to Contigency abort workbook, very interesting reading. https://www.nasa.gov/centers/johnson/pdf/383441main_contingency_aborts_21007_31007.pdf
Contigency abort are the one dealing with multiple SSME failure.
It was created after Challenger disaster.
Before, if a 2 engine failure occured before 12000 ft/sec ( Single engine OPS 3) or a 3 engine before 18000 ft/sec ( Low energy TAL), both crew and shuttle would have certainly vanished.
Those aborts allow the shuttle to handle a tough re entry, in almost all phase of powered flight, even RTLS ( with still some black/lethel area). Aim is to stay below max structural limitations( EAS 470kt , G=4,2) and do a bailout once below 100 kfeet, or eventually proceed to BDA or ECAL landing site if in the right window.
Sum up of 2 EO color code
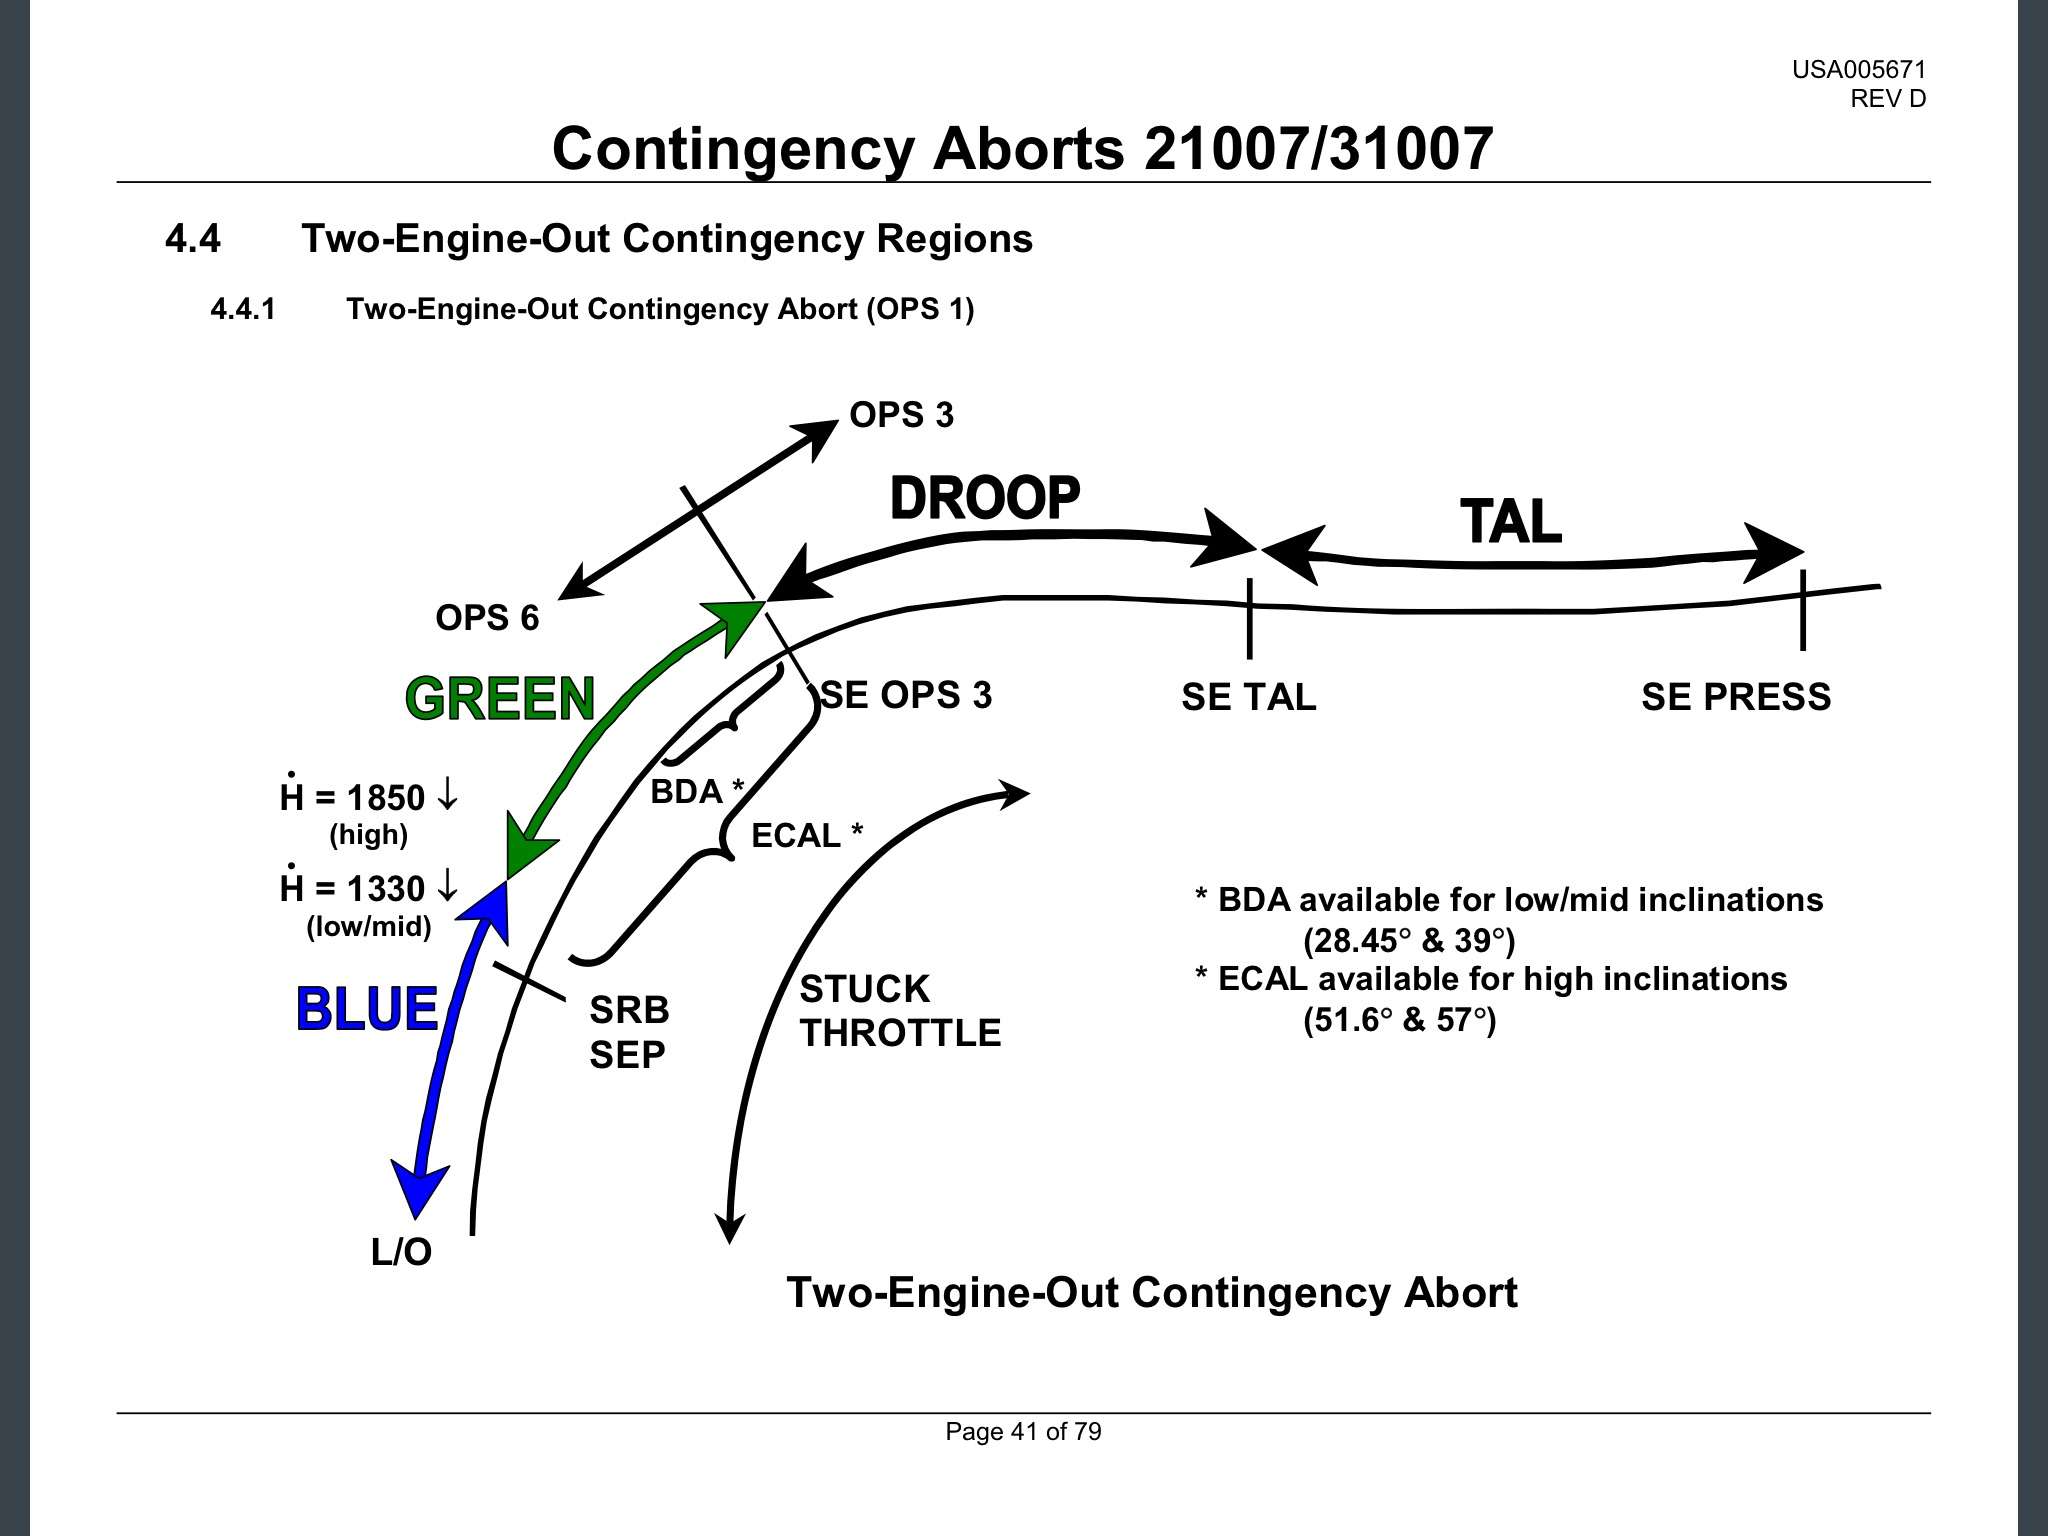
Between SRB separation and 12000ft/sec, we are in Green abort, we might try to reach Bermuda ( or ECAL for higher inclinaison)
Contigency procedure flight data files ( exept RTLS one)
Let's rock.
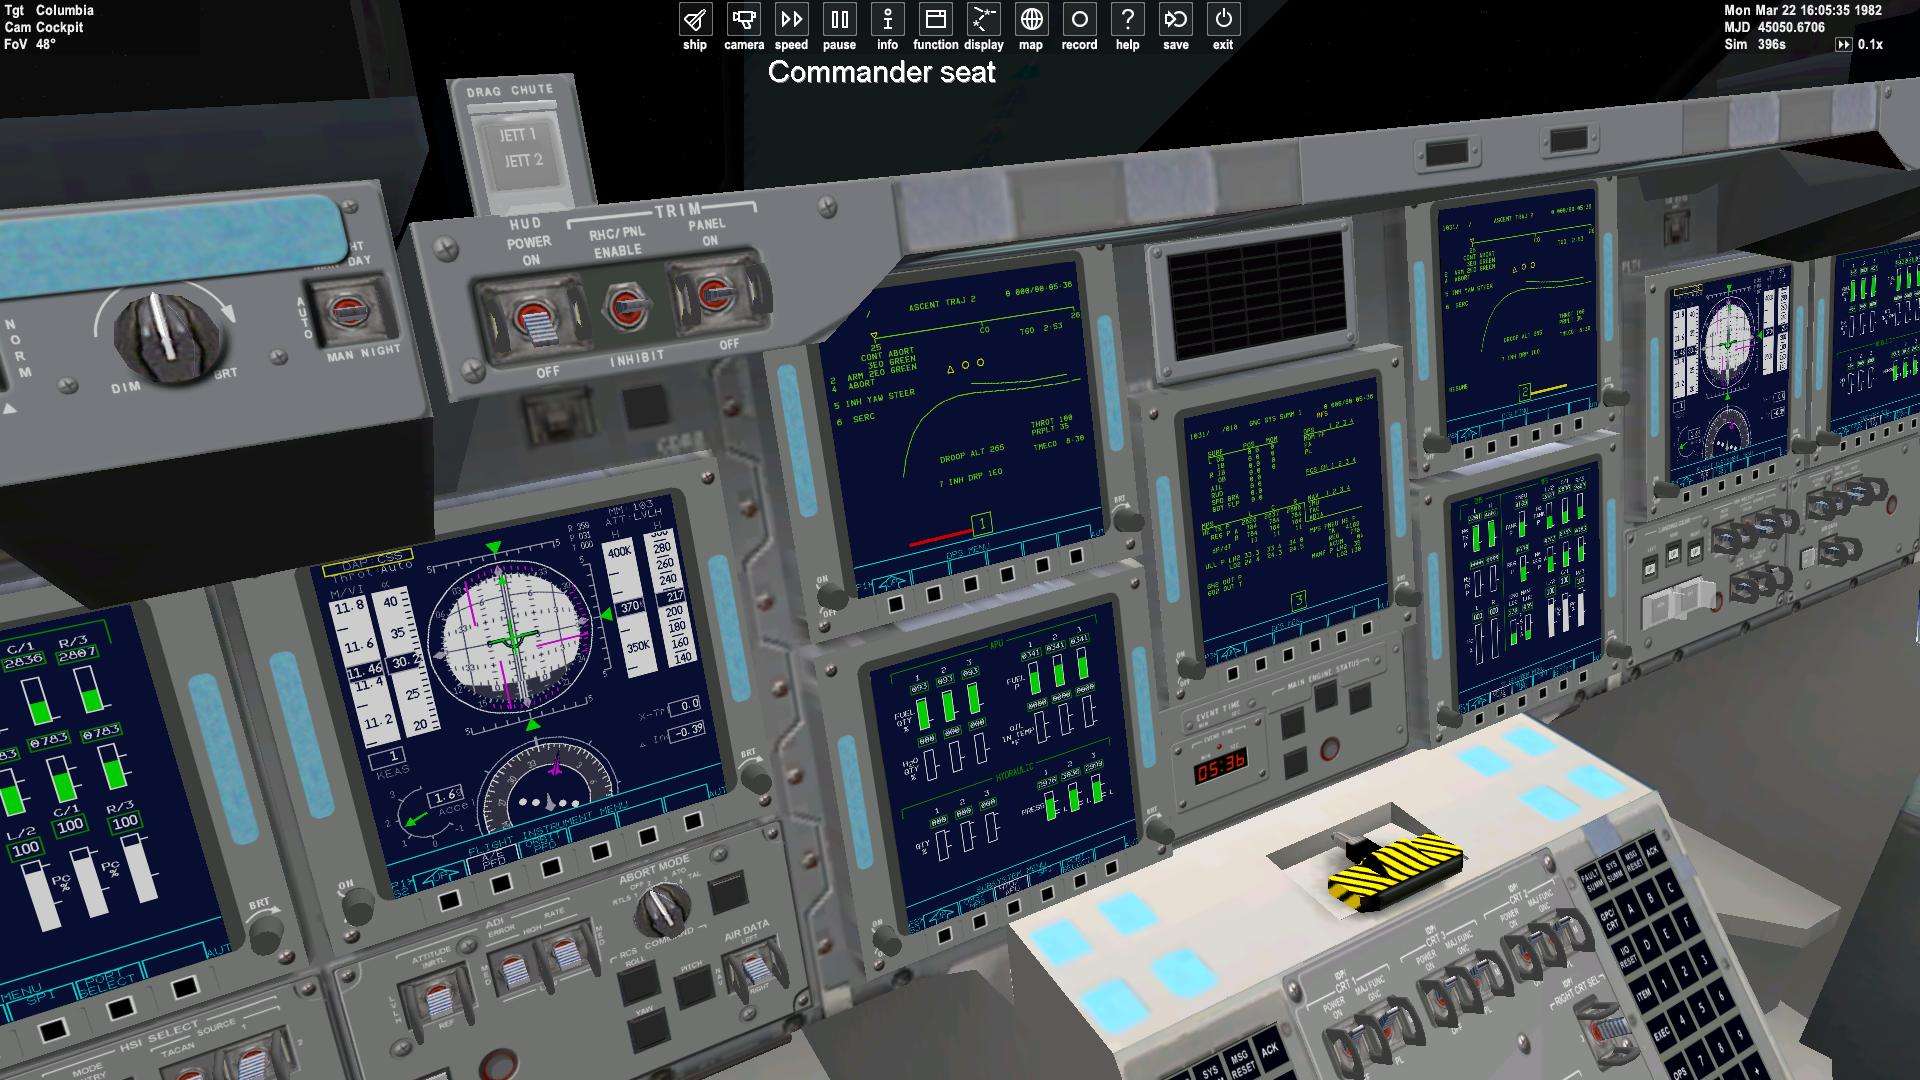
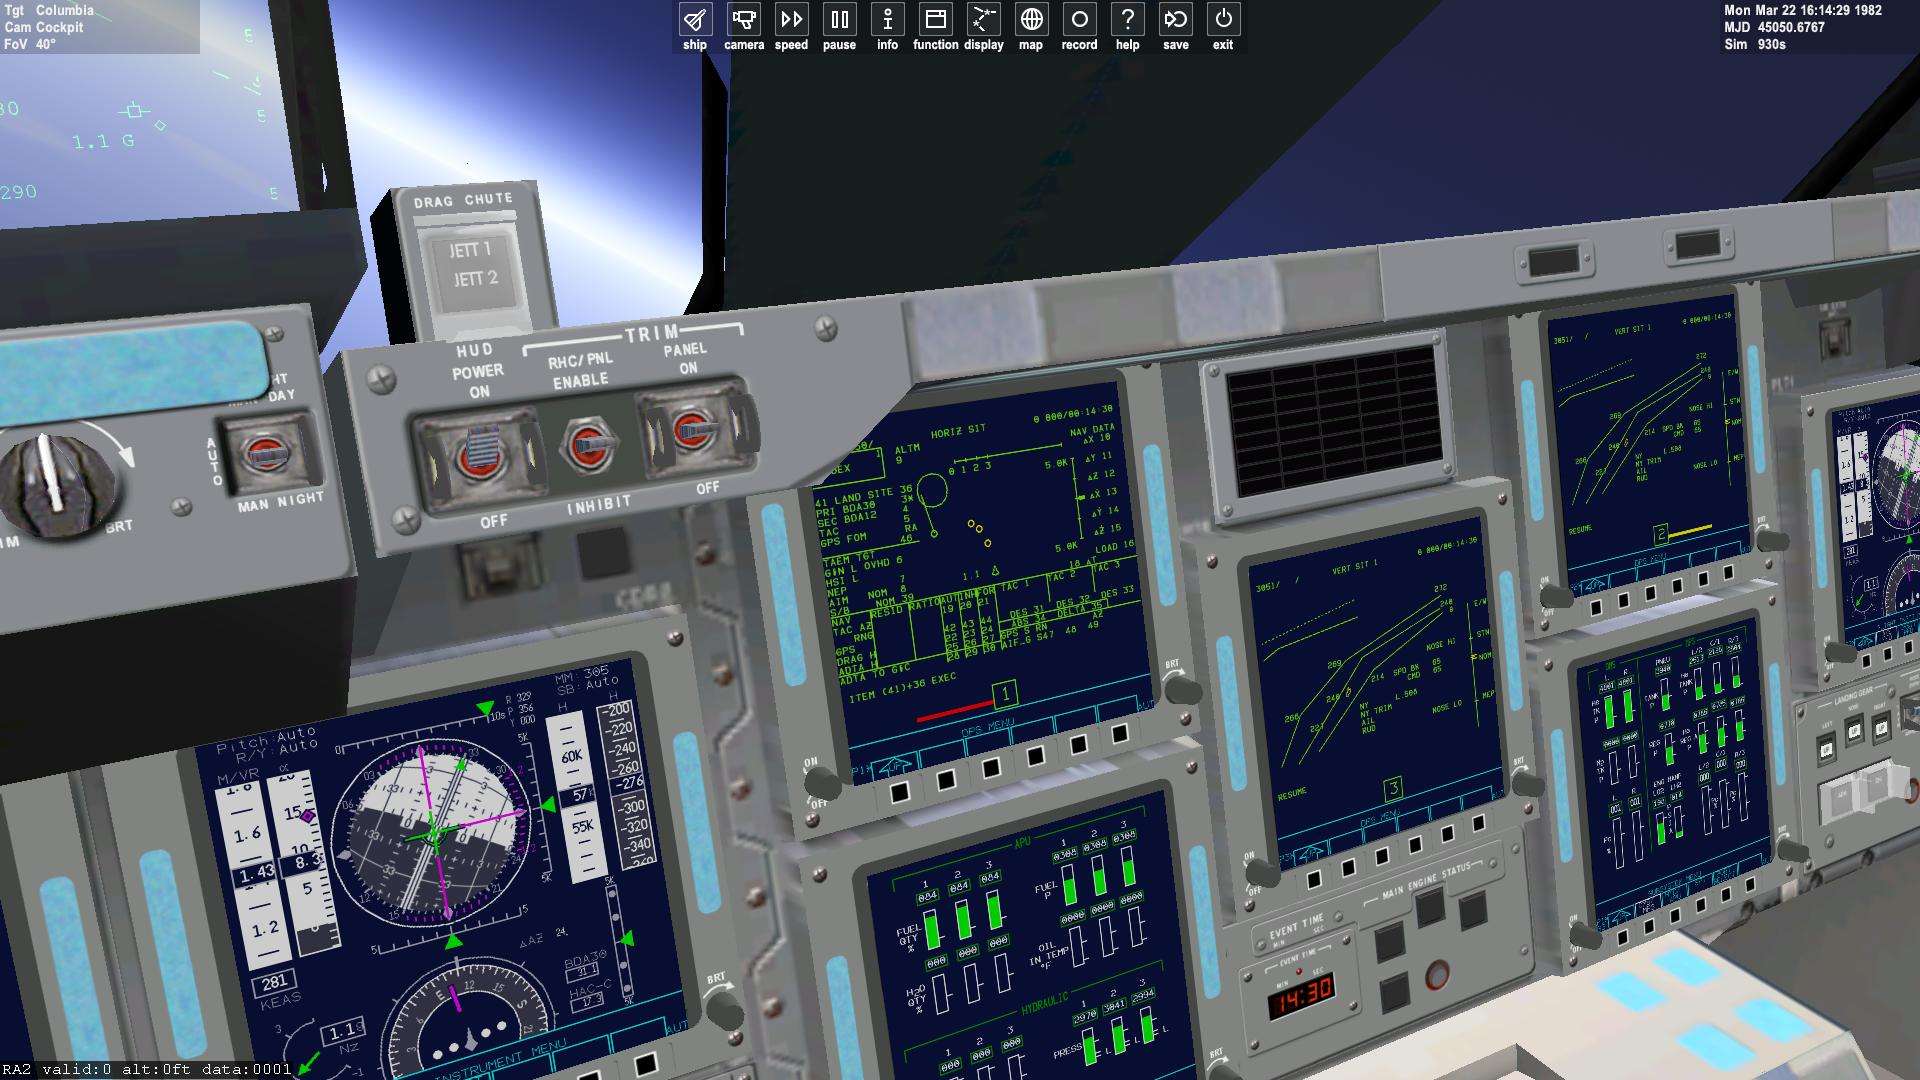
STS 3 scenario, 40° targeted inclinaison, we are good for a Bermuda Abort in case of dual failure late in the Green area.
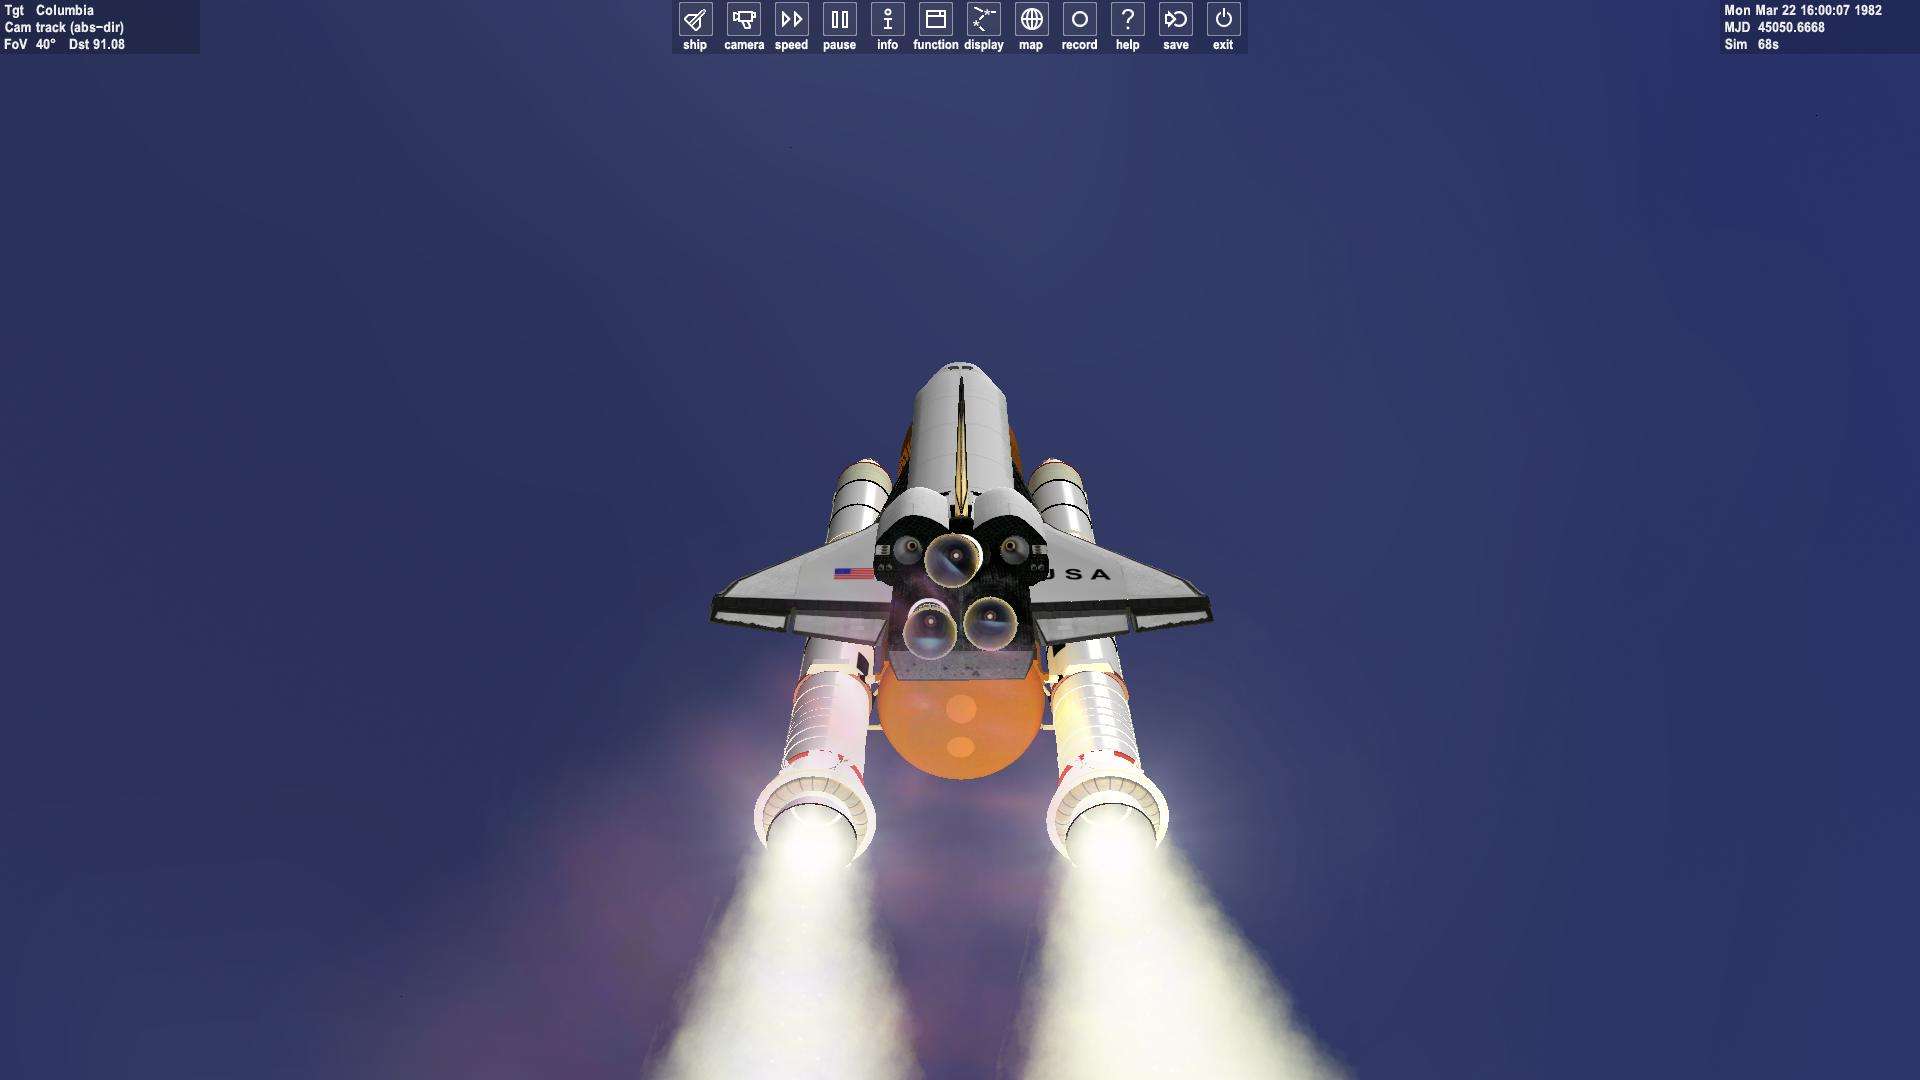
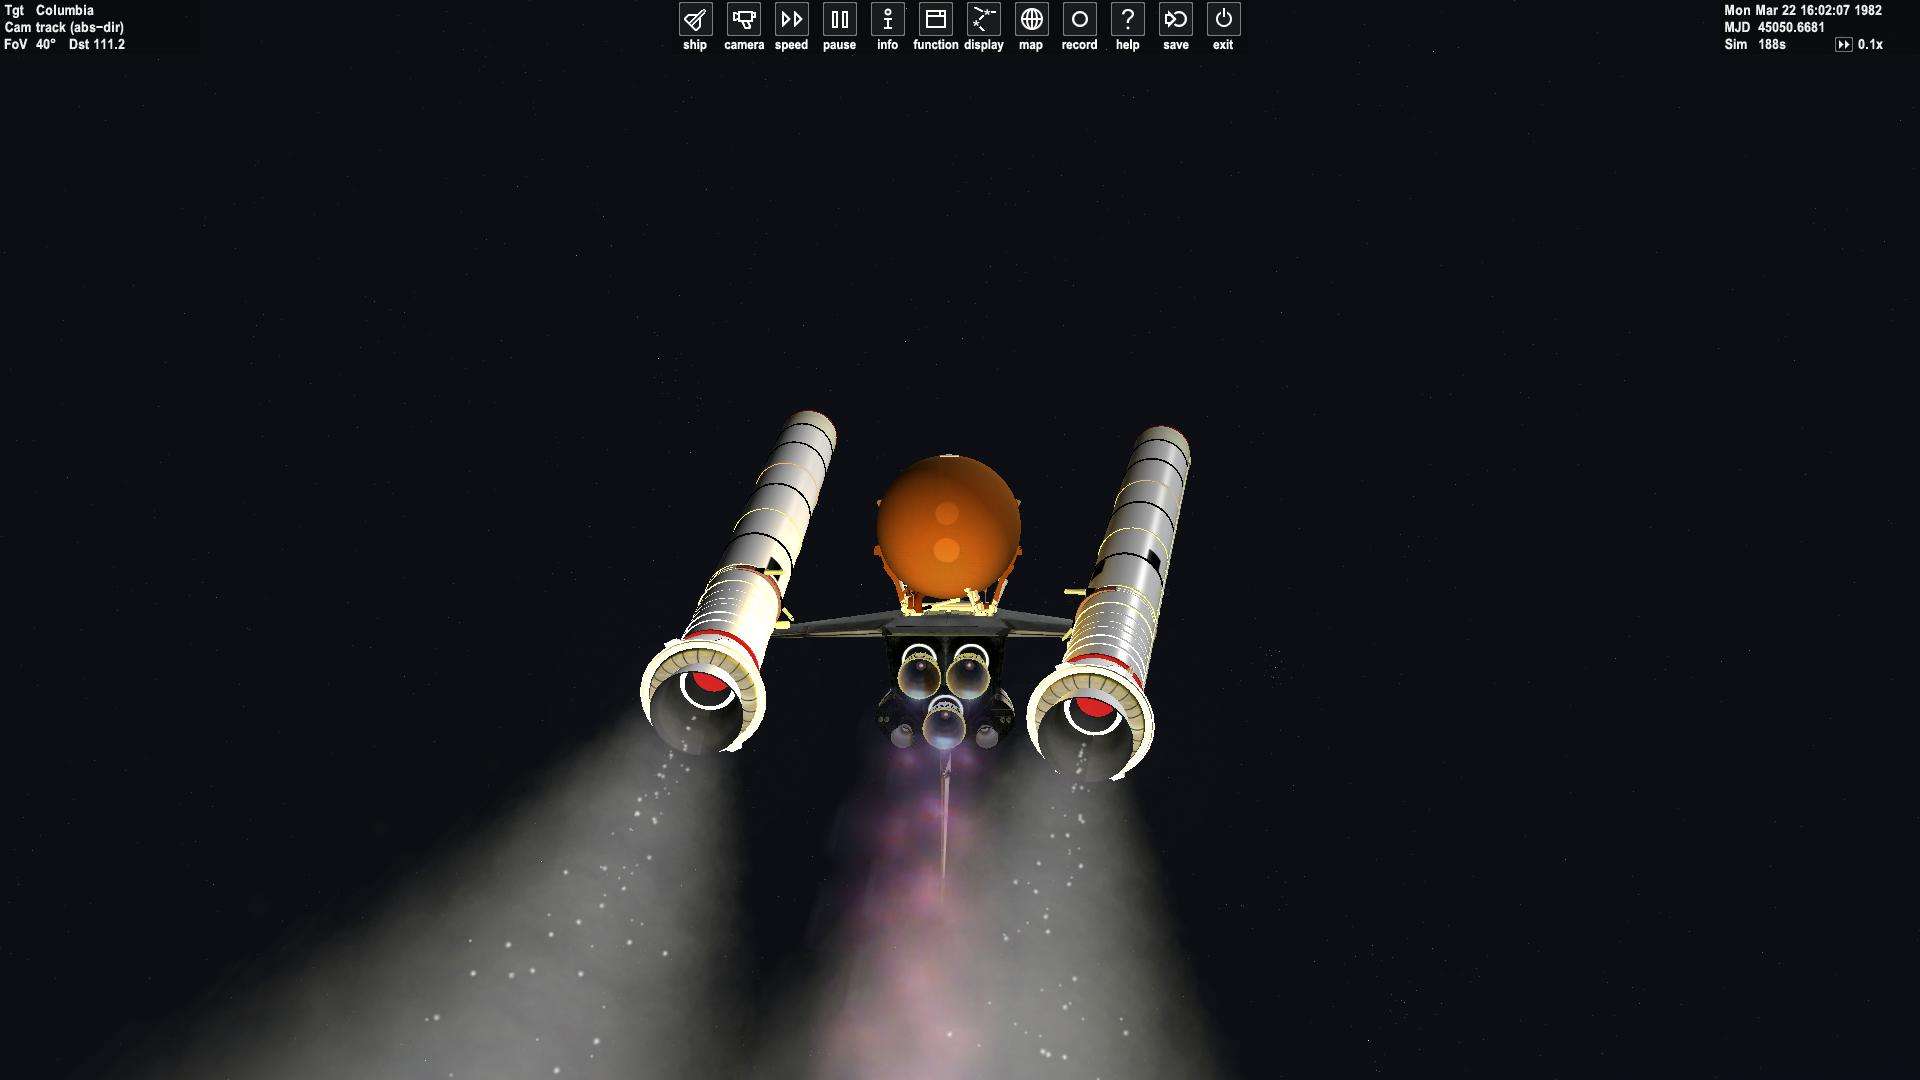
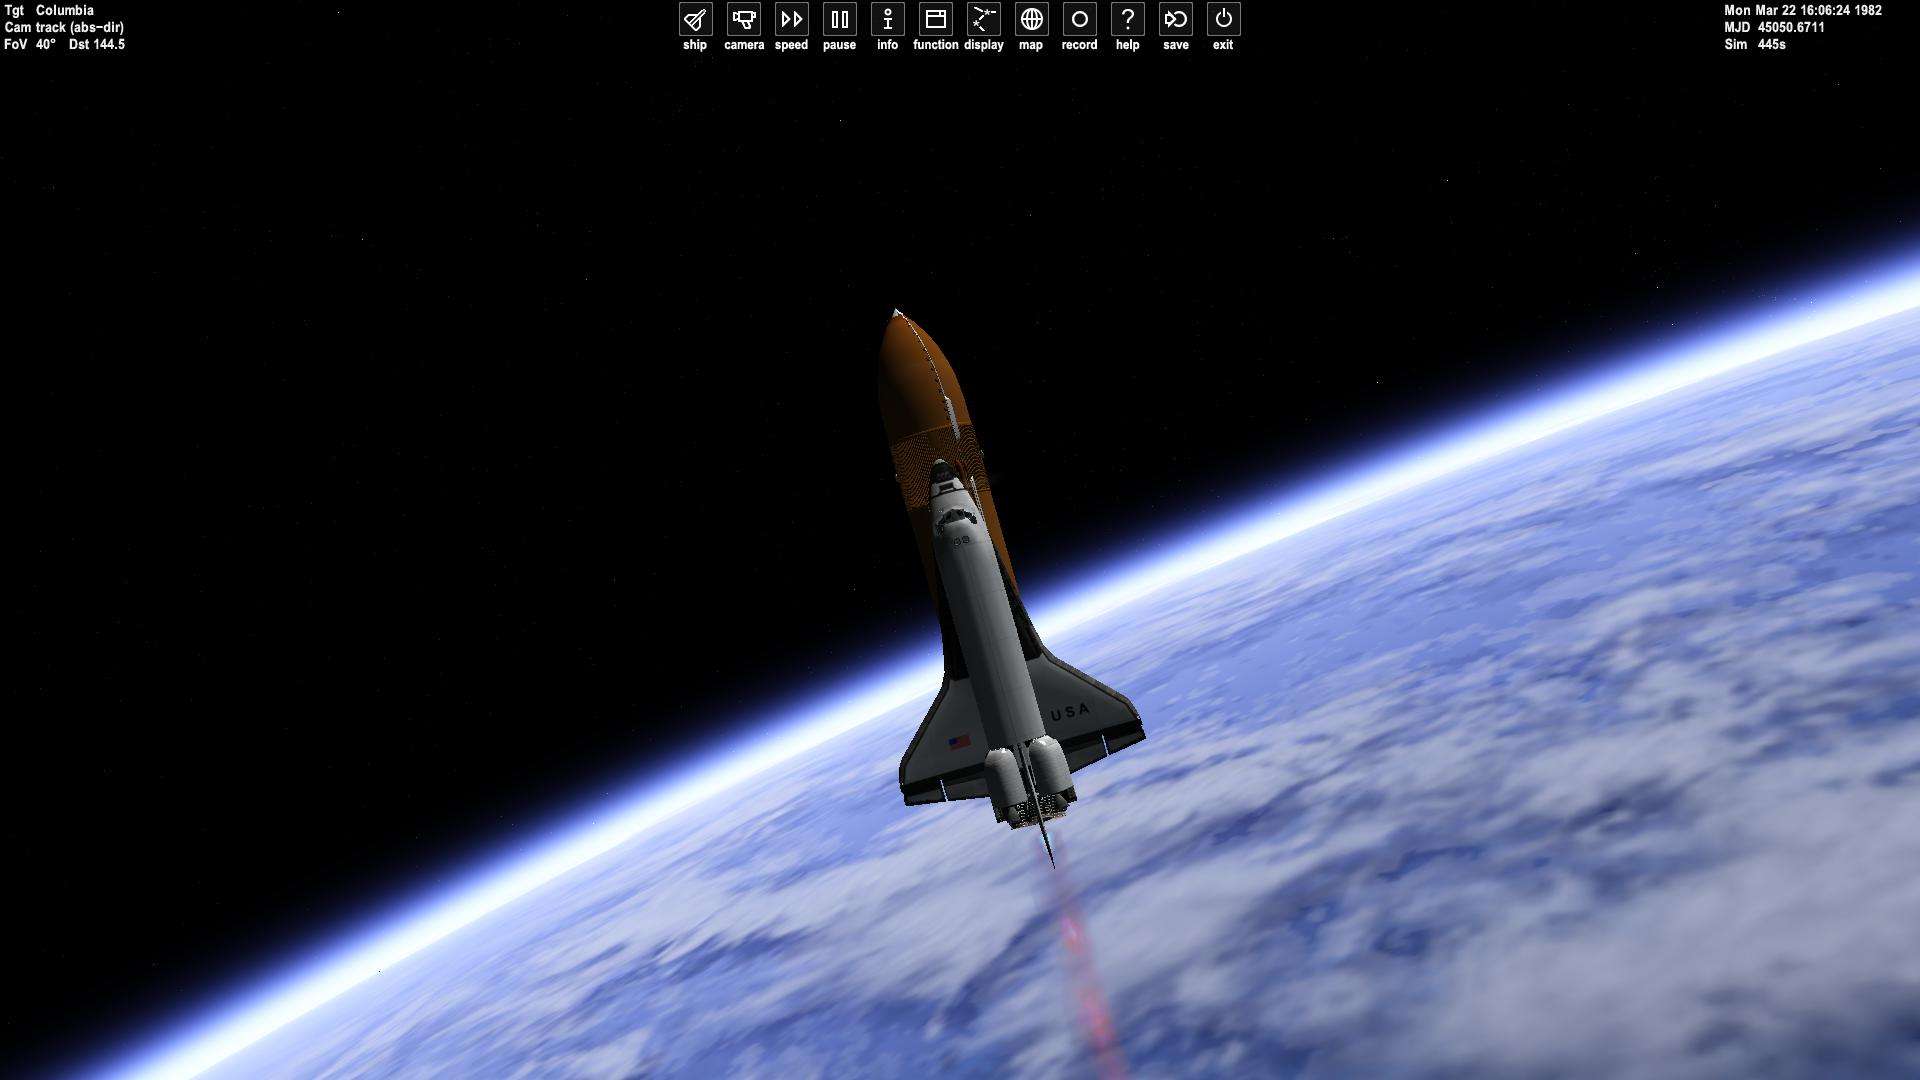
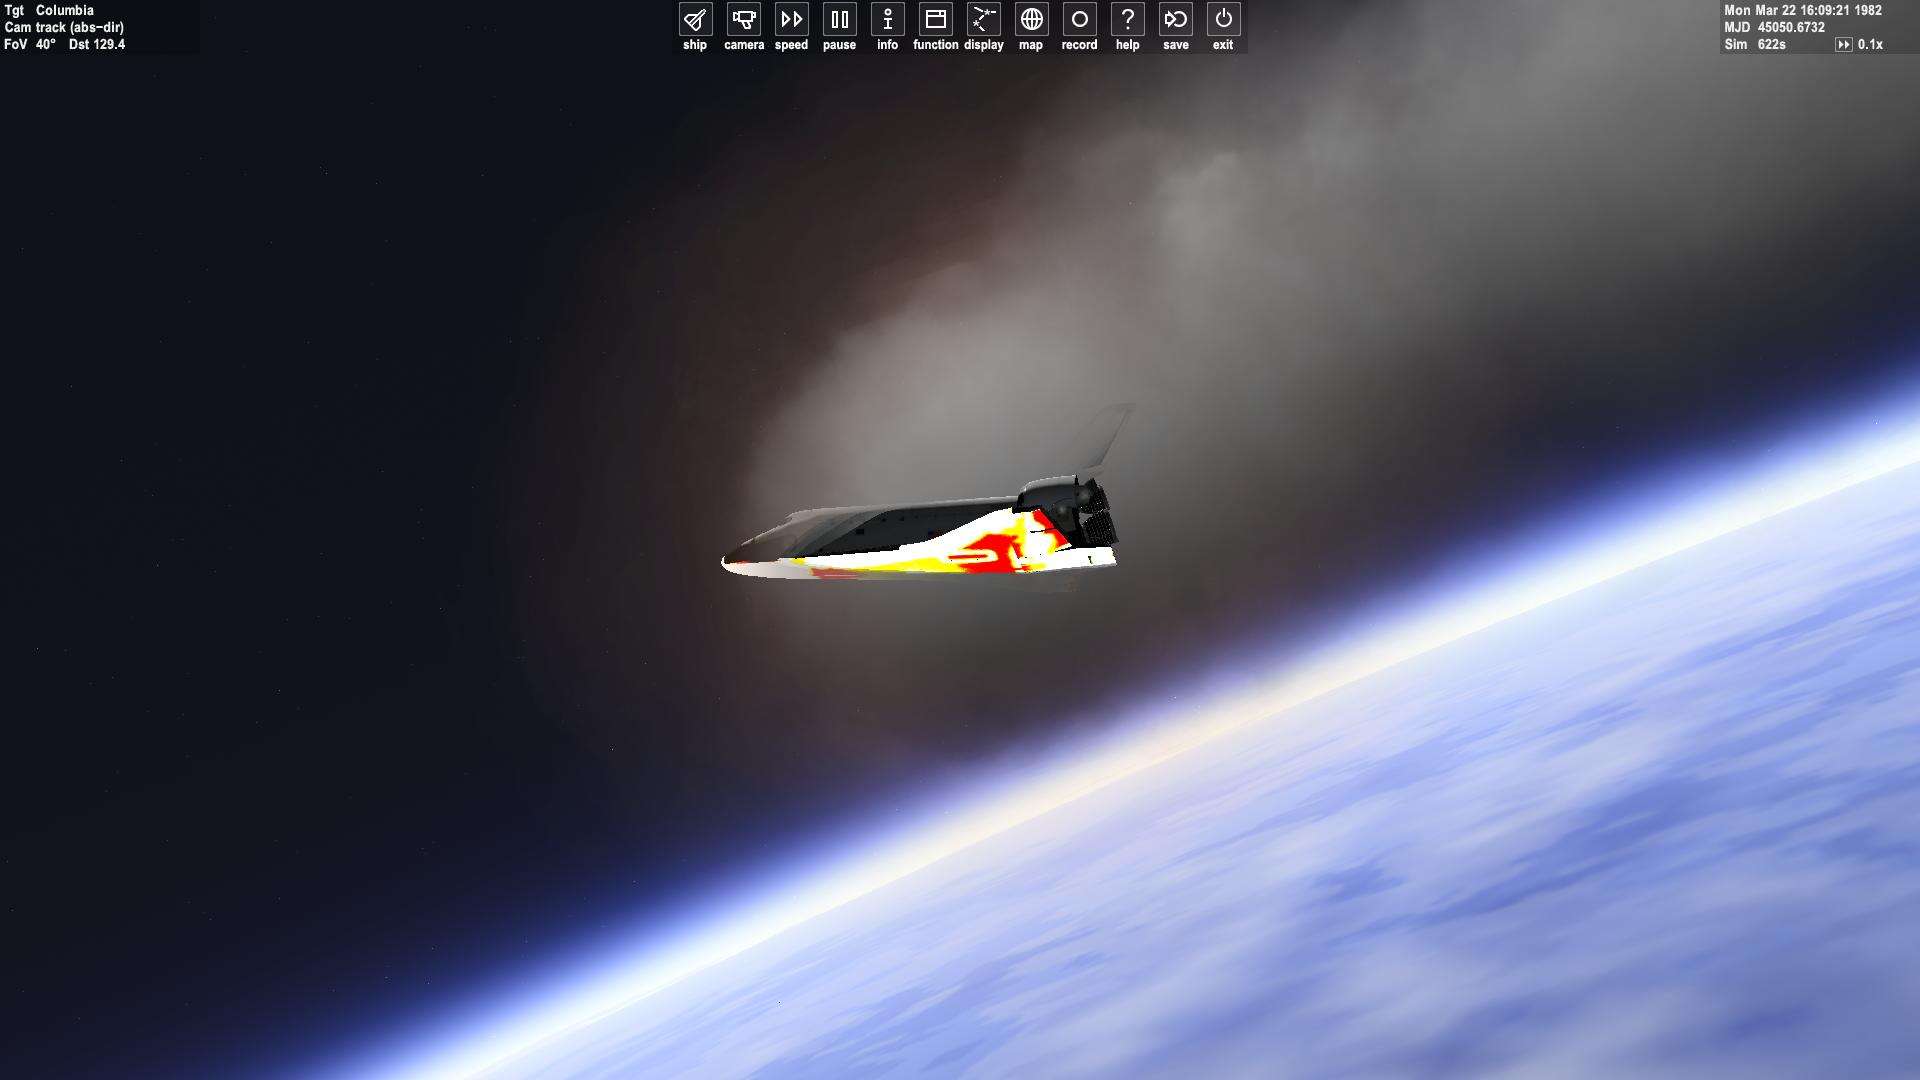
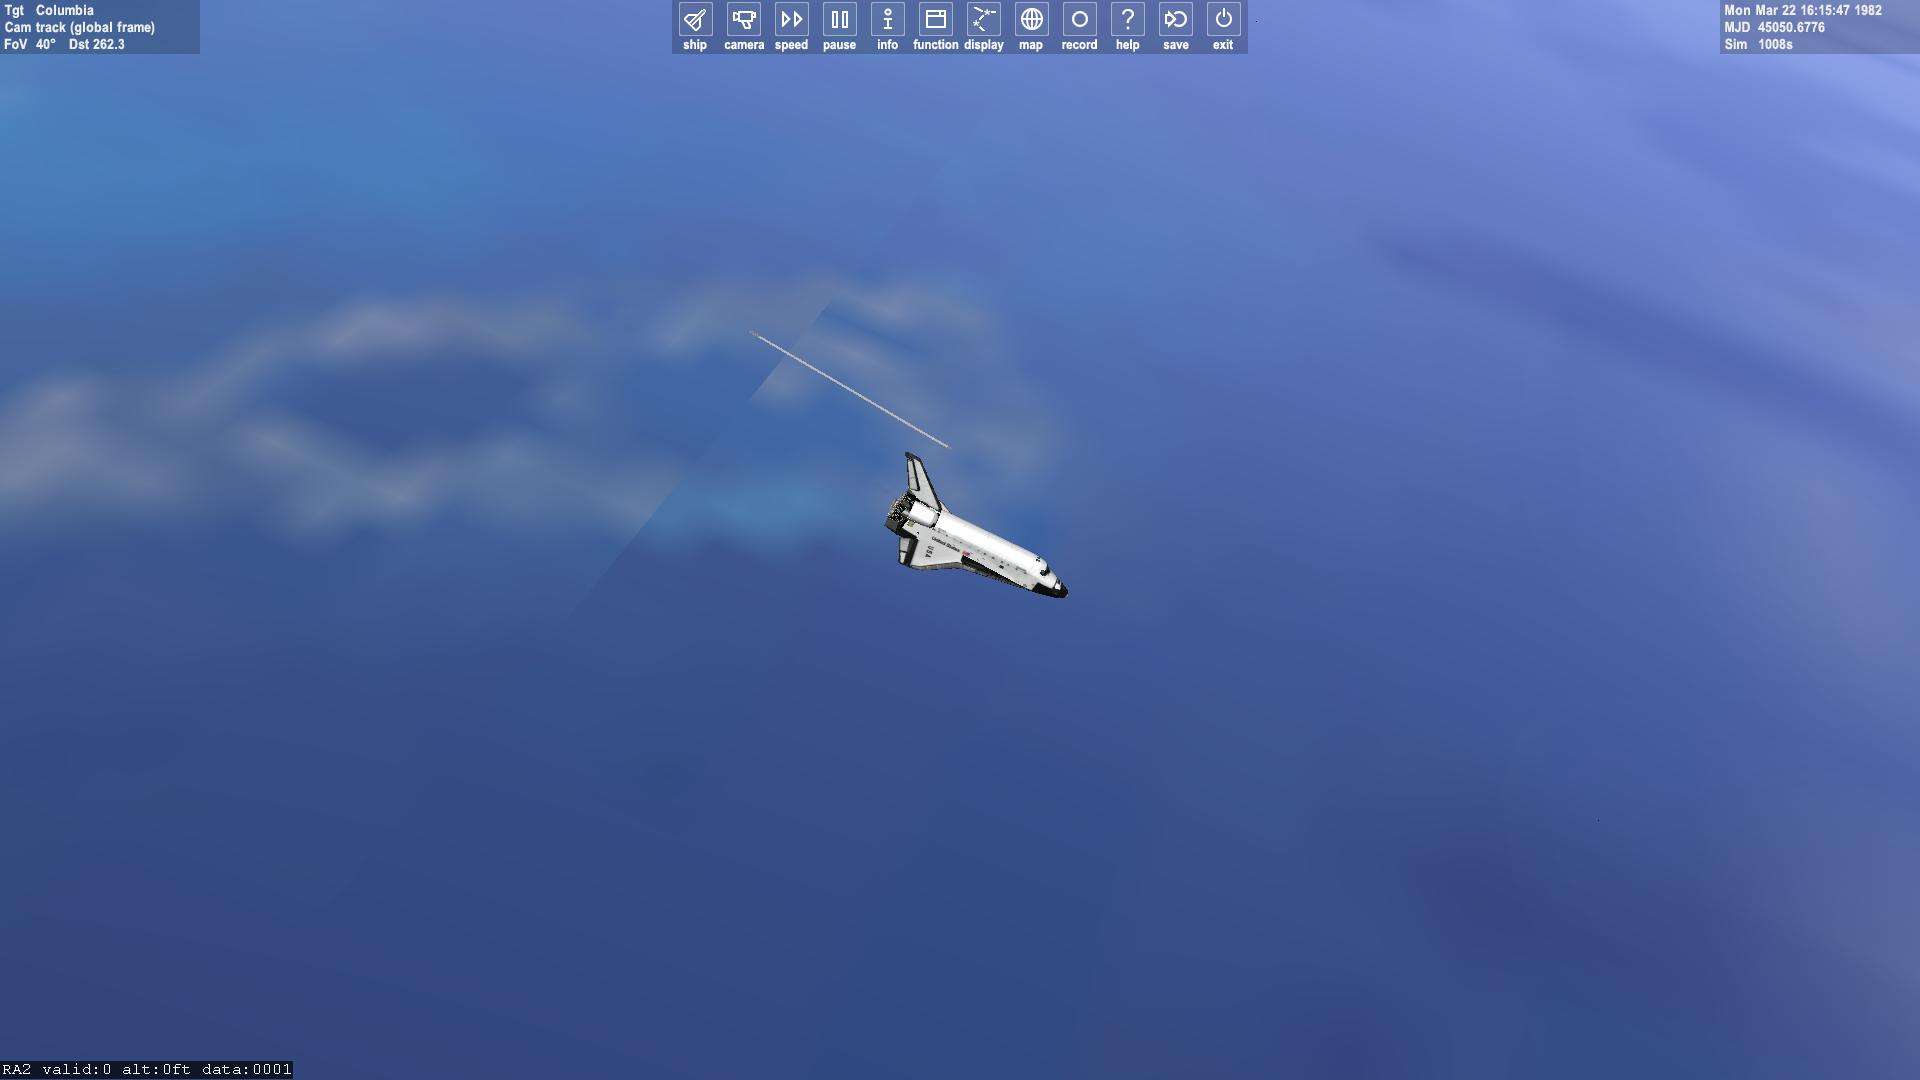
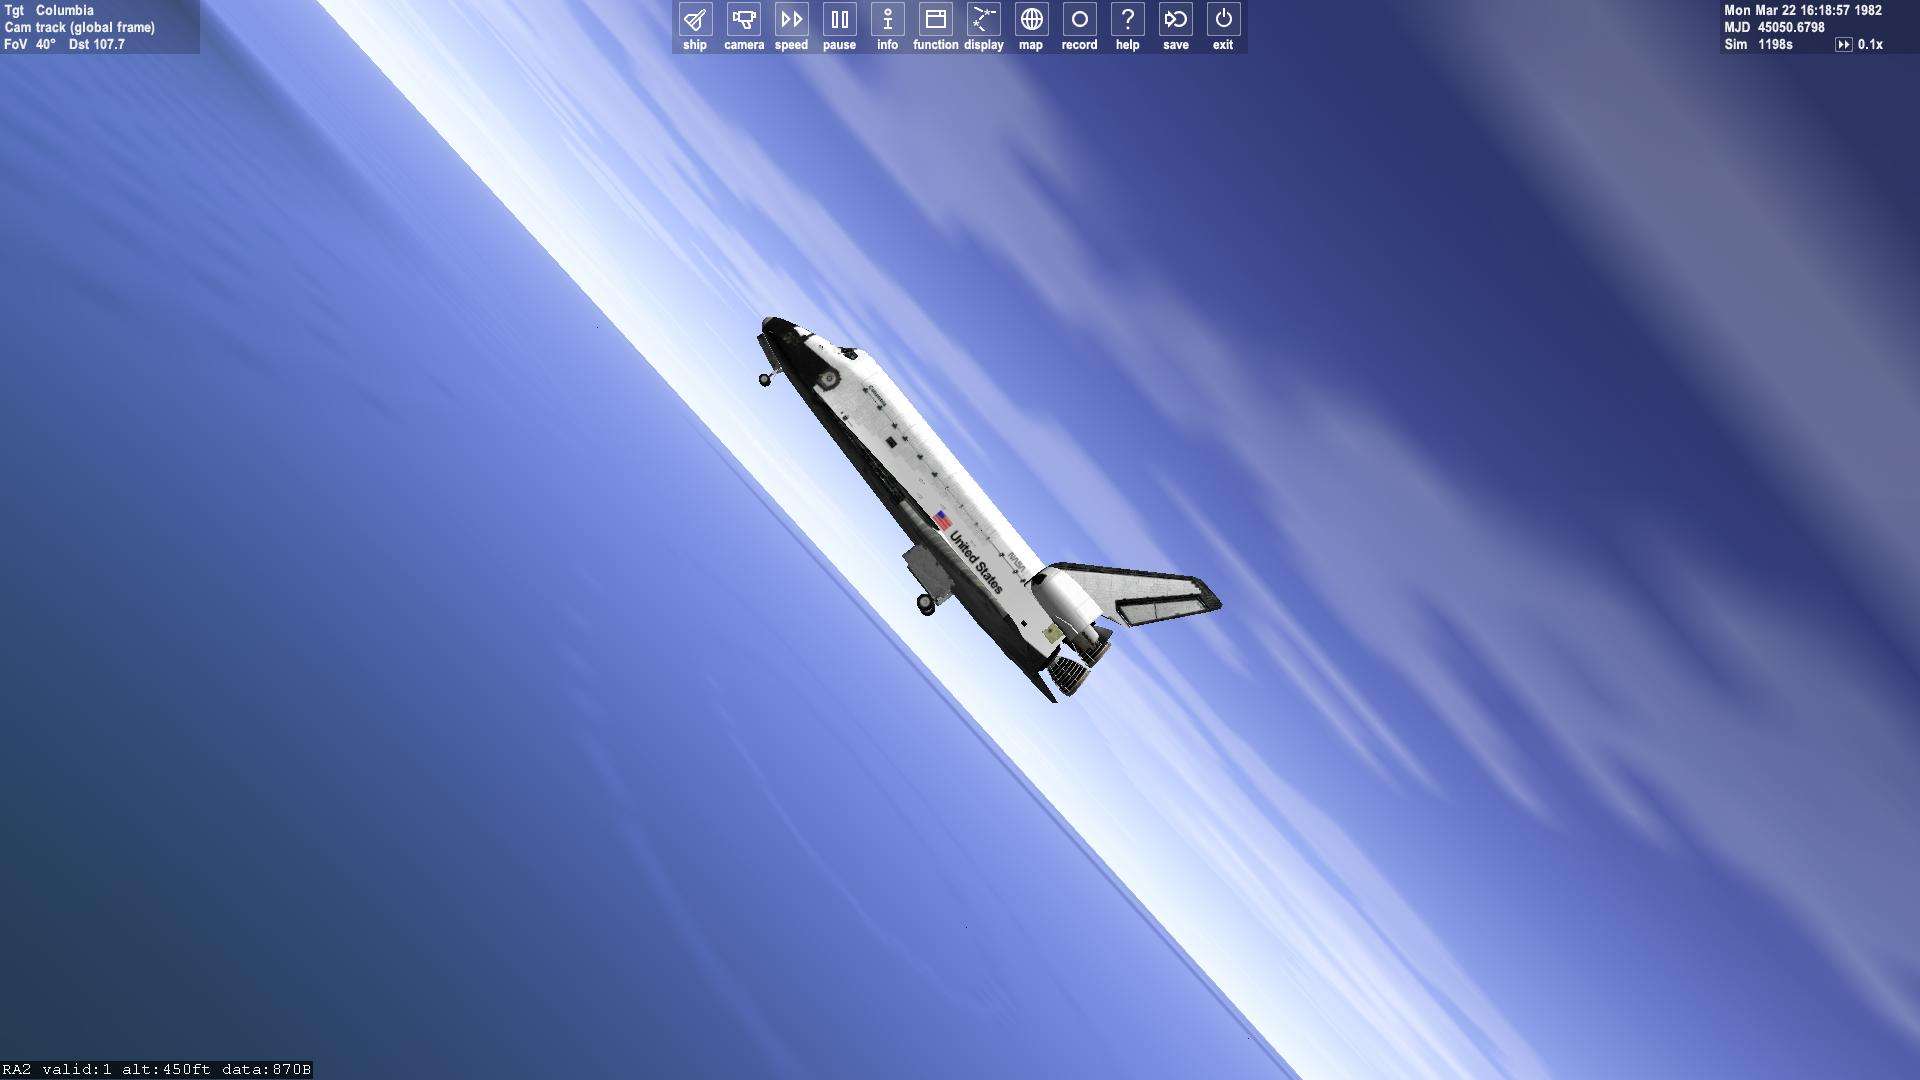
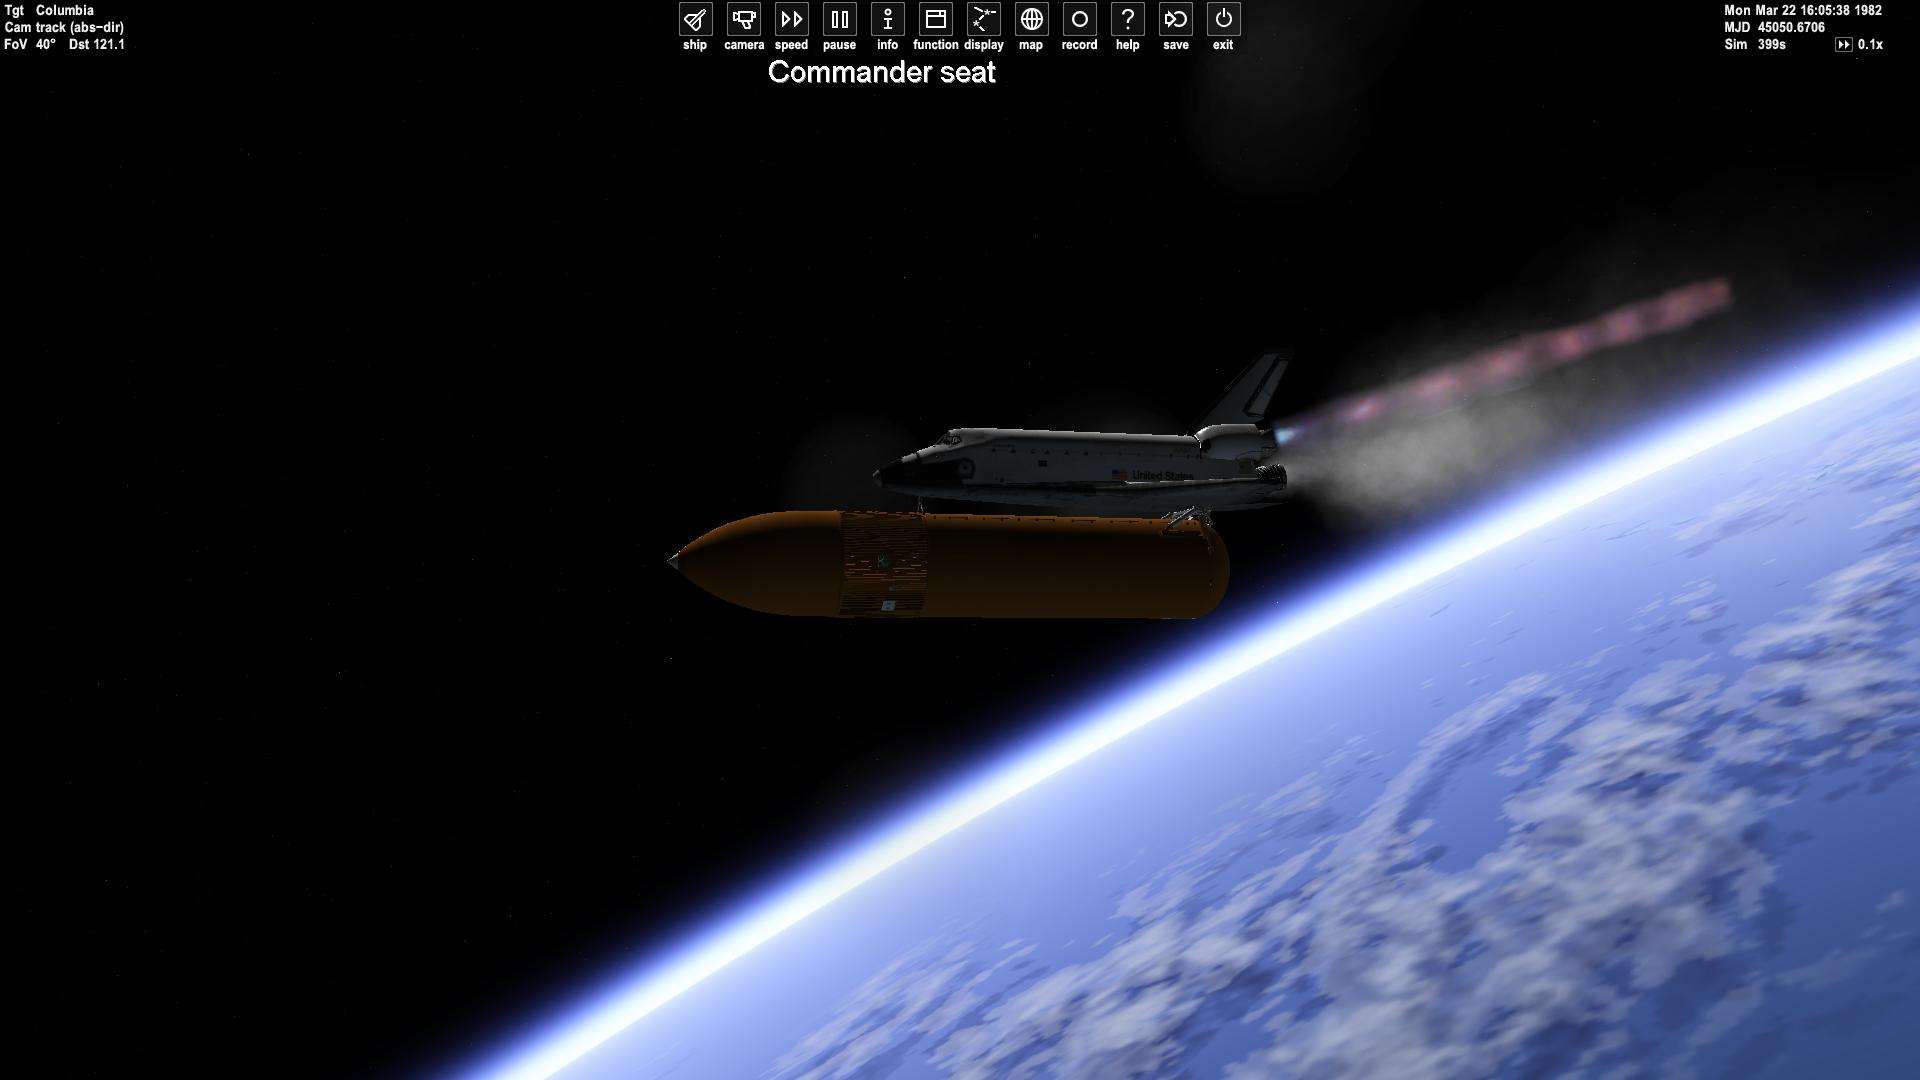
Lift off, always eyes candy
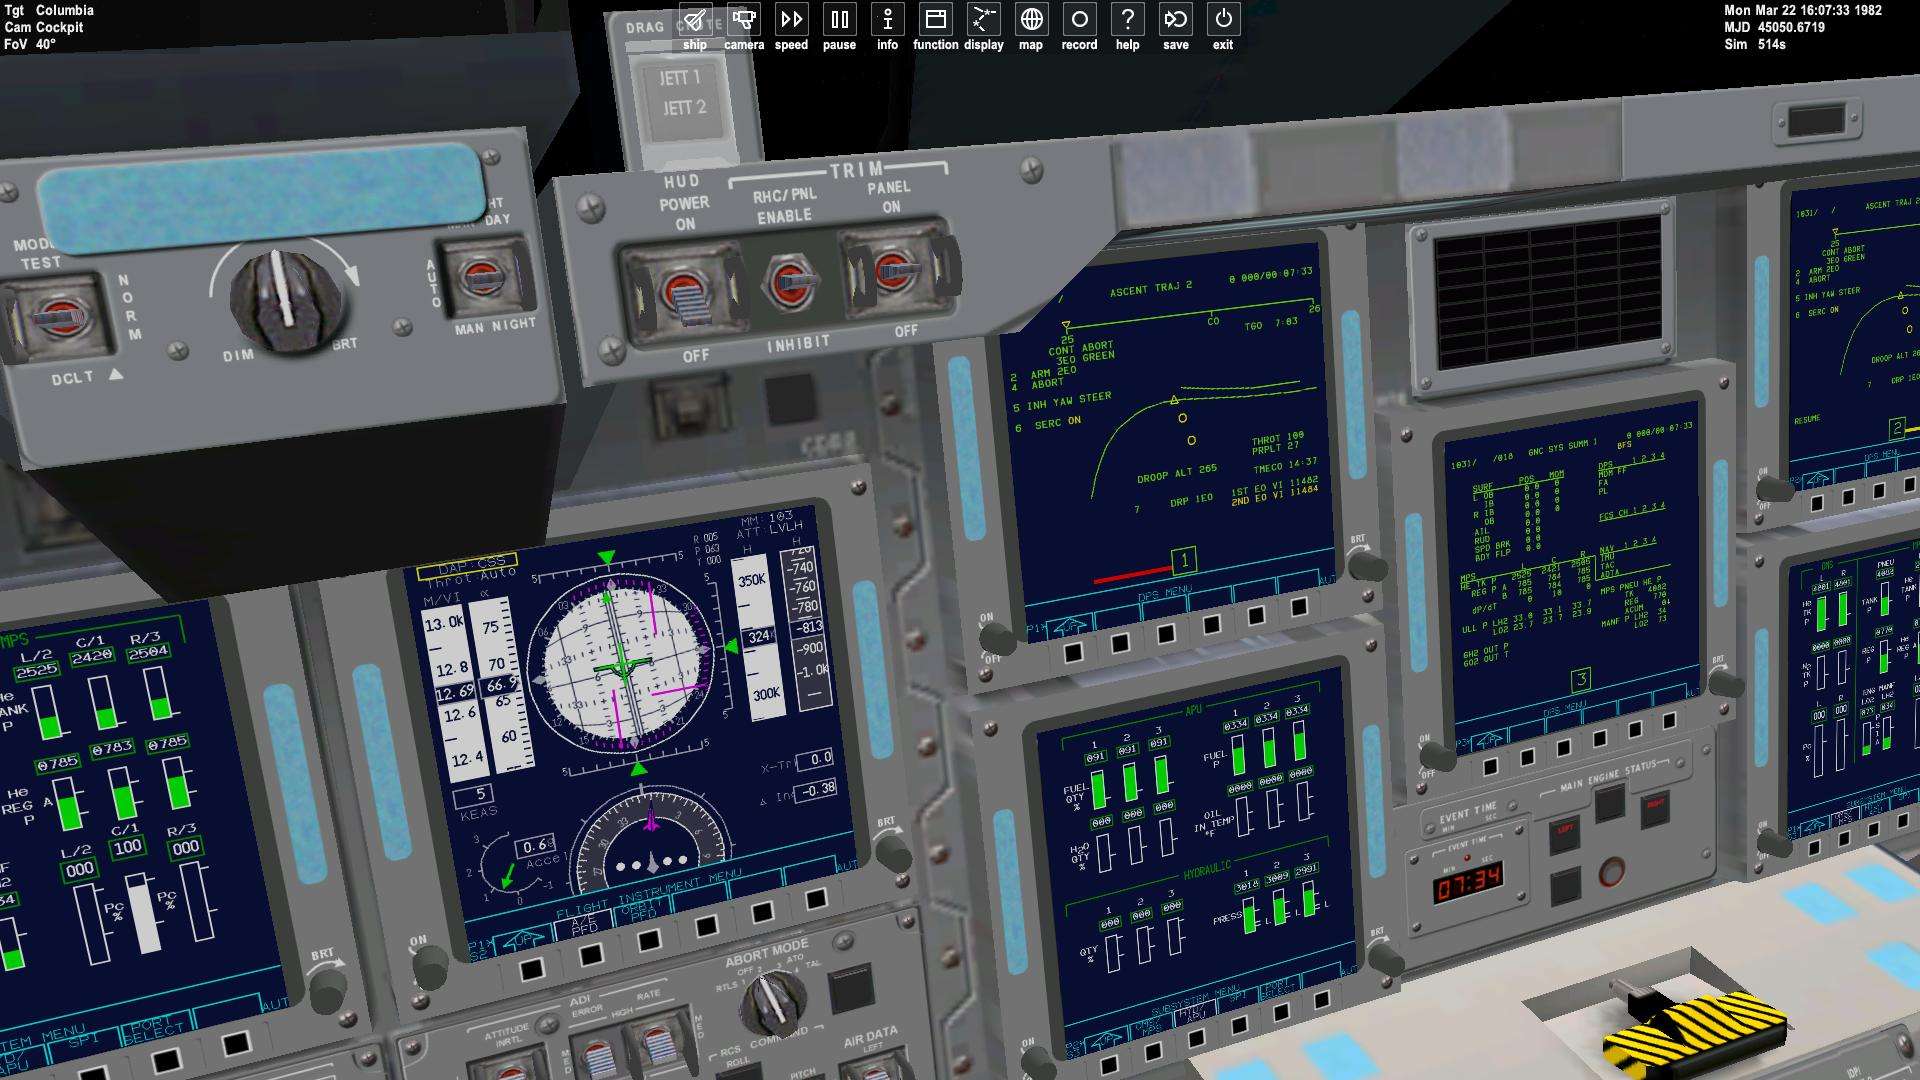
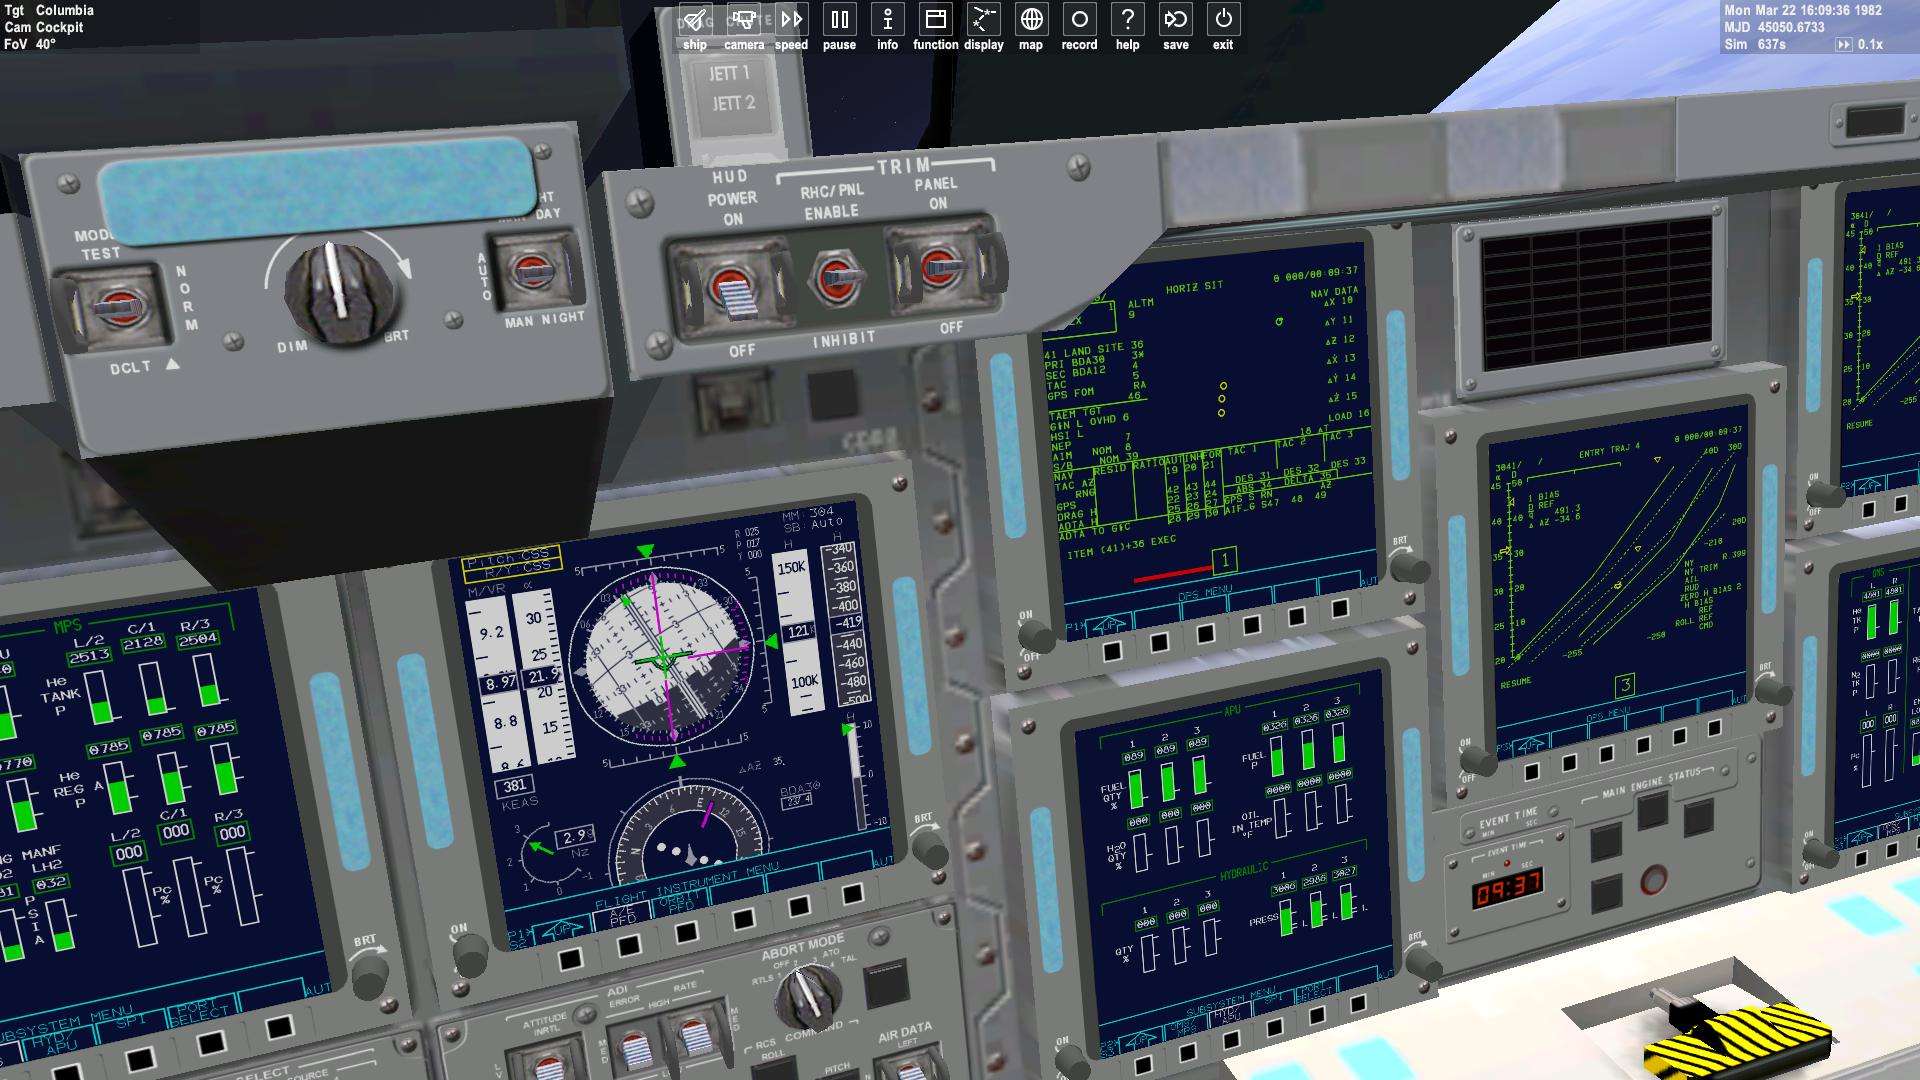
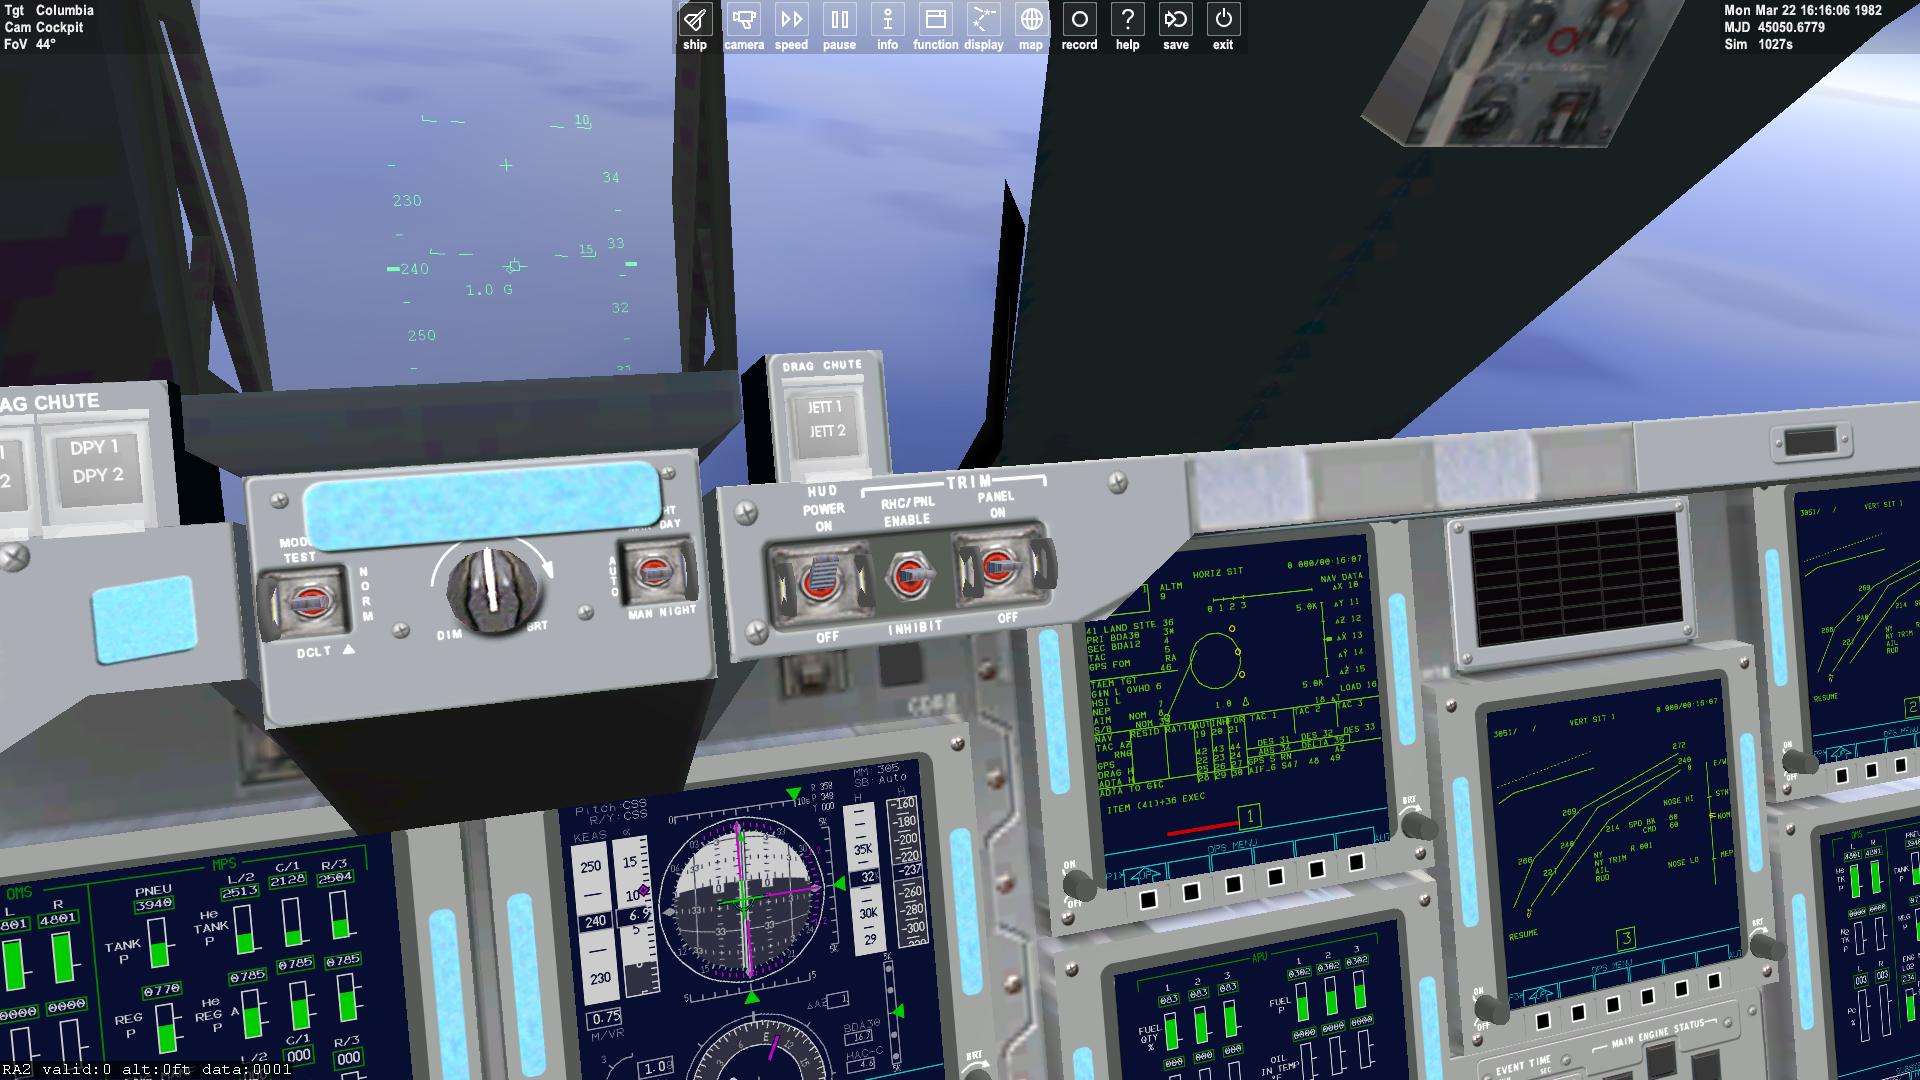
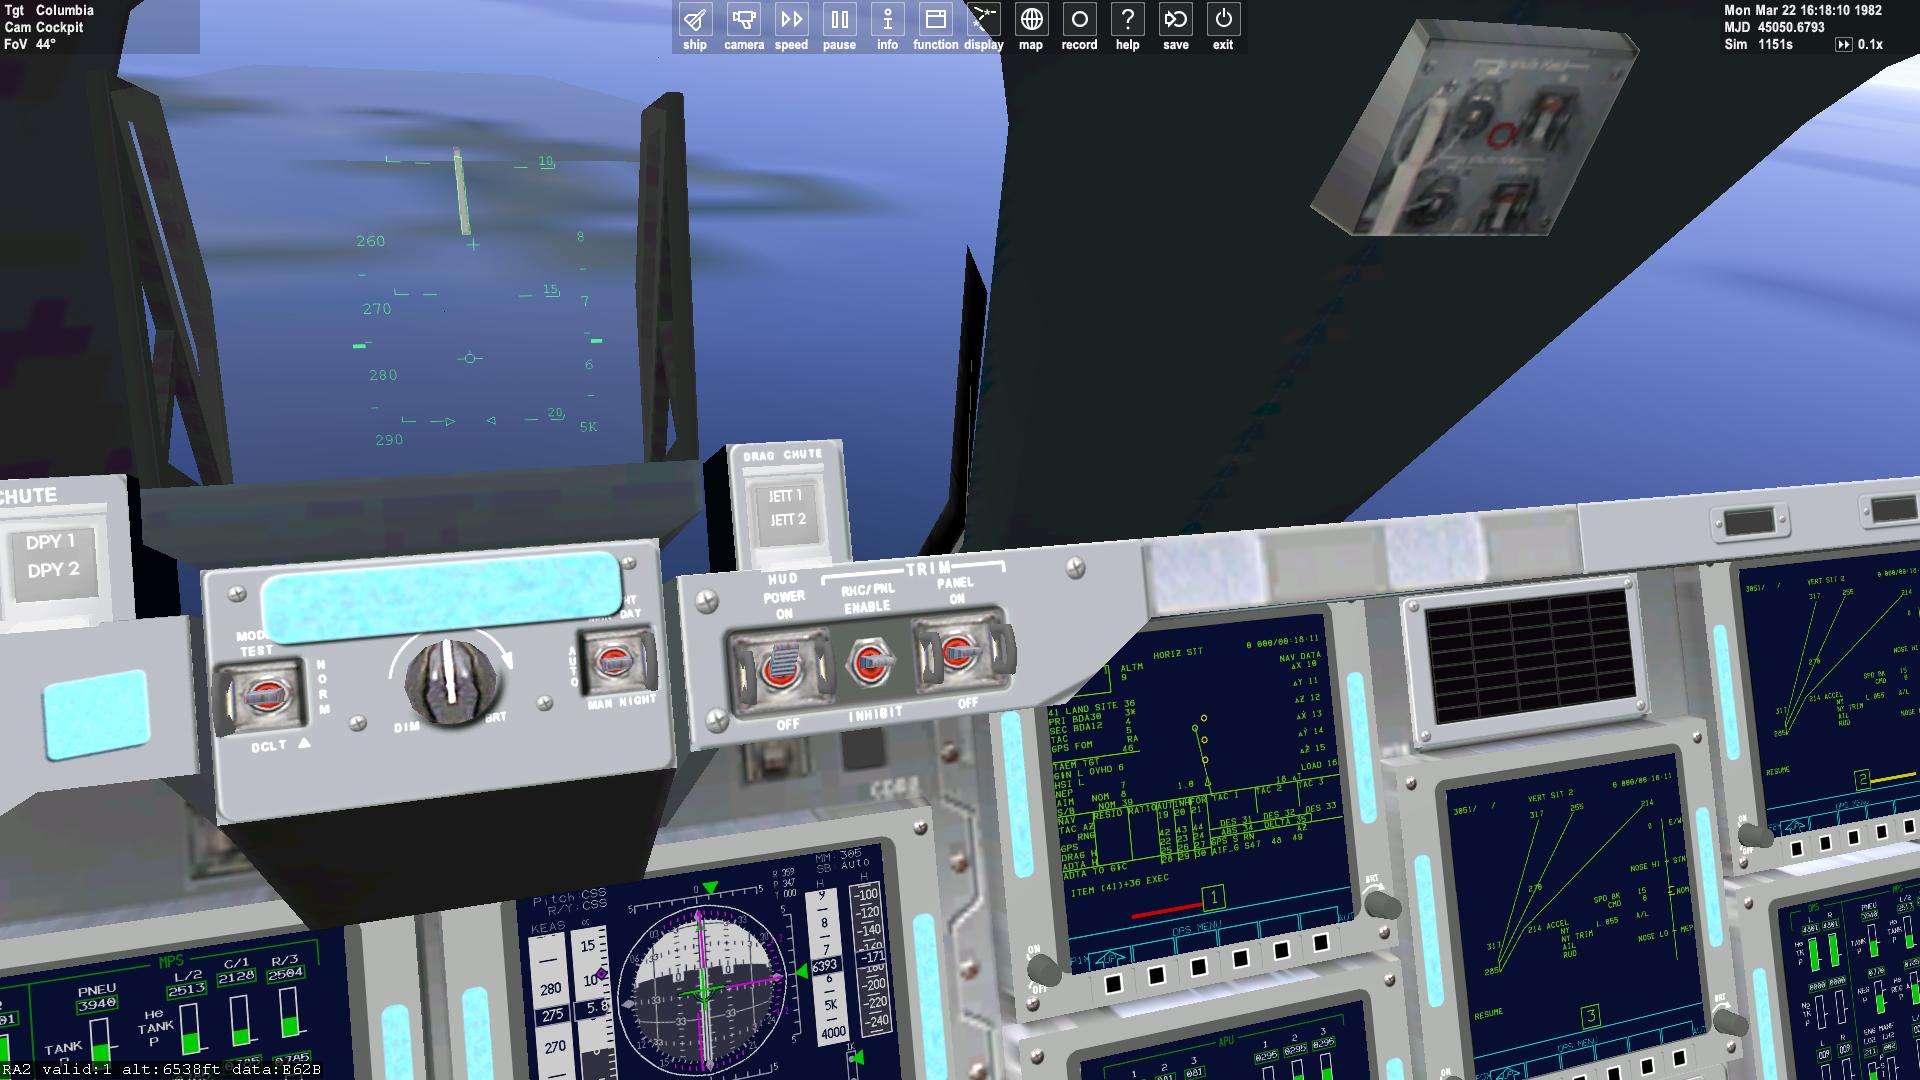
Before SRB sep, we are in 2EO Blue
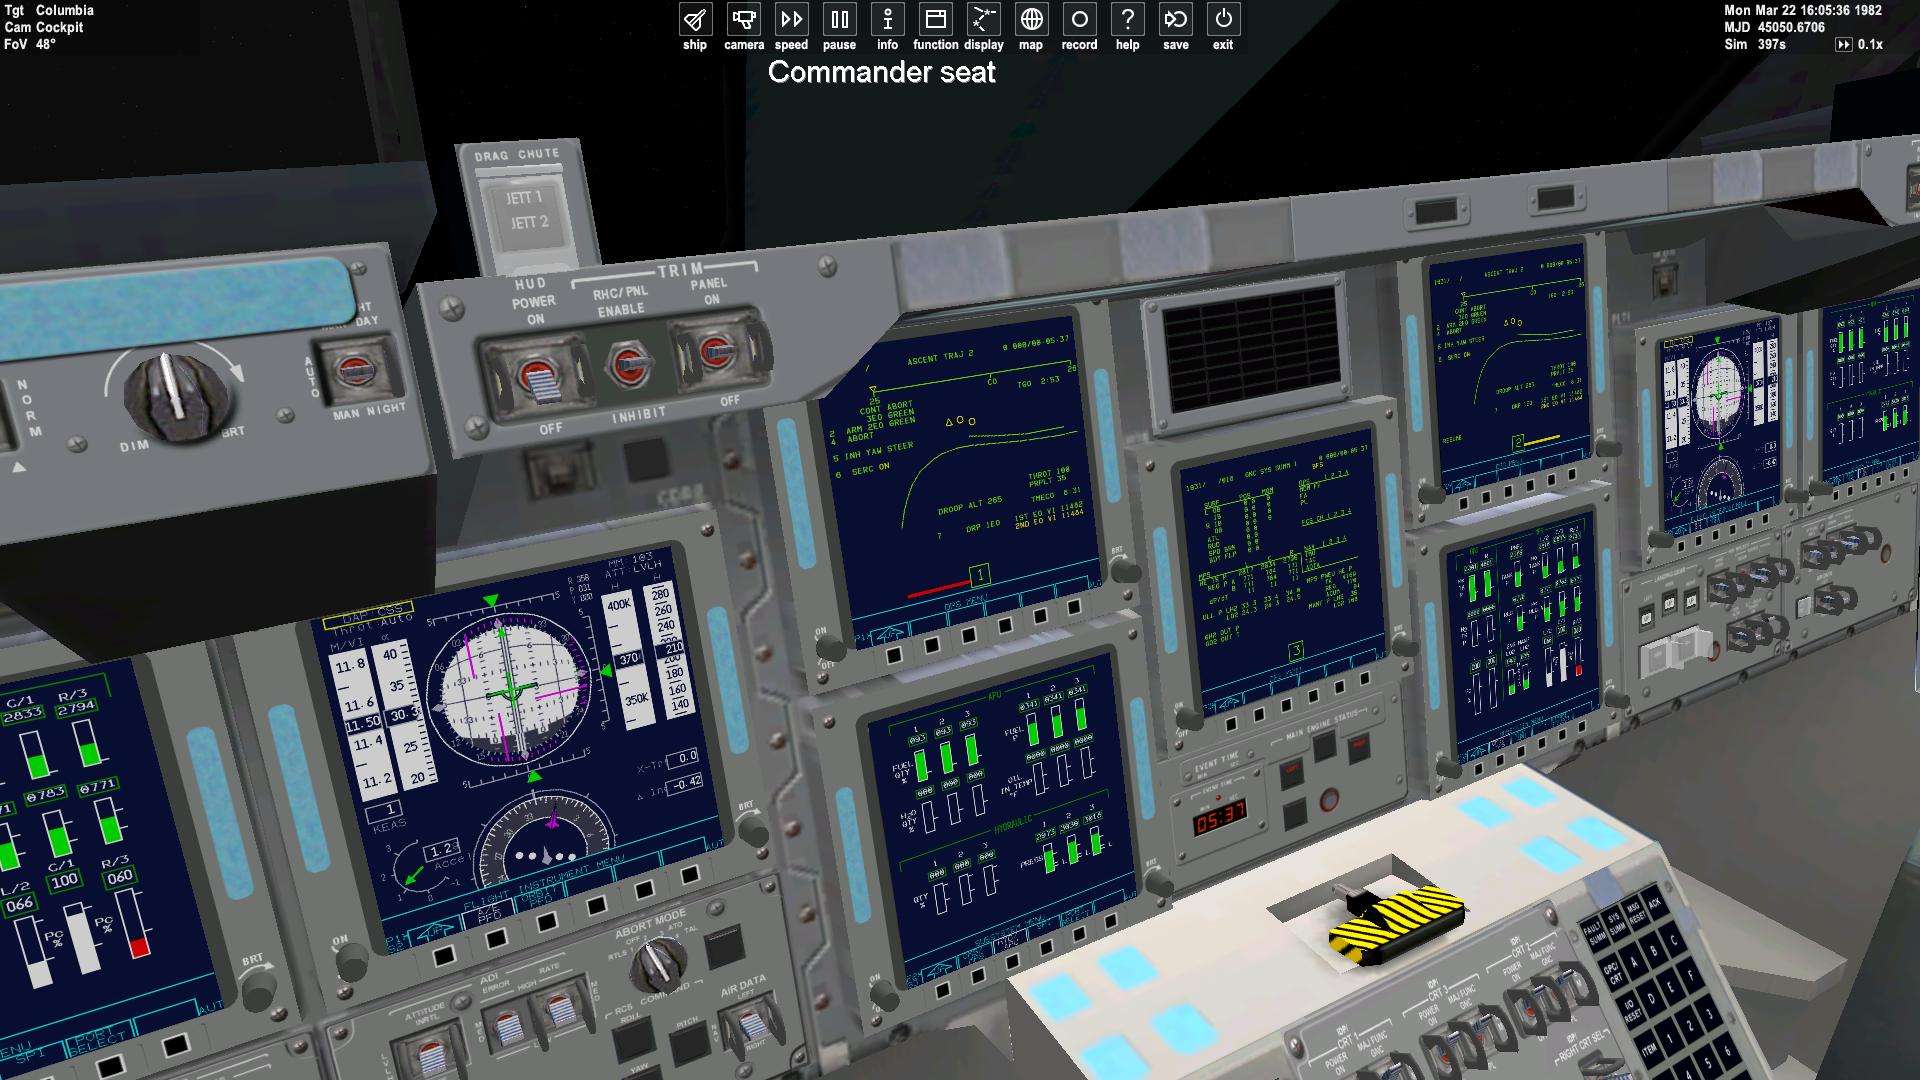
SRB Sep, we go to 2EO Green, a bit less dangerous in case of dual engine failure
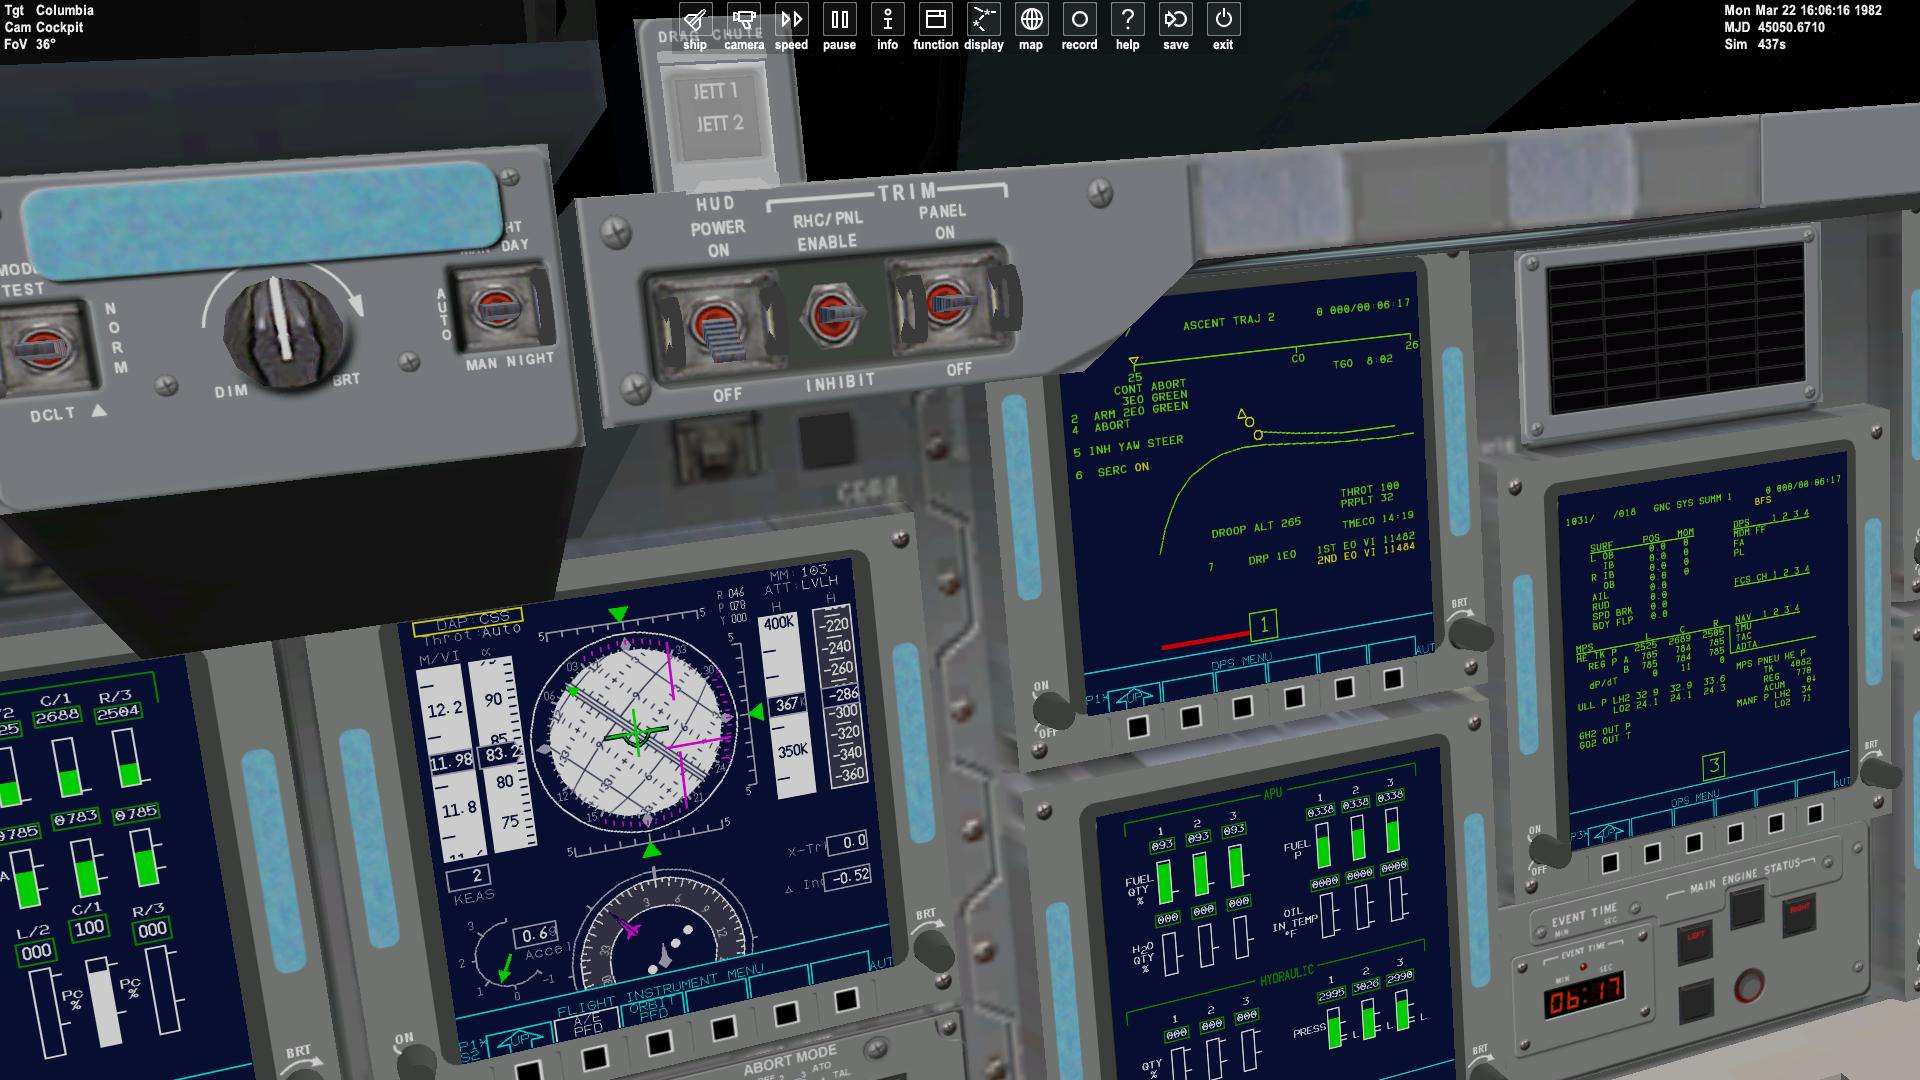
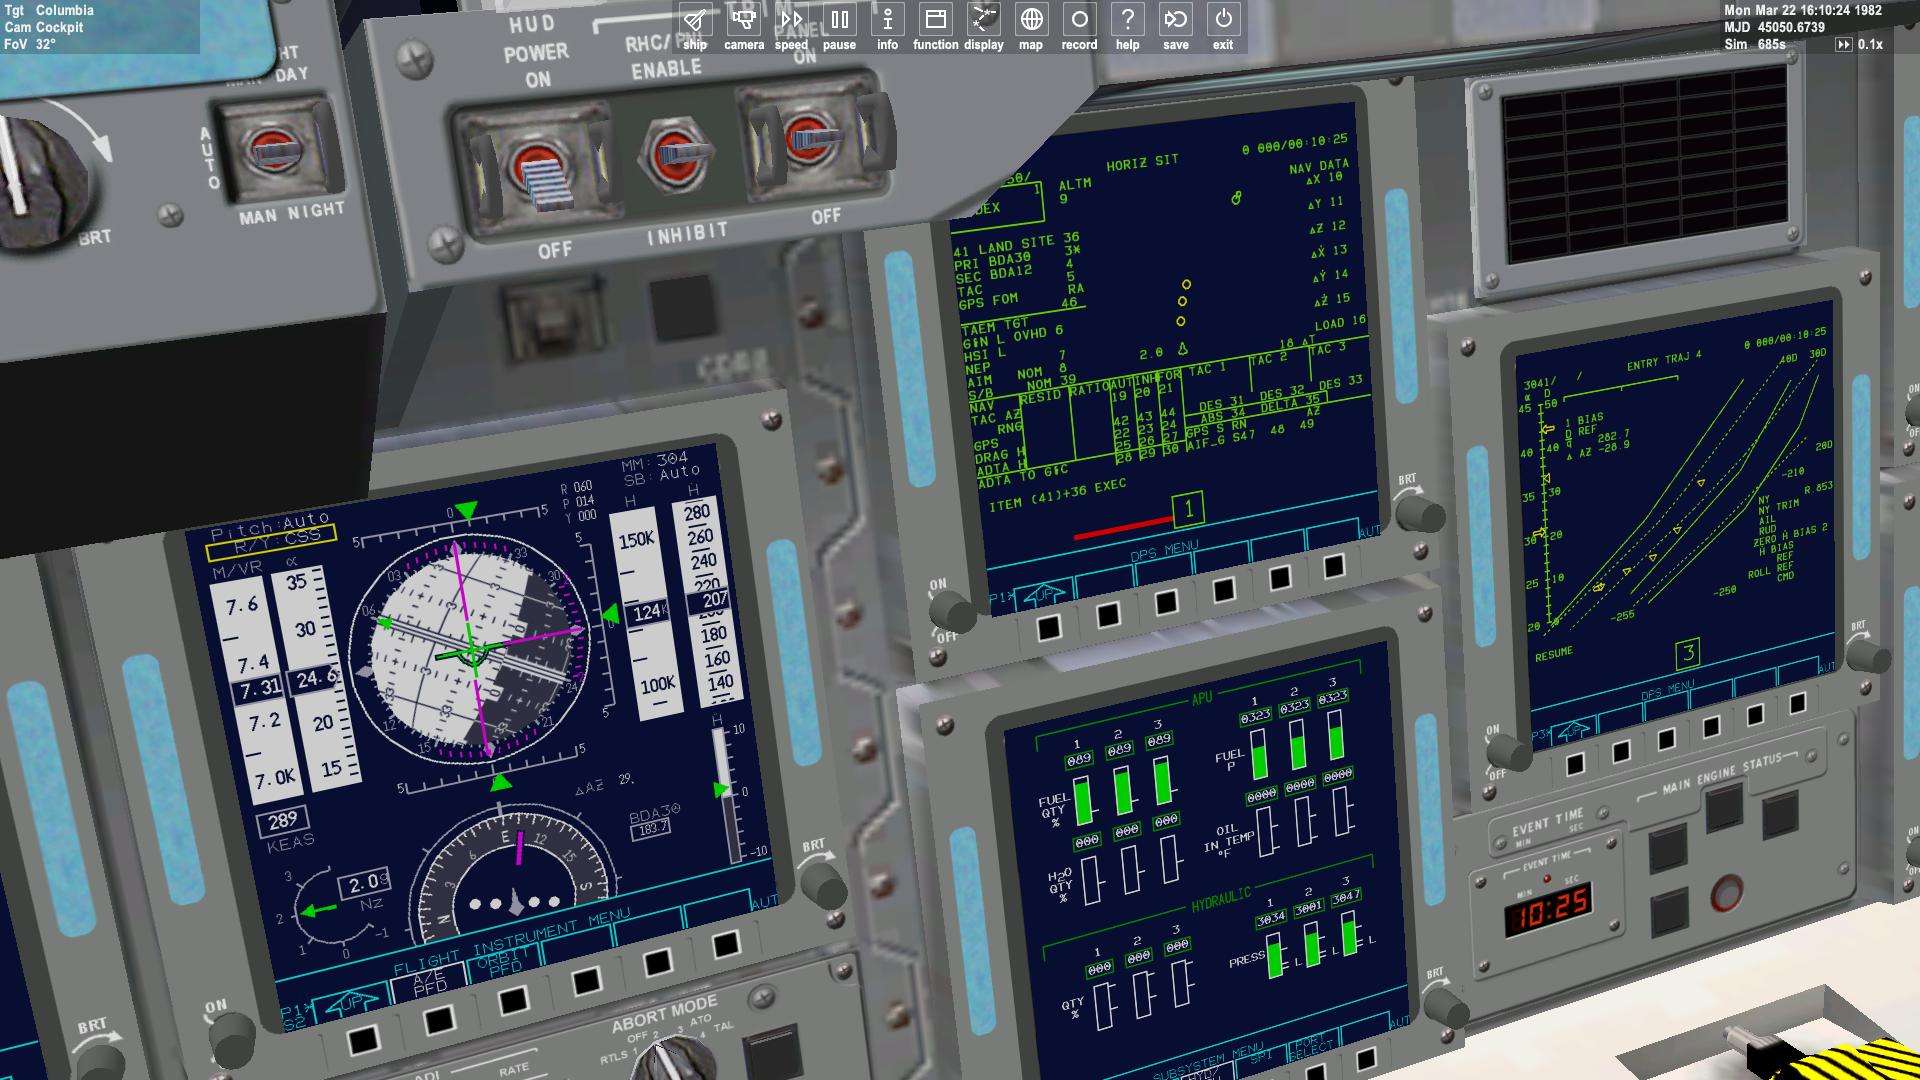
I will put the double failure around 11400ft/sec.
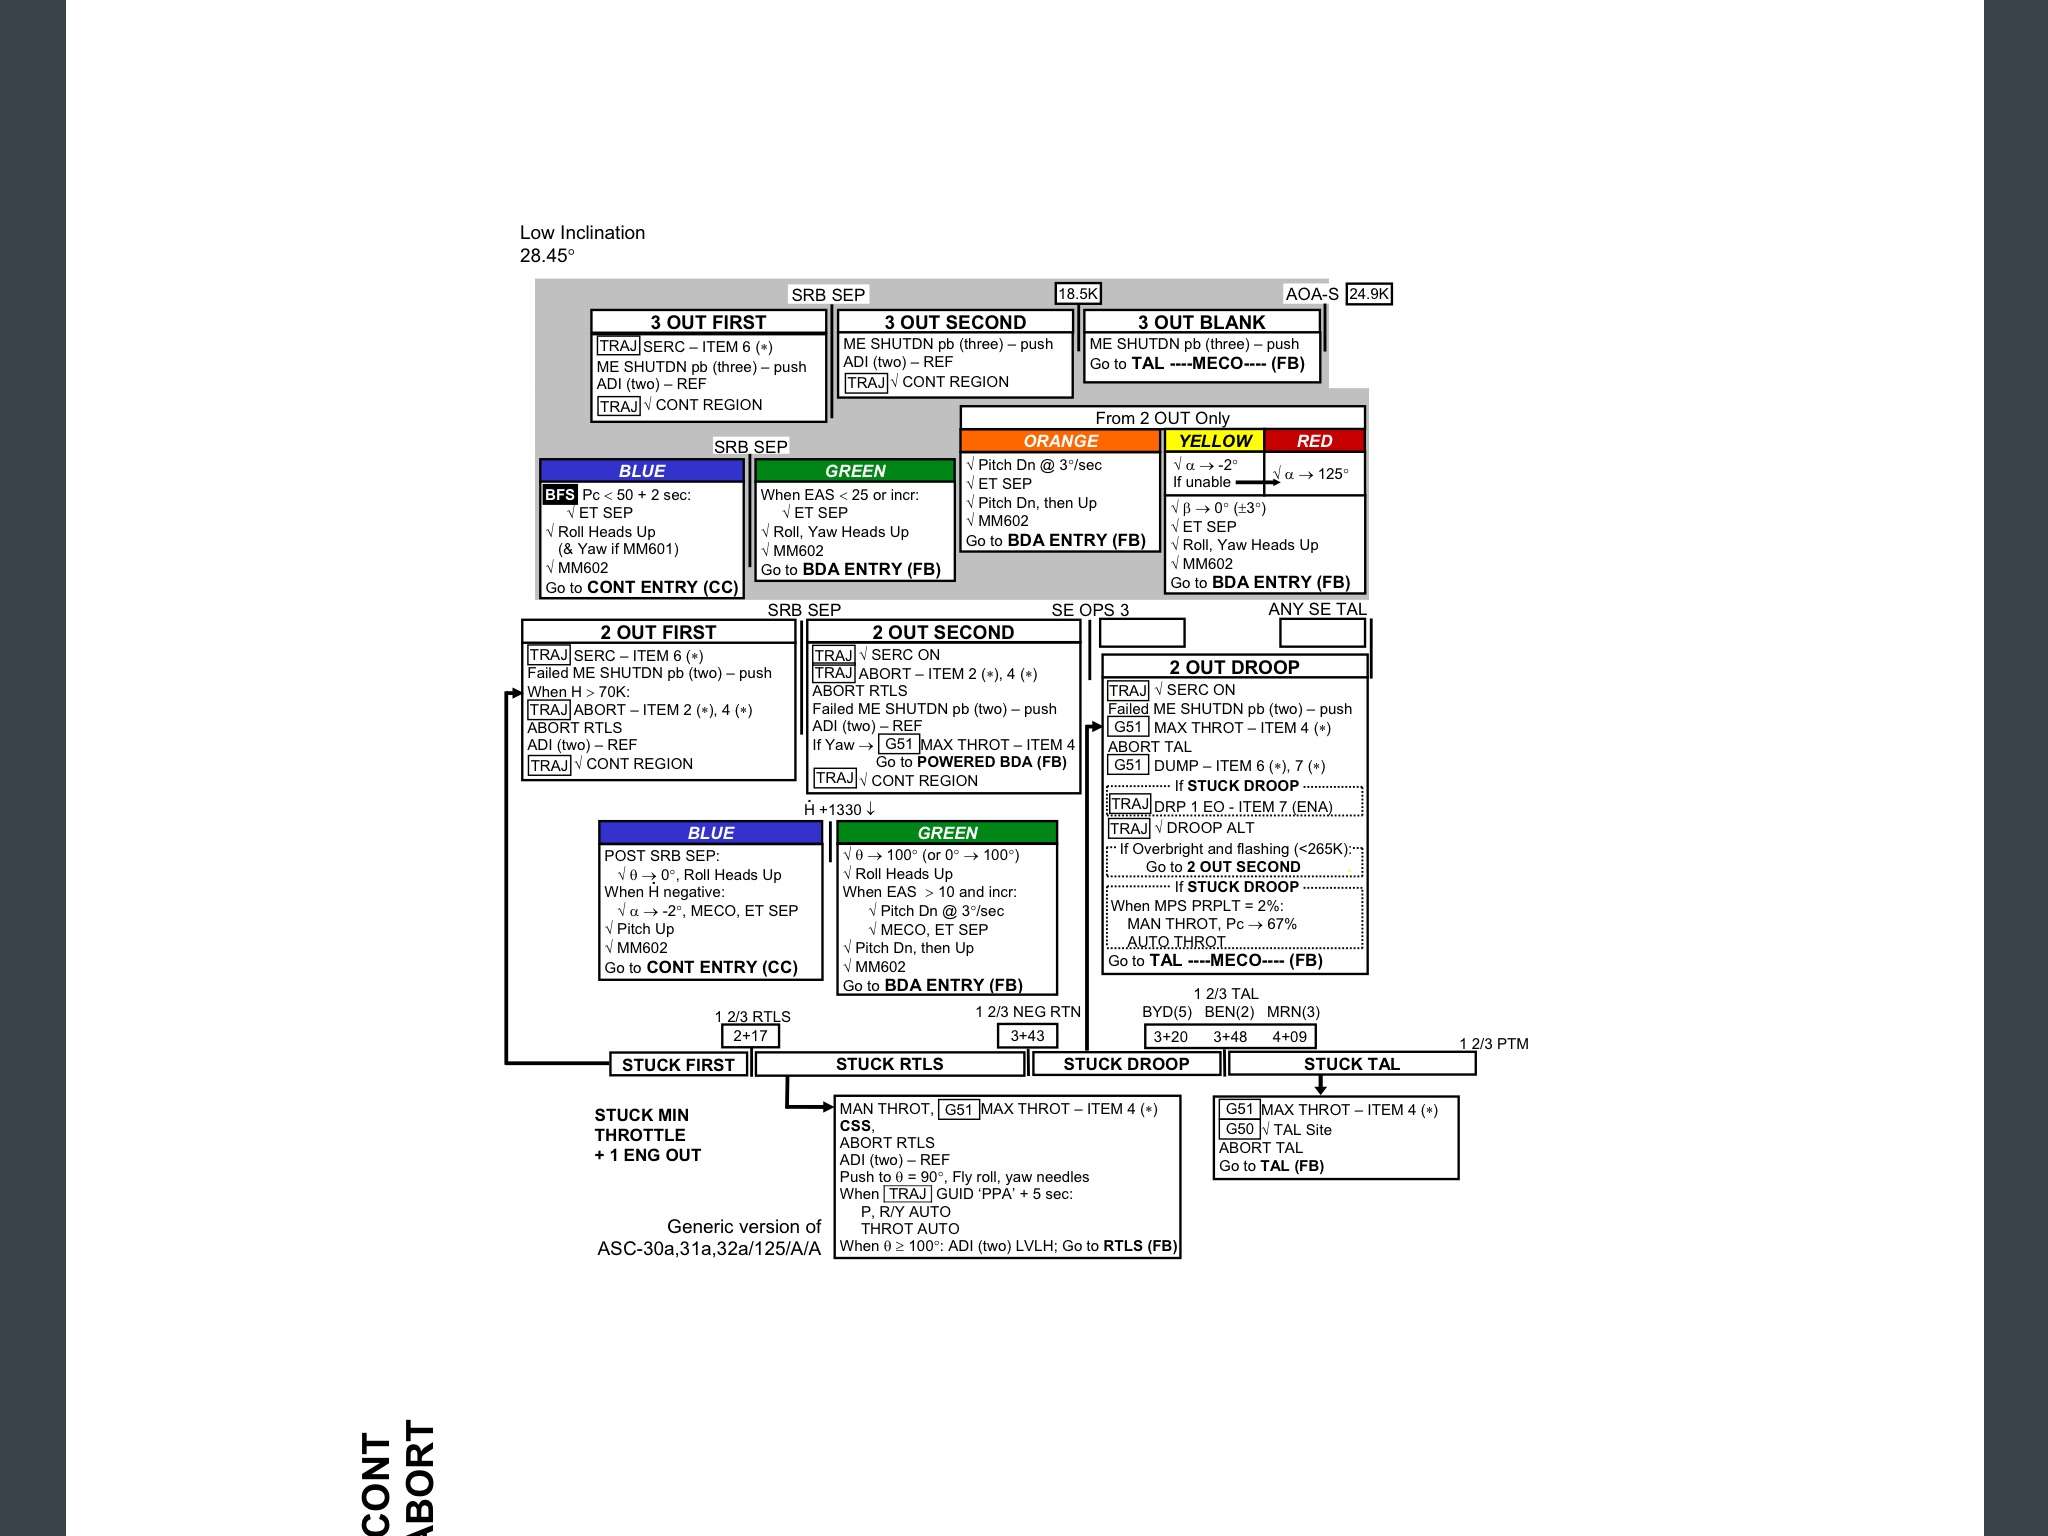
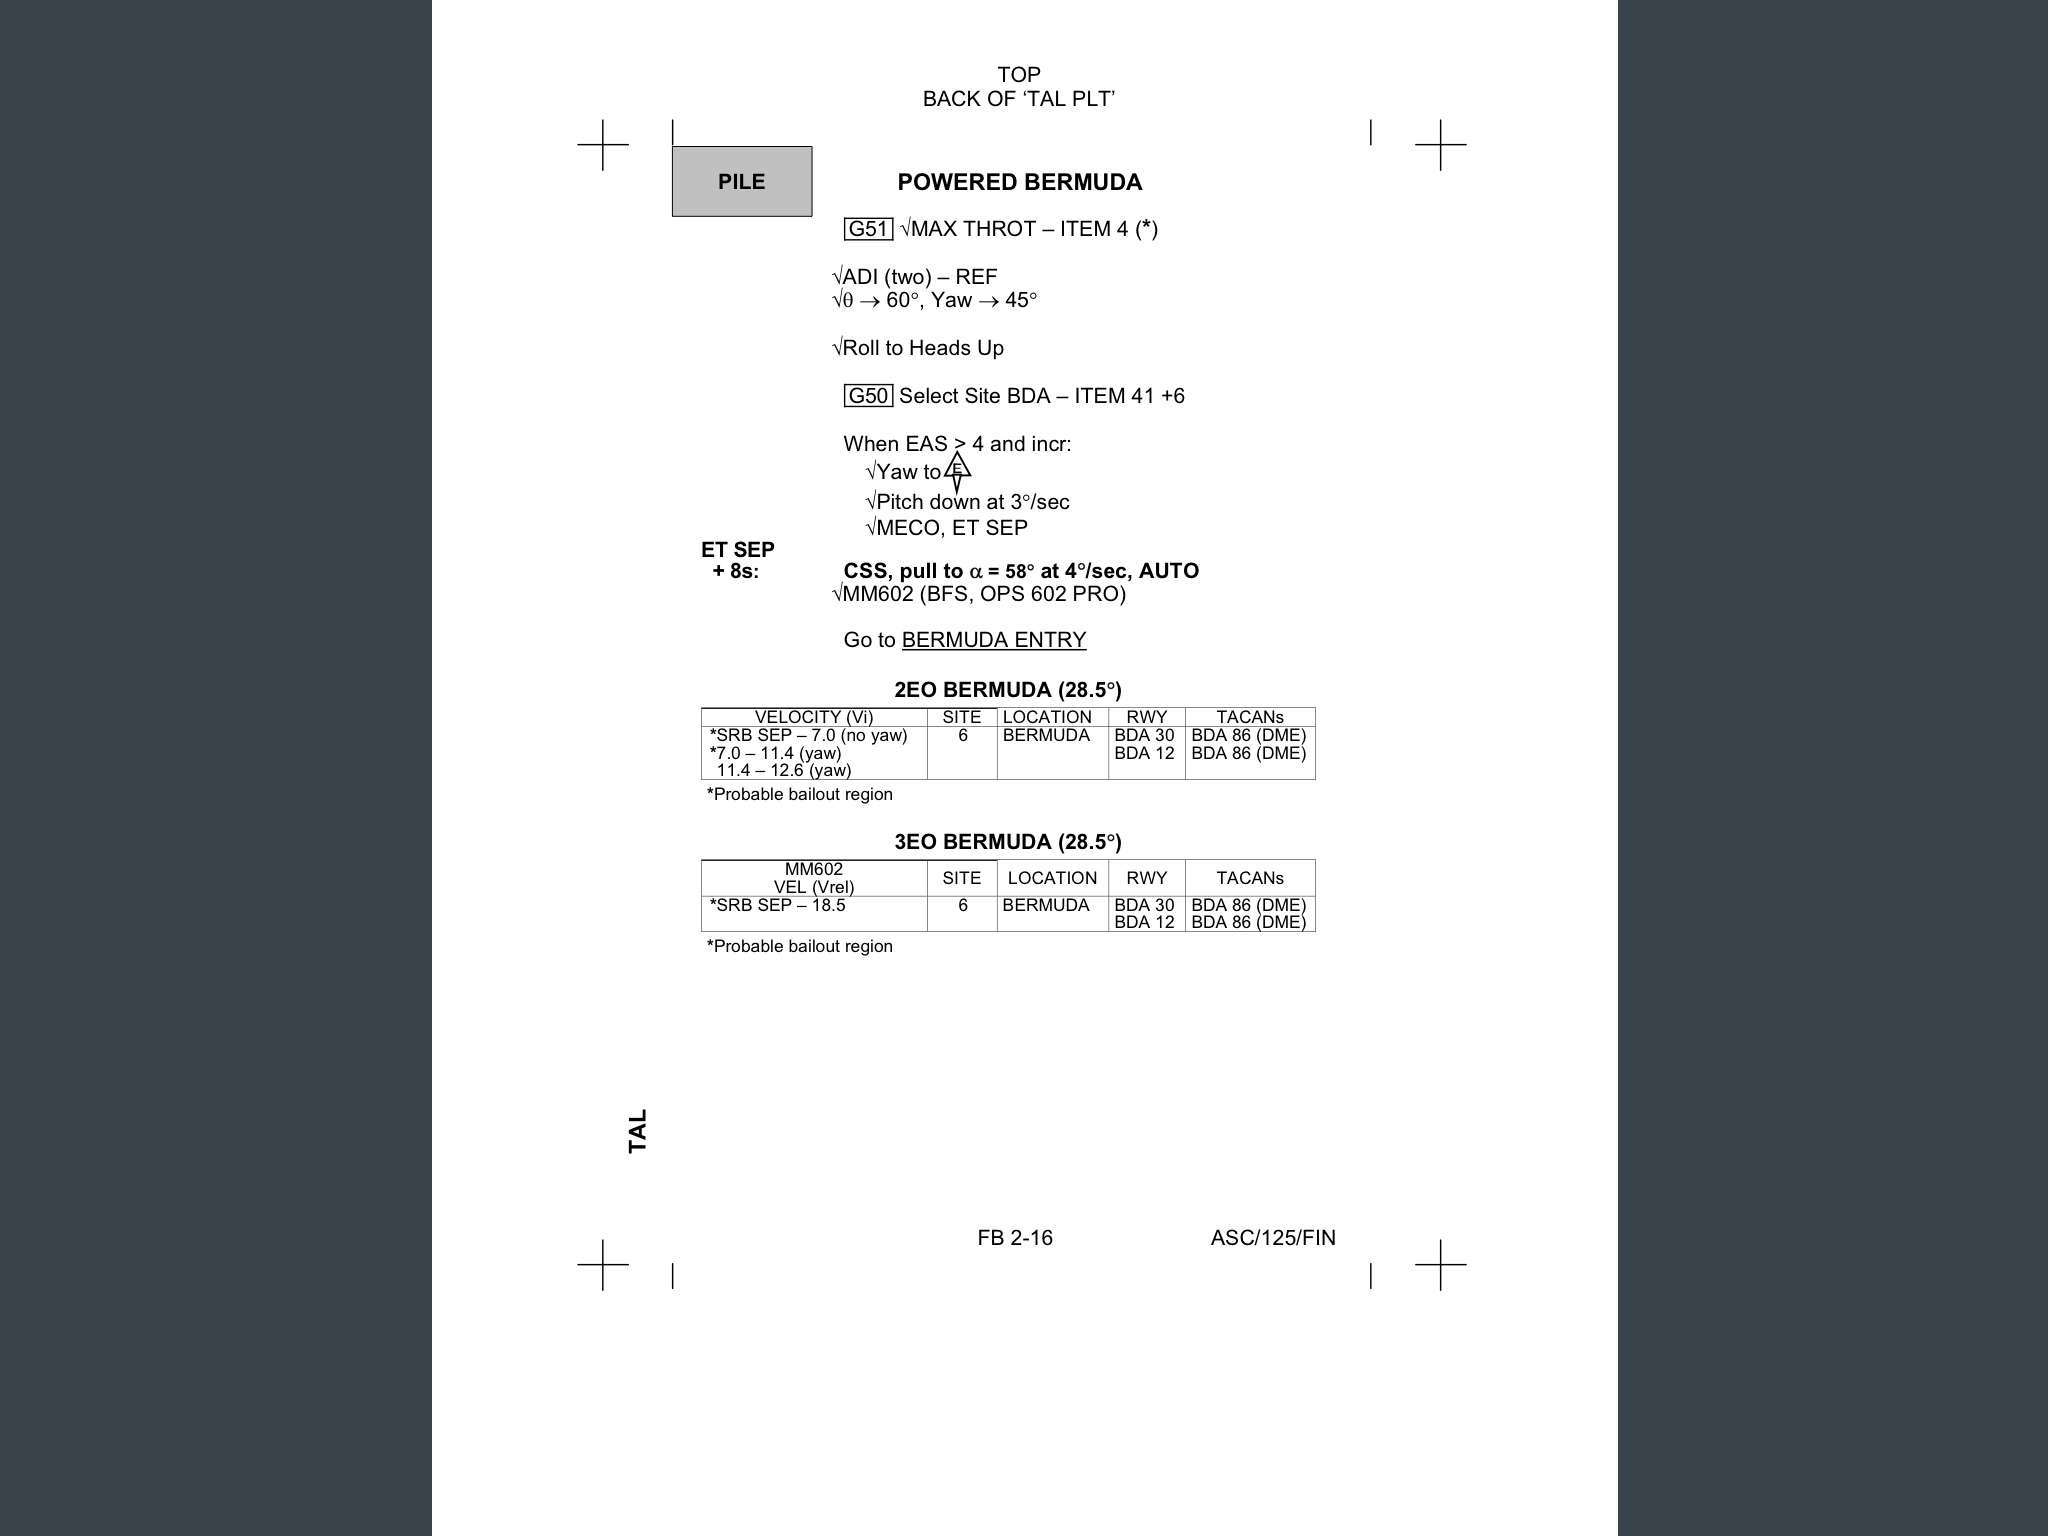
Image below is STS 125 FDF for Powered bermuda Abort, it says than below 11400ft/sec, probabilies to finish in bailout are high, so let's give us a chance at least :lol:
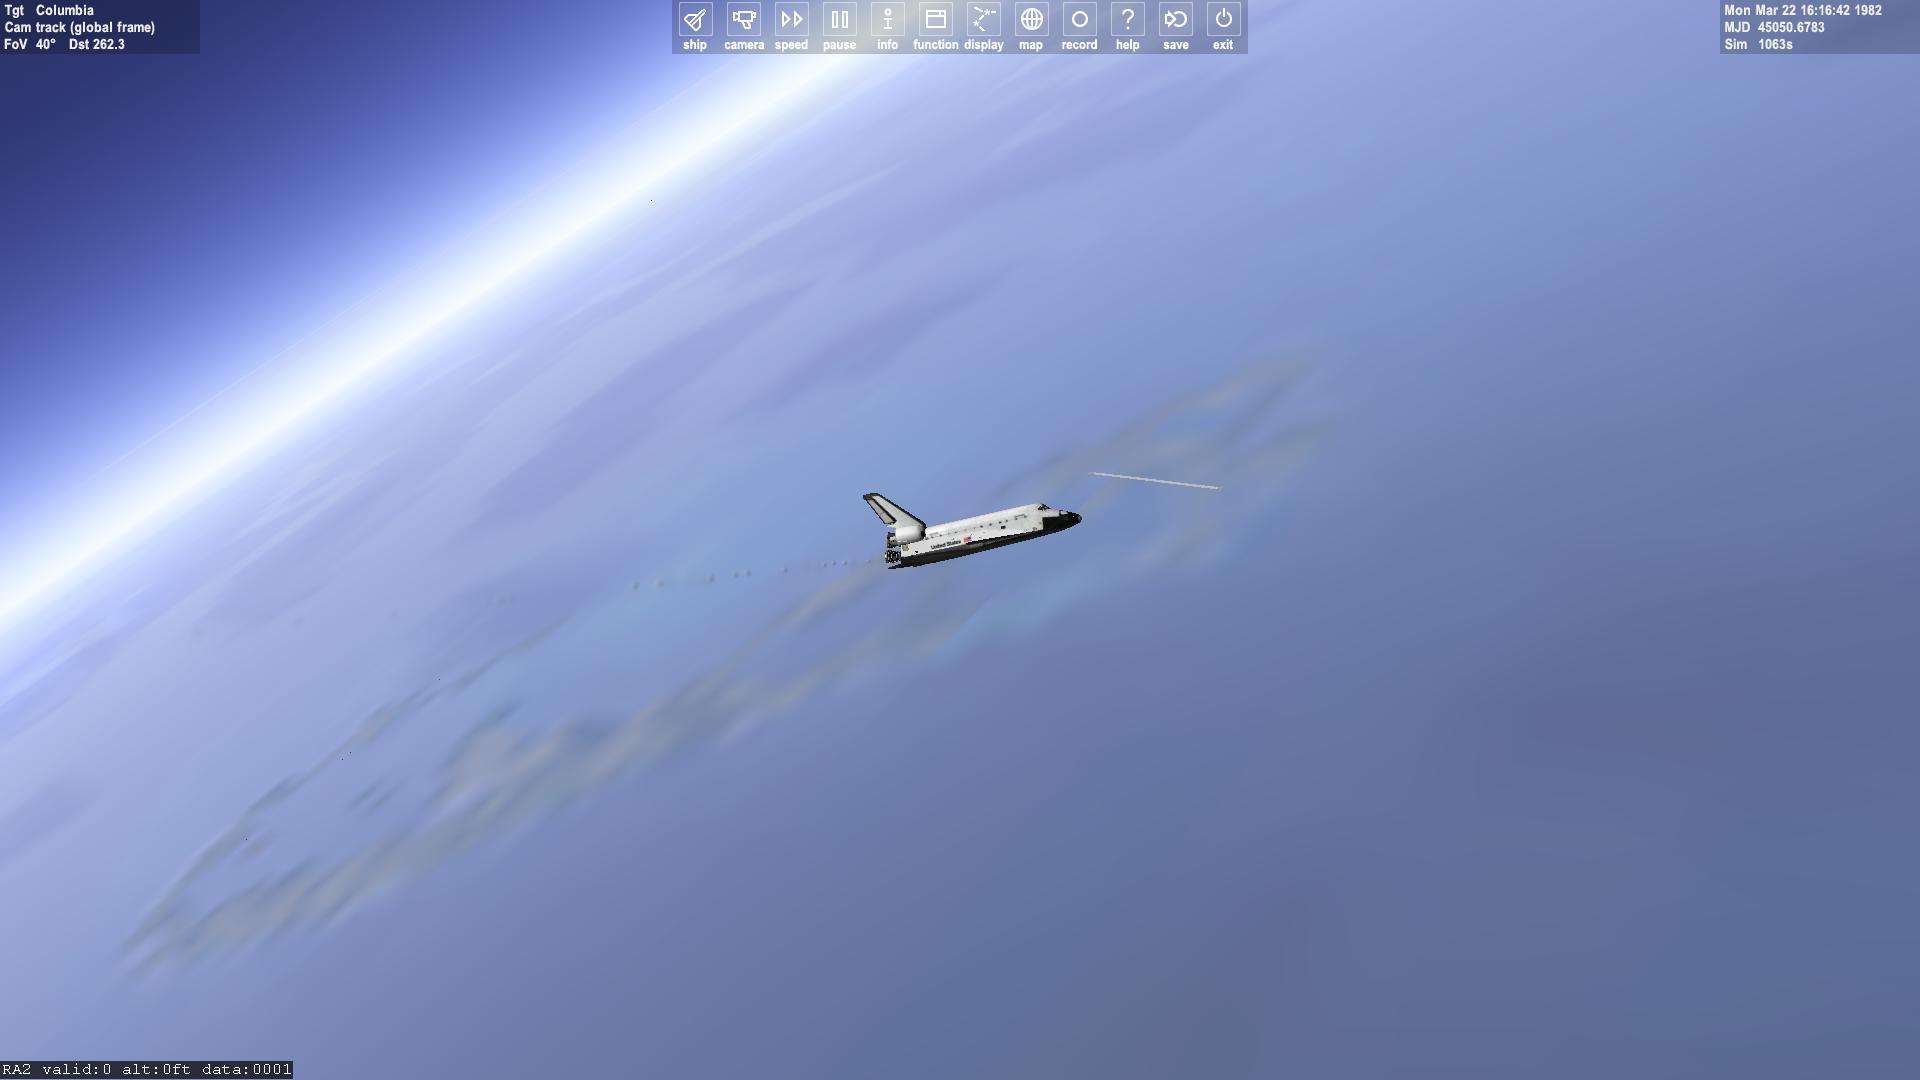
Let's go, let's cut two engine :hello:

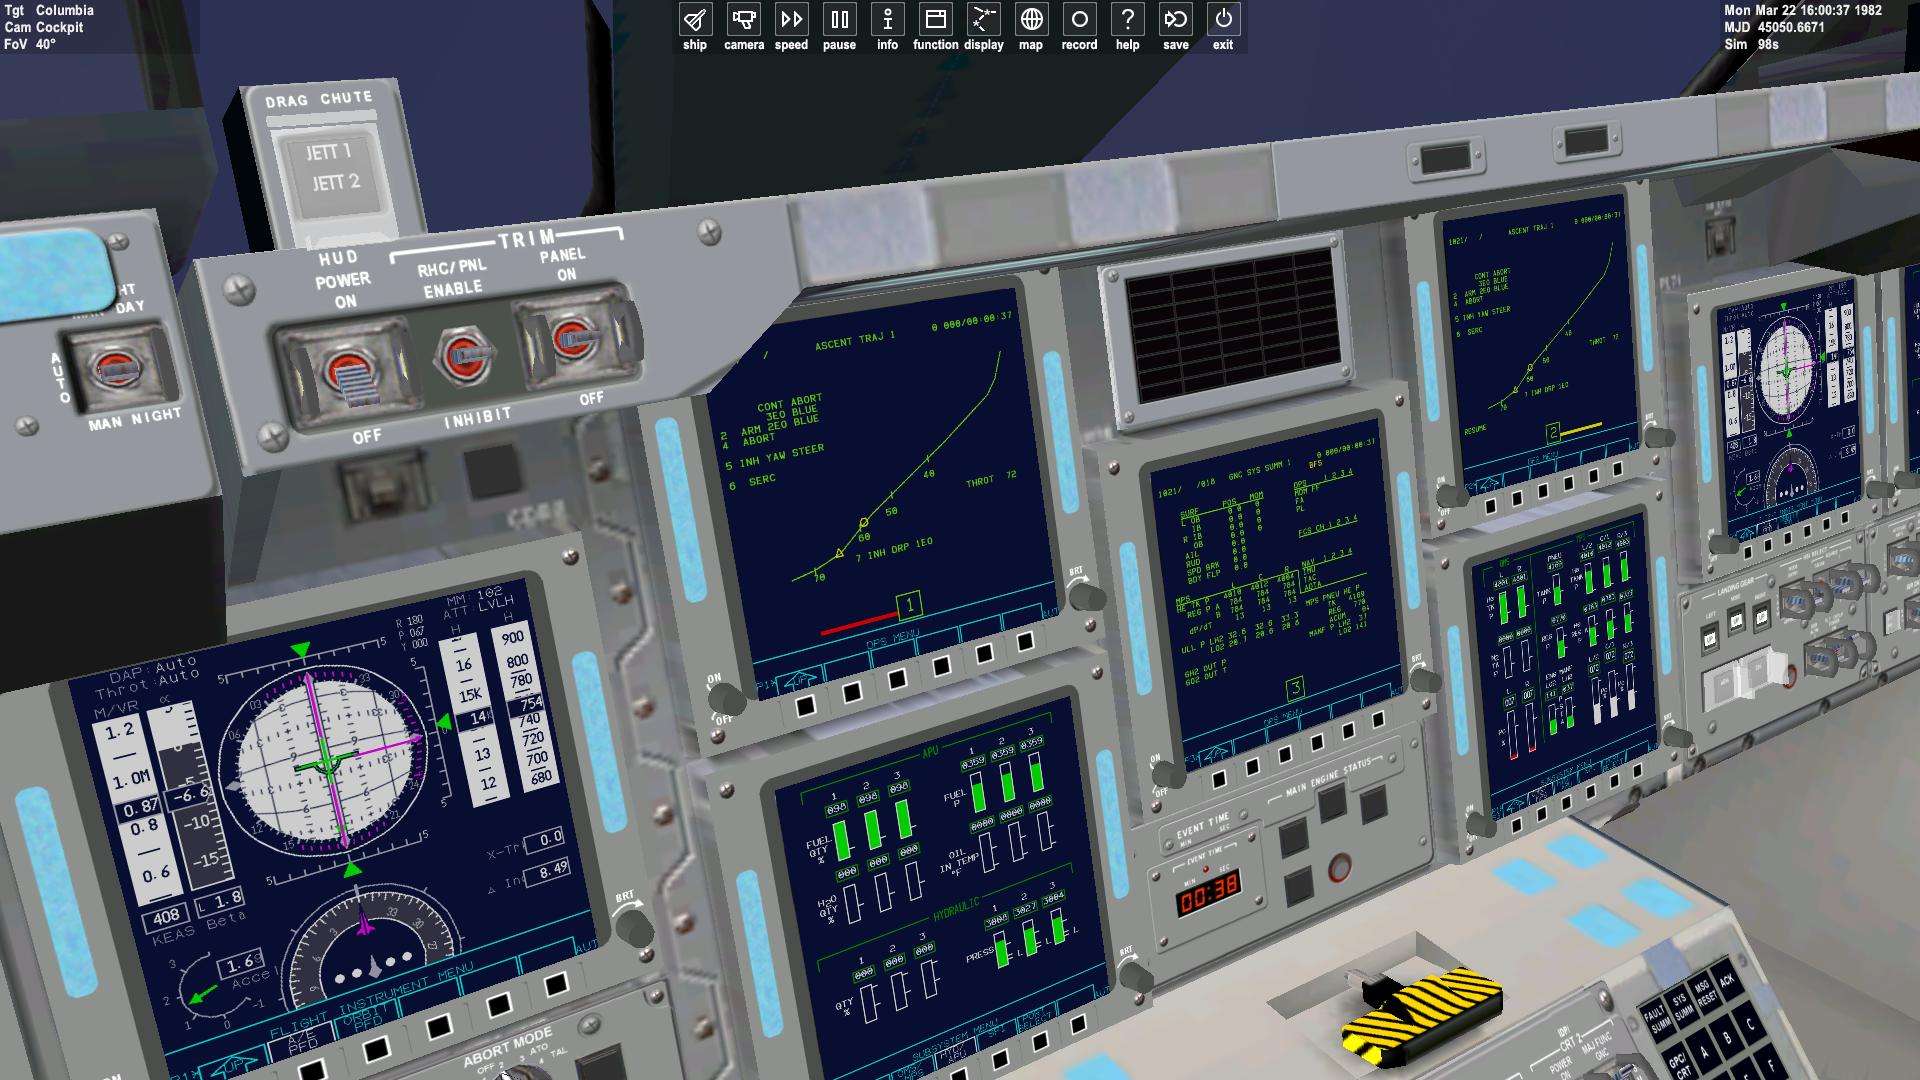
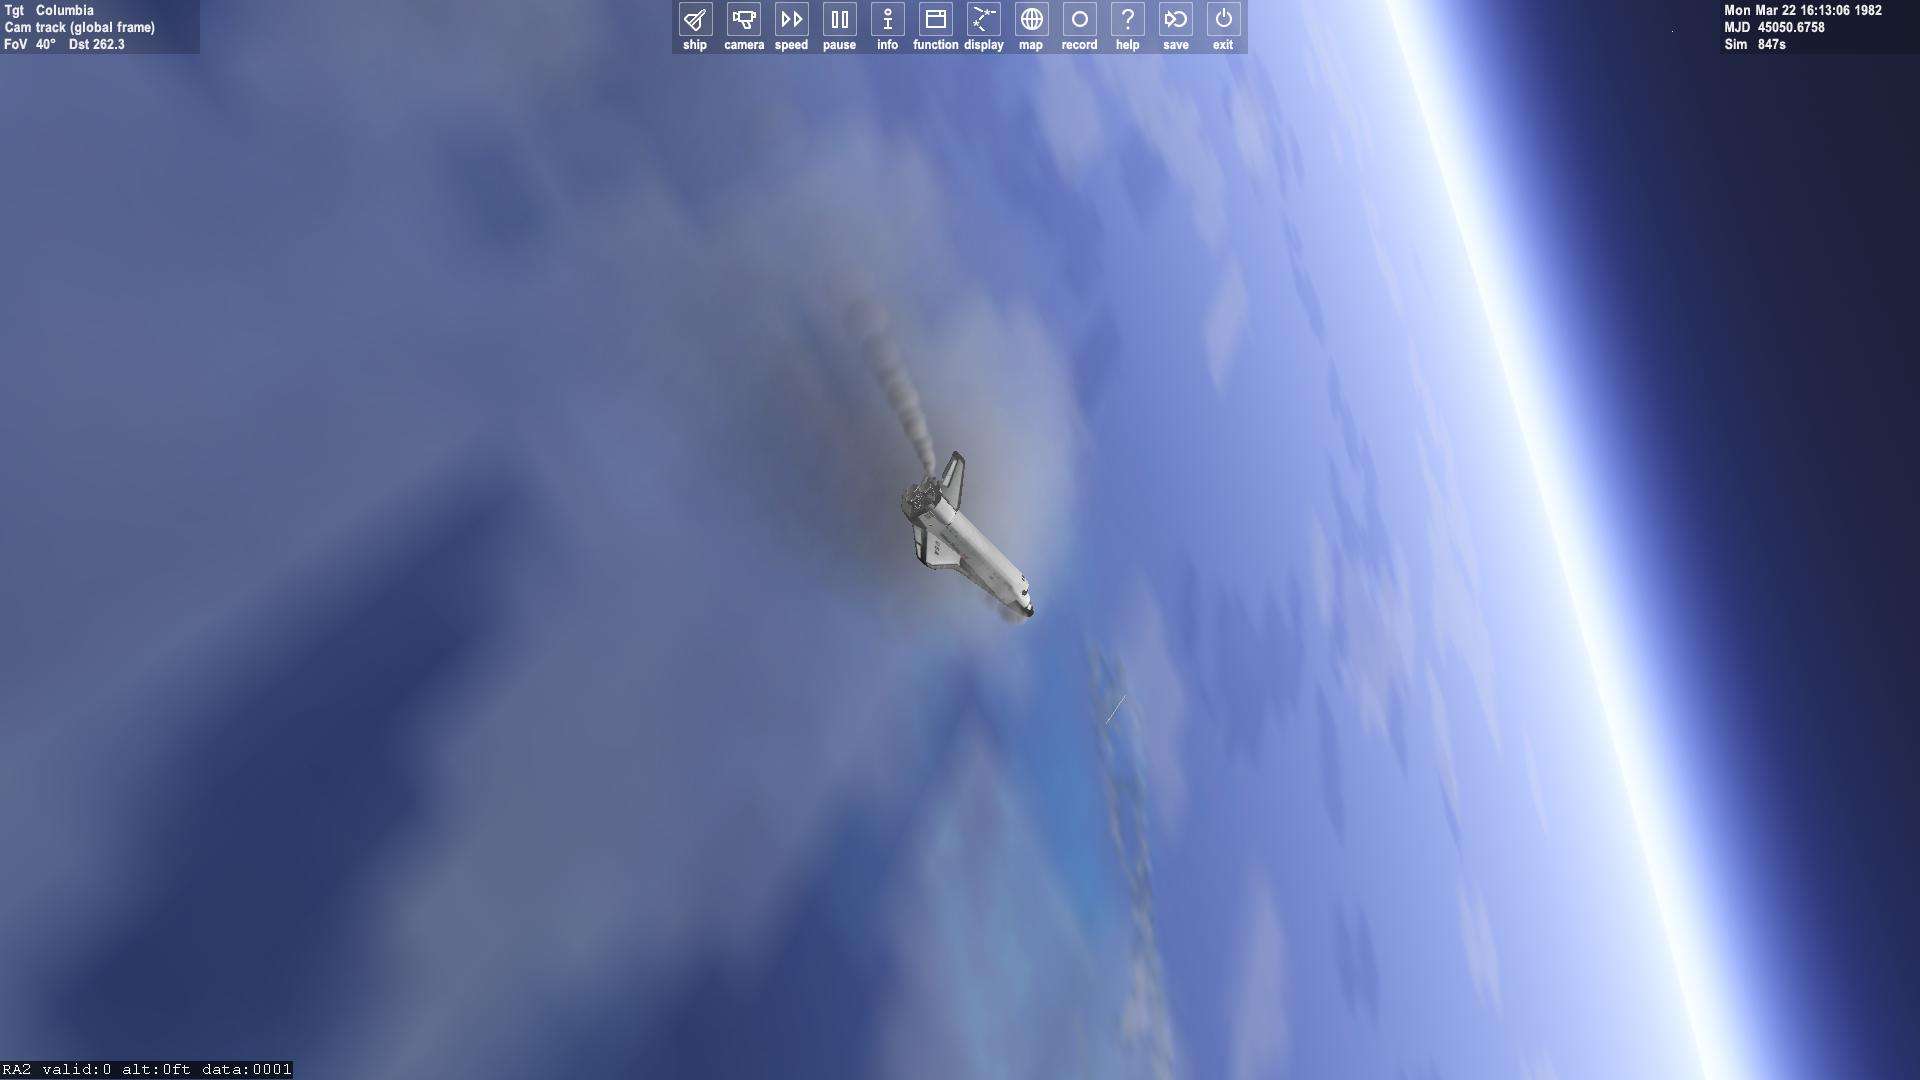
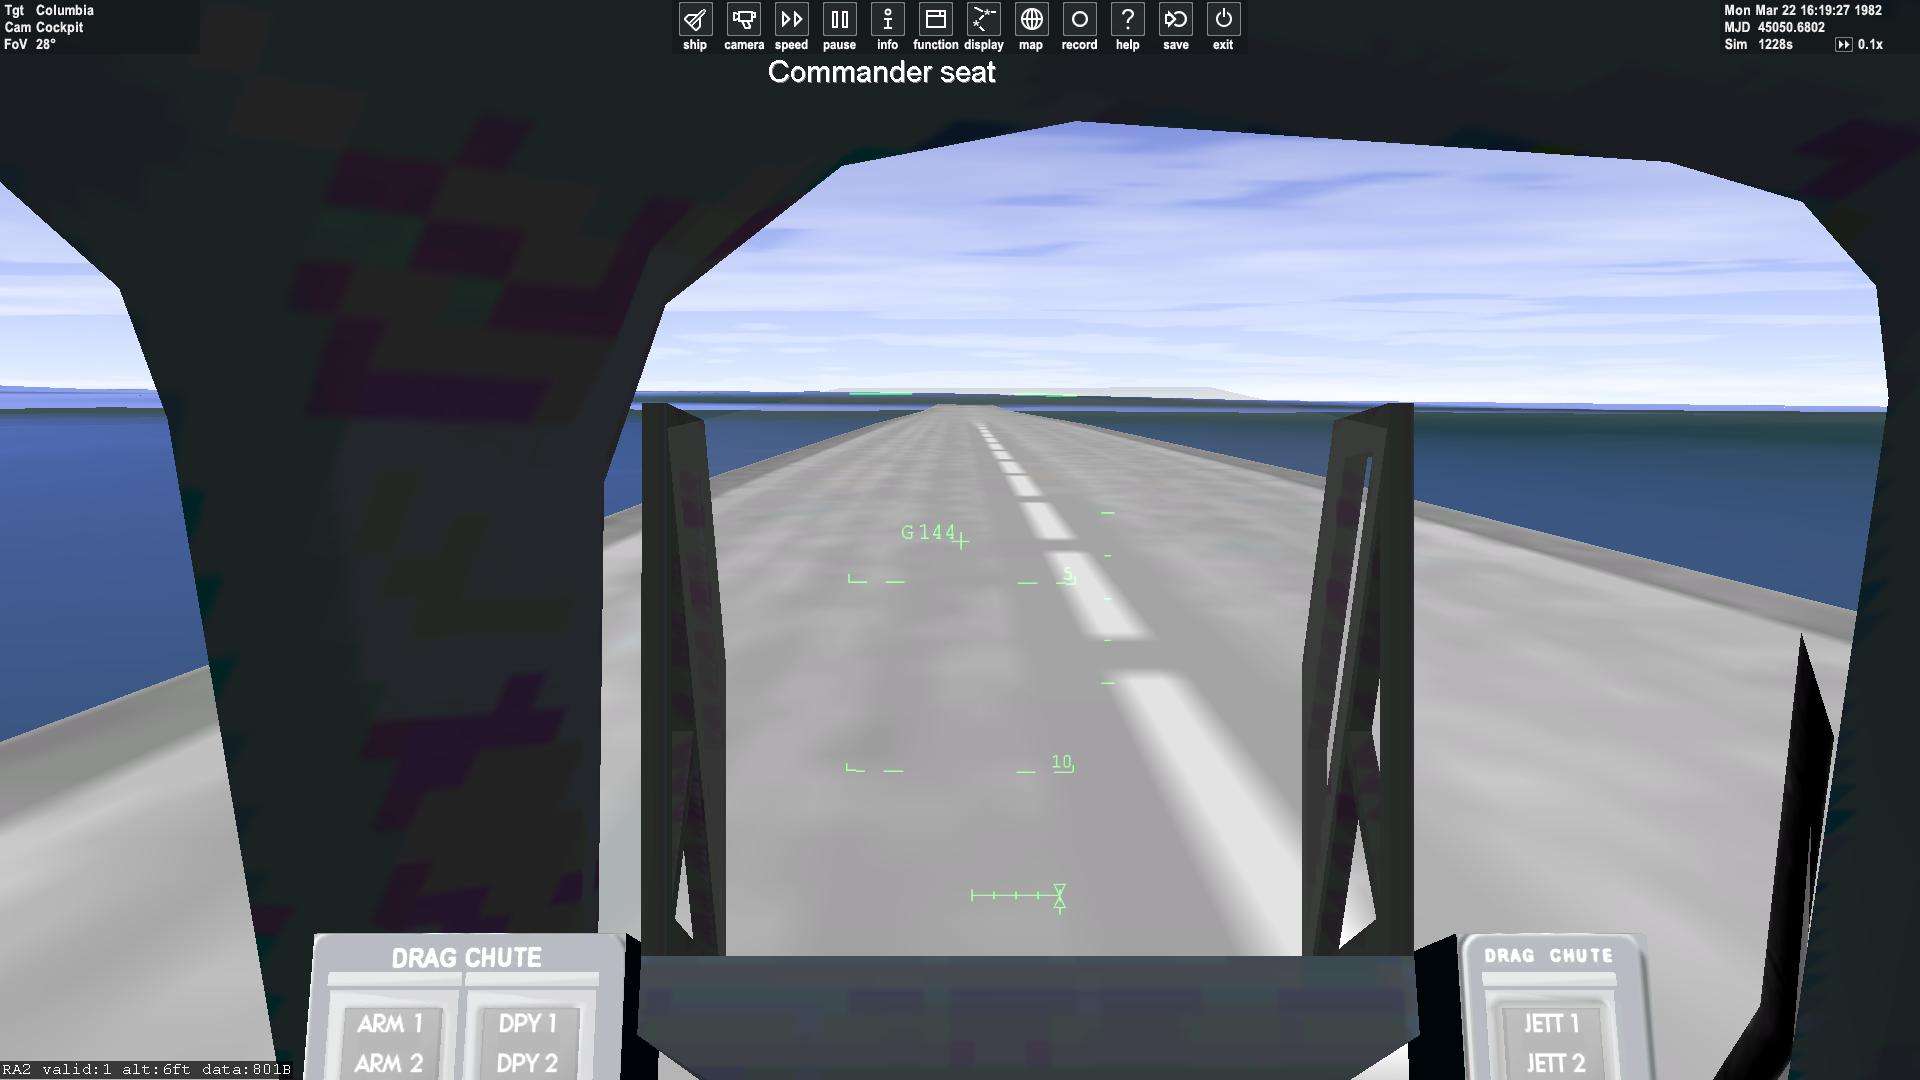
Just one engine is remaining. Vertical velocity is low.
Aim now is to pitch up around 90 ° to decrease the vertical deceleration.
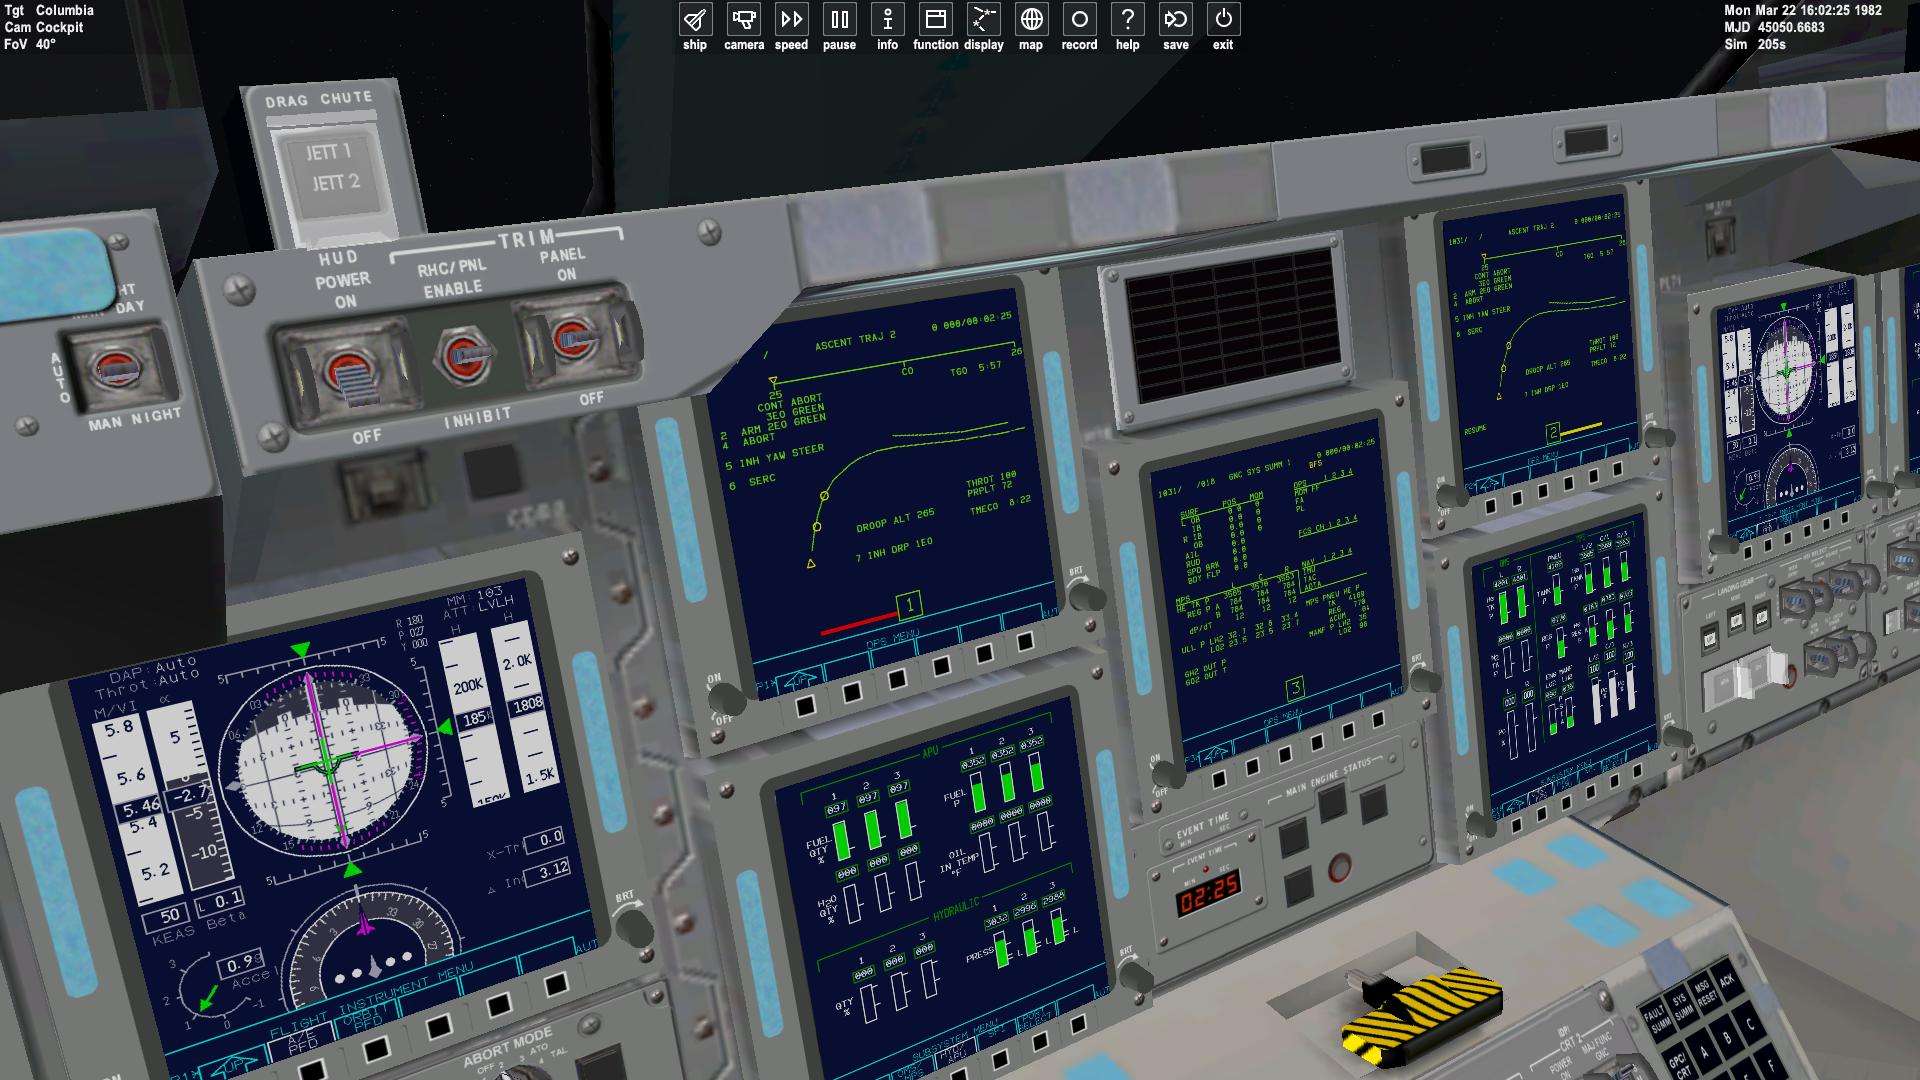
In the mean time, we gonna yaw by 45° towards Bermuda ( Control Yaw Steering) and Roll To Heads Up if it's not down ( I did it just before the failure, very hard to roll with SERC)
We can notice also that Single Engine Roll Control is activated ( SERC On). It allows the RCS to wake up and help for attitude control.
Everything's gonna happen fast now.
We are quickly going down into atmosphere nightmare.
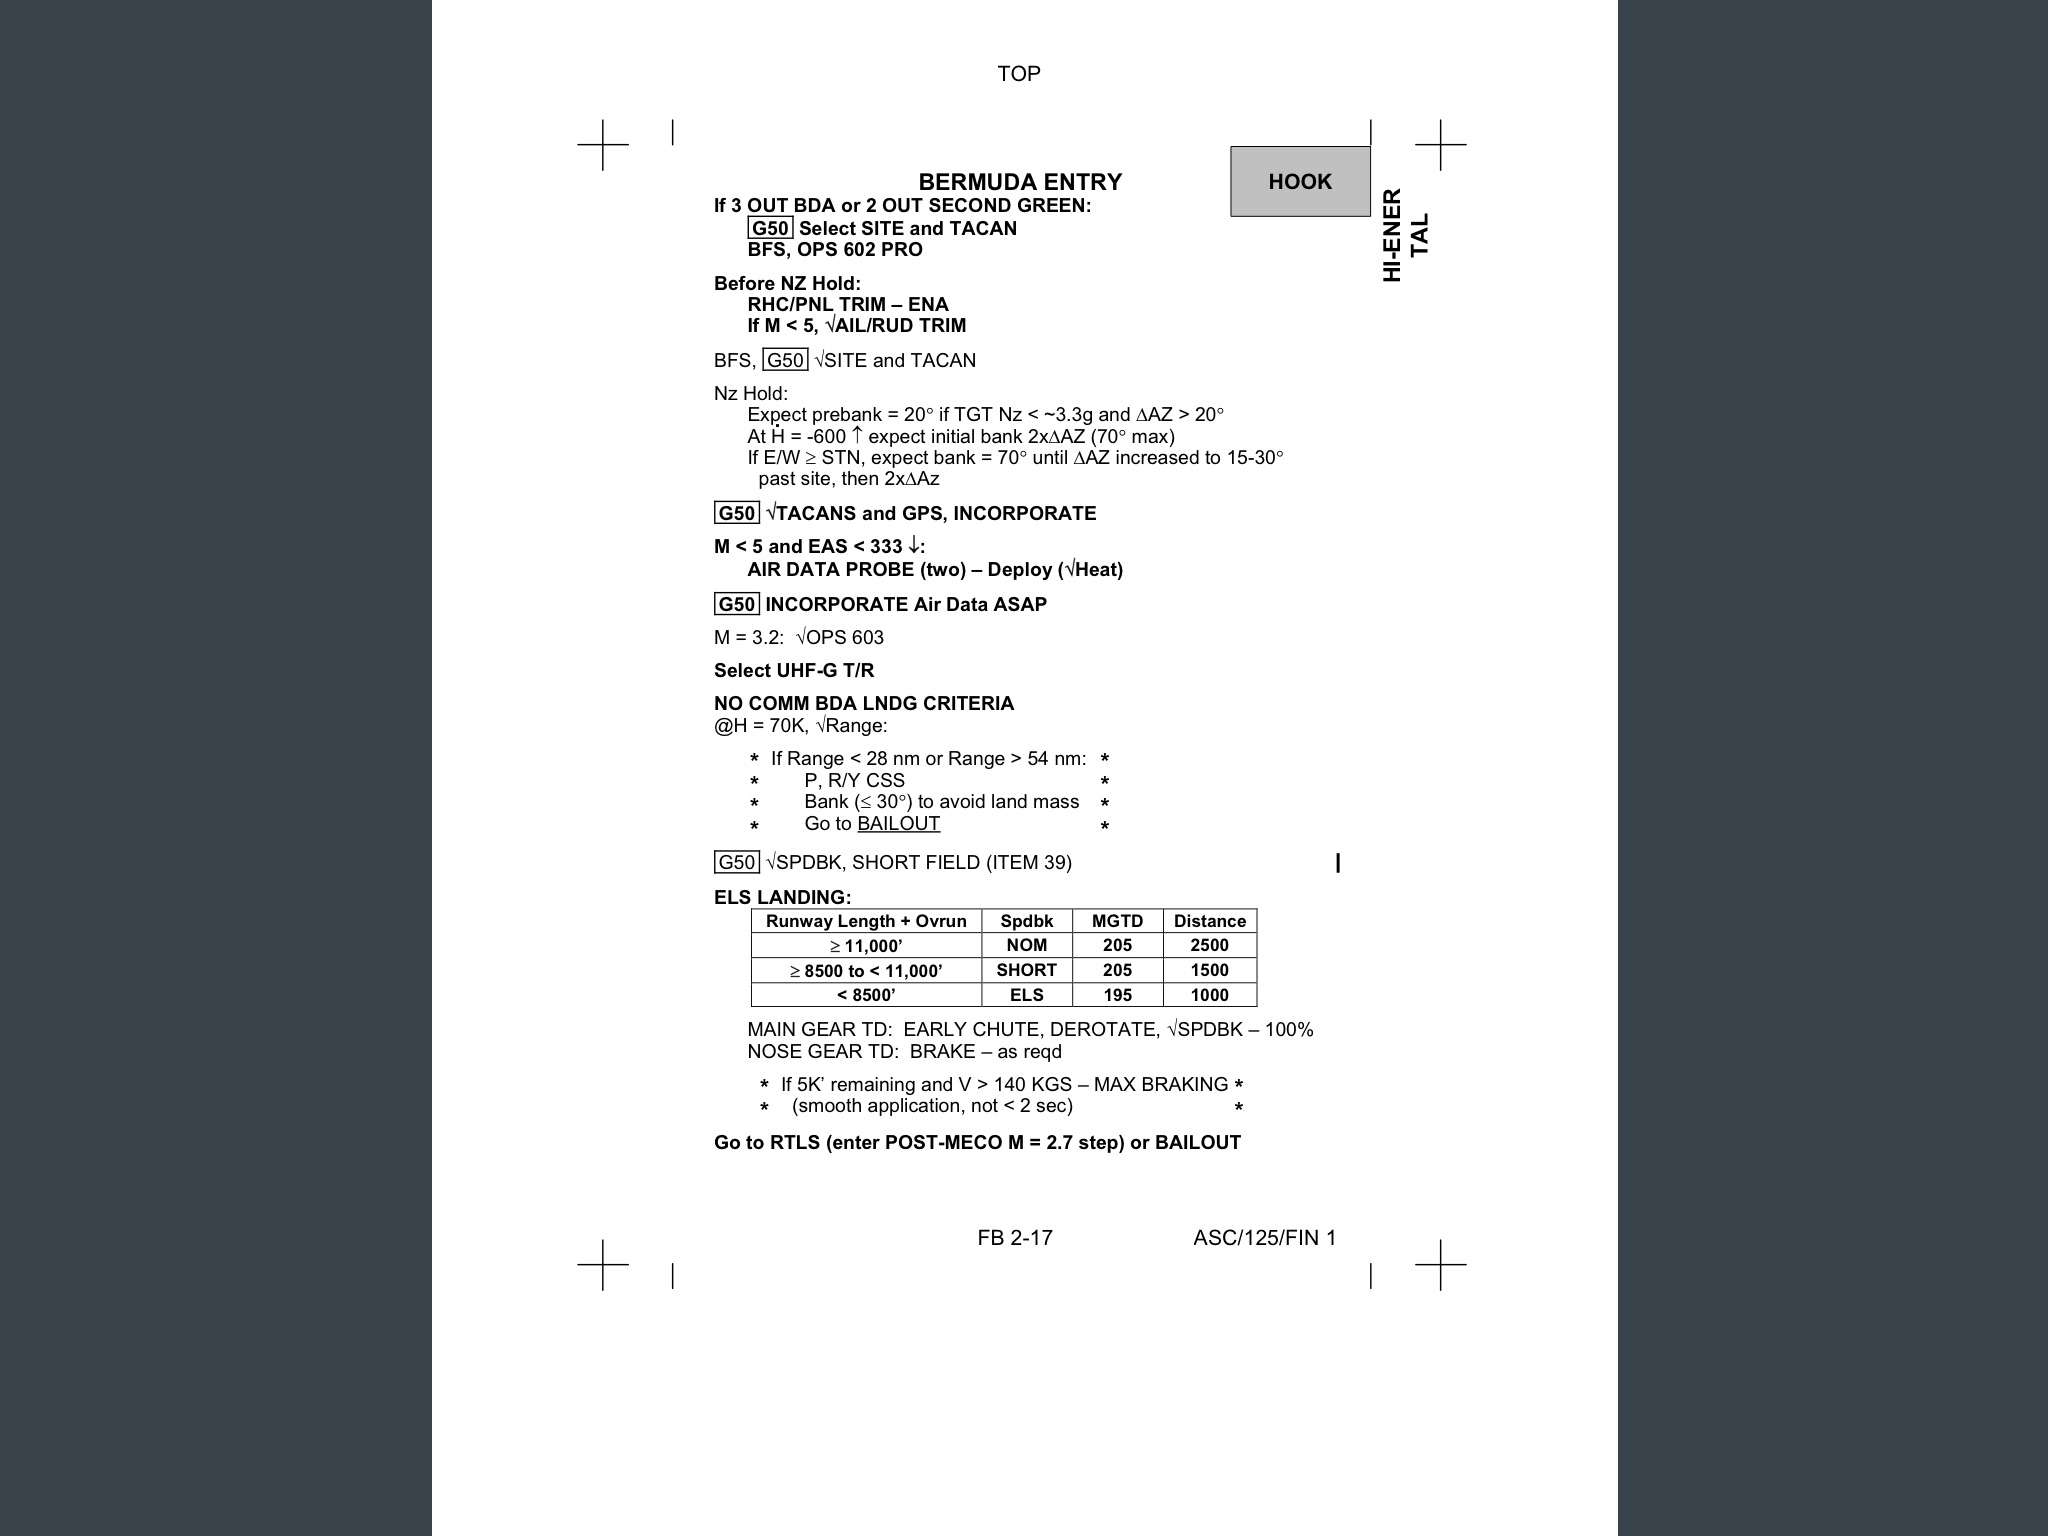
When KEAS increase above 4 kts, we have to start ET fast separation before we reach high density ( which would lead to....explosion of ET)
Normally, for a 2 EO Green, it's done by having a 3°/s pitch down and fast ET separation ( around 5 sec)
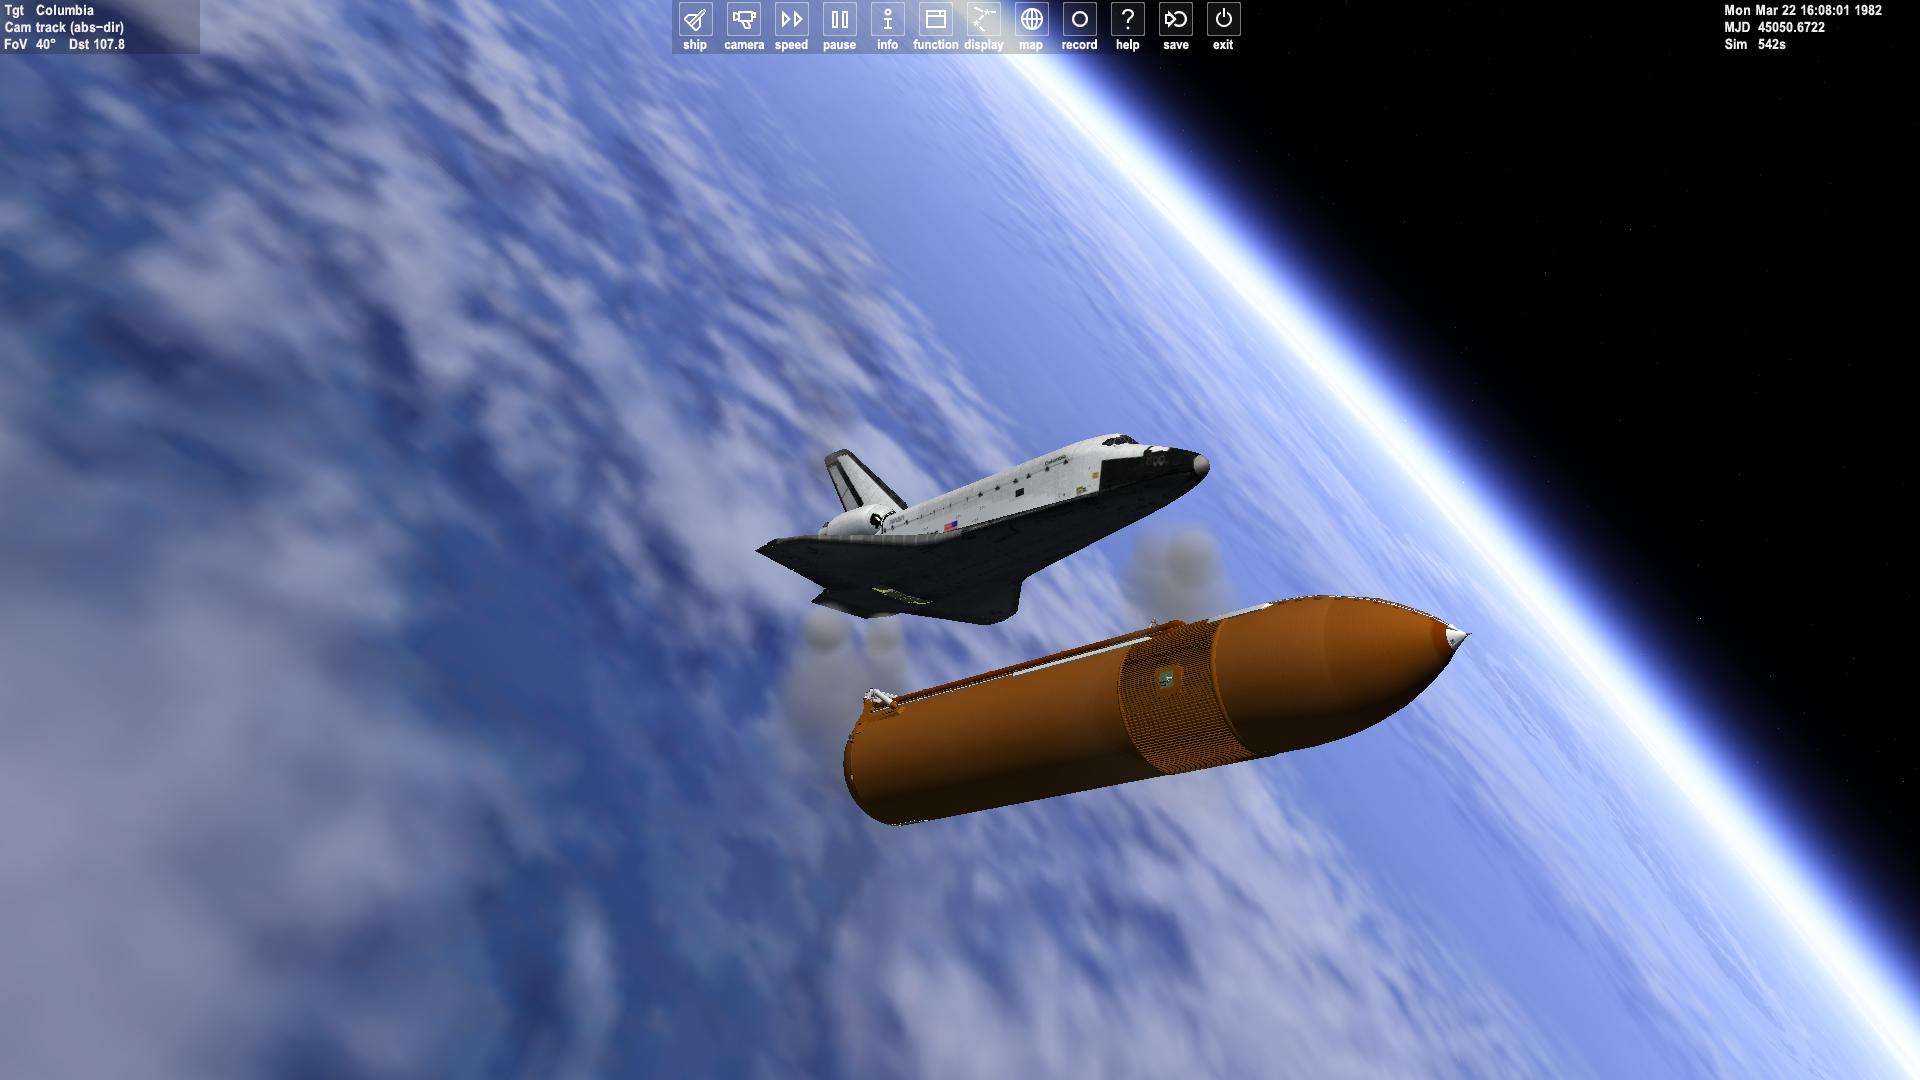
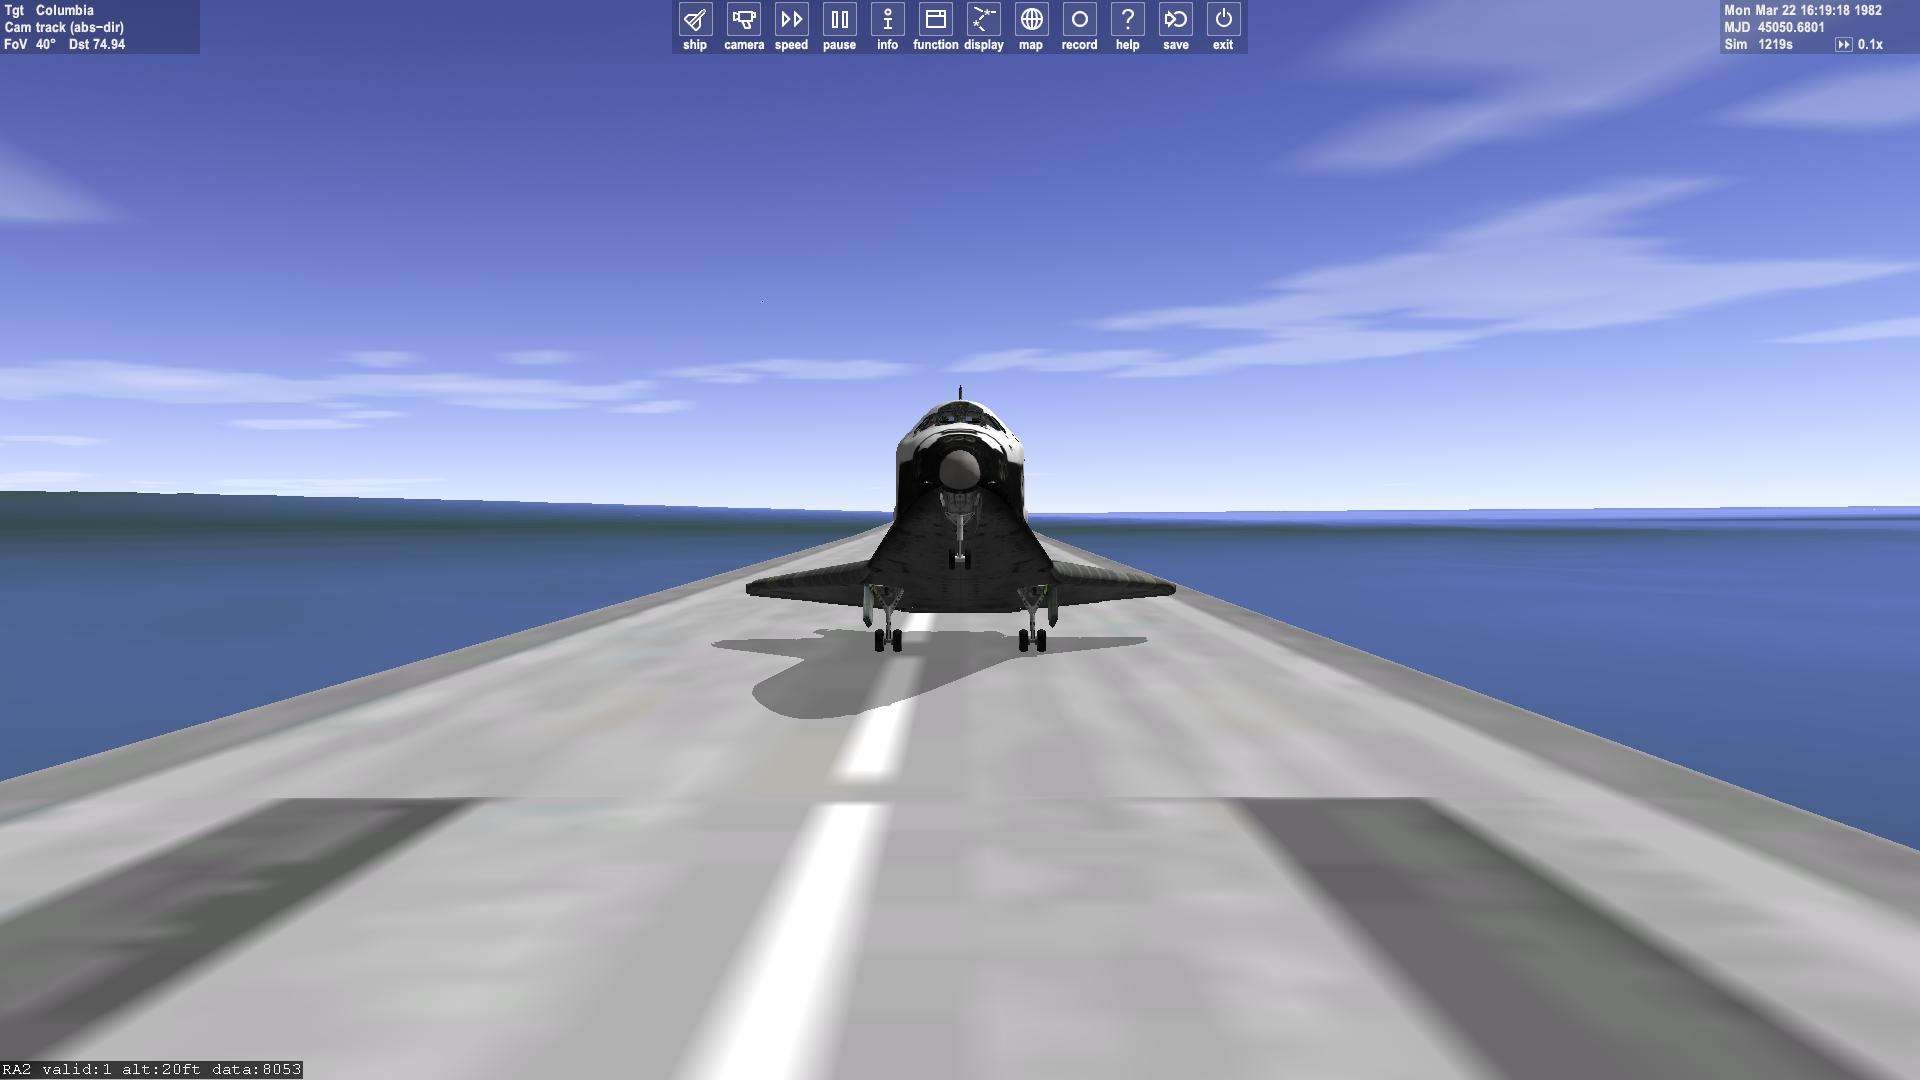
It's done, good.
Now we are diving at 2000ft/sec like a rocket into atmosphere.
Entry gonna be brutal and quick, we gonna have to handle carefully the shuttle to stay within max operationnal limits

First phase , Alpha recovery, we maintain a high angle of attack and a 20° bank roll towards Bermuda ( Delta azimuth is above 20°, quite offset)
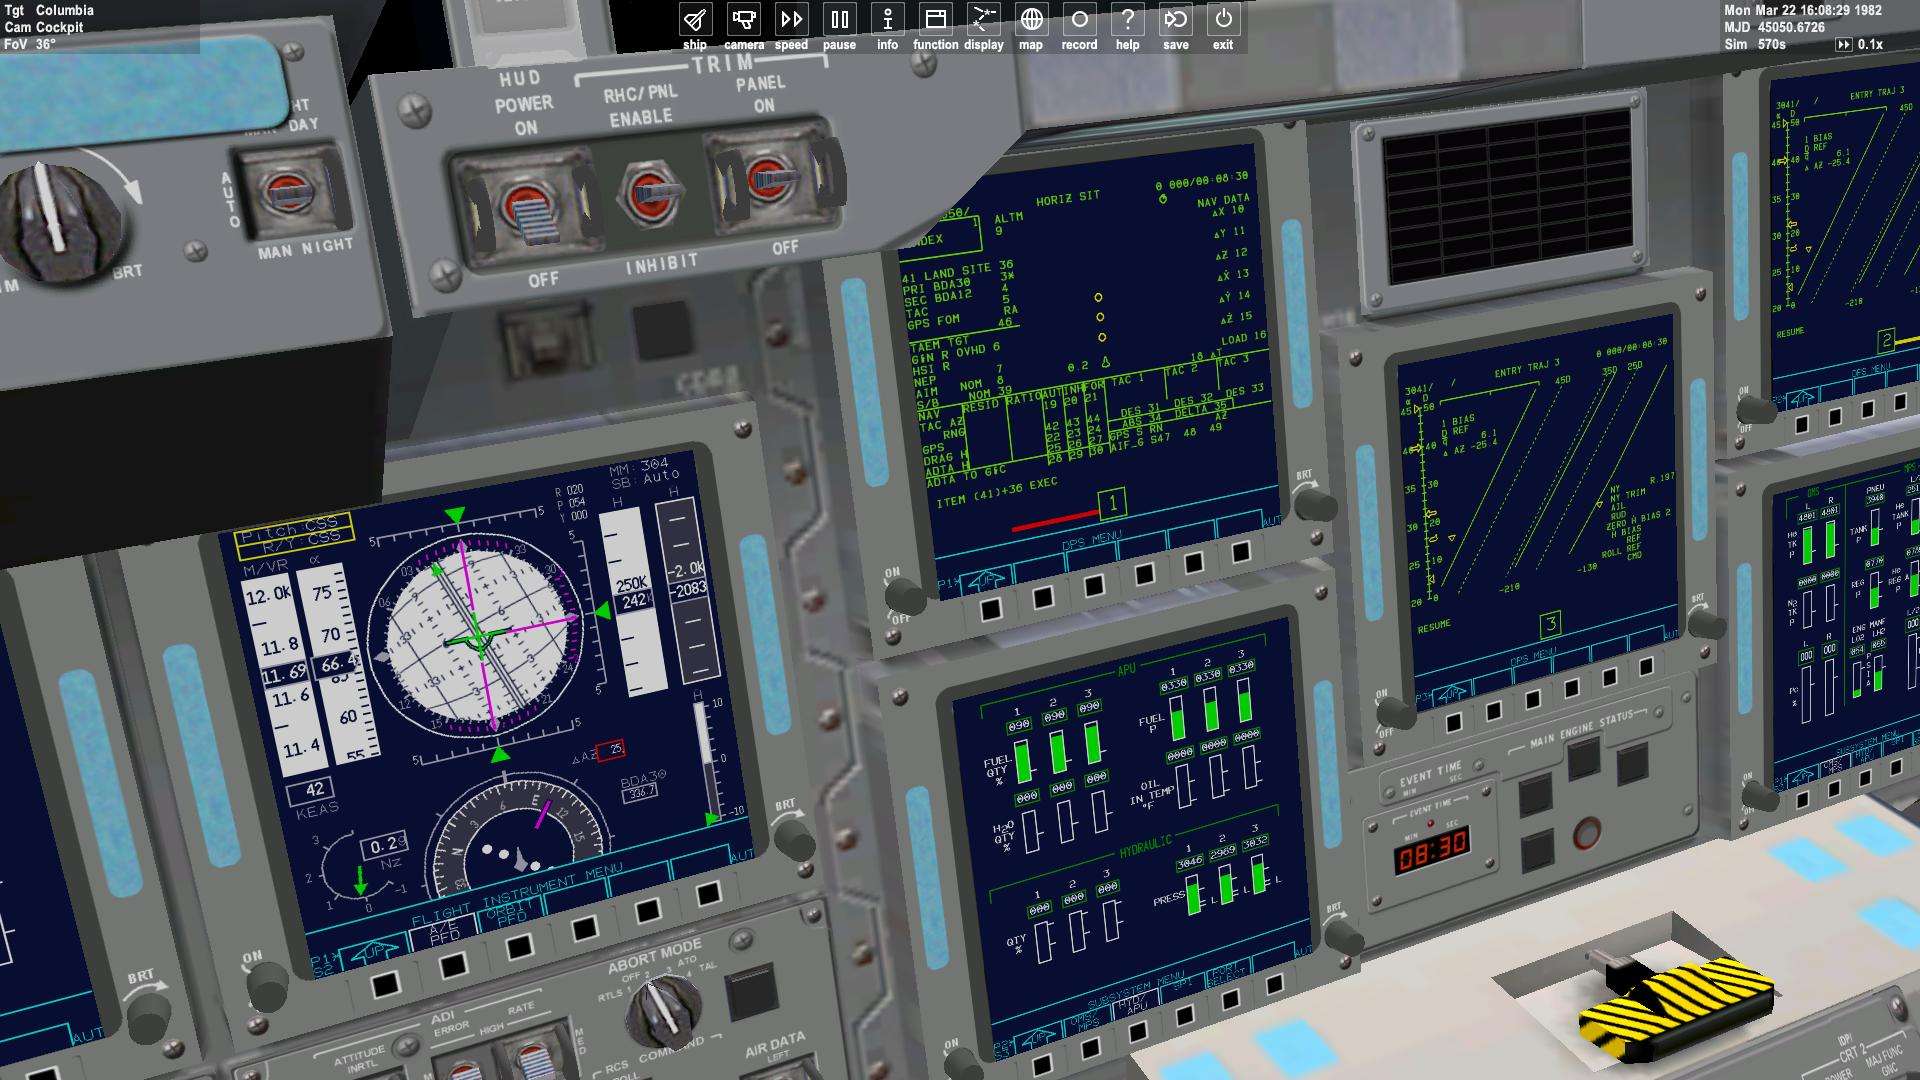
2nd phase, Nz hold. We gonna have to hold a constant charge factor to stay within limitations.
We will have to calculate that manually, hopefully, NASA is here to help us.
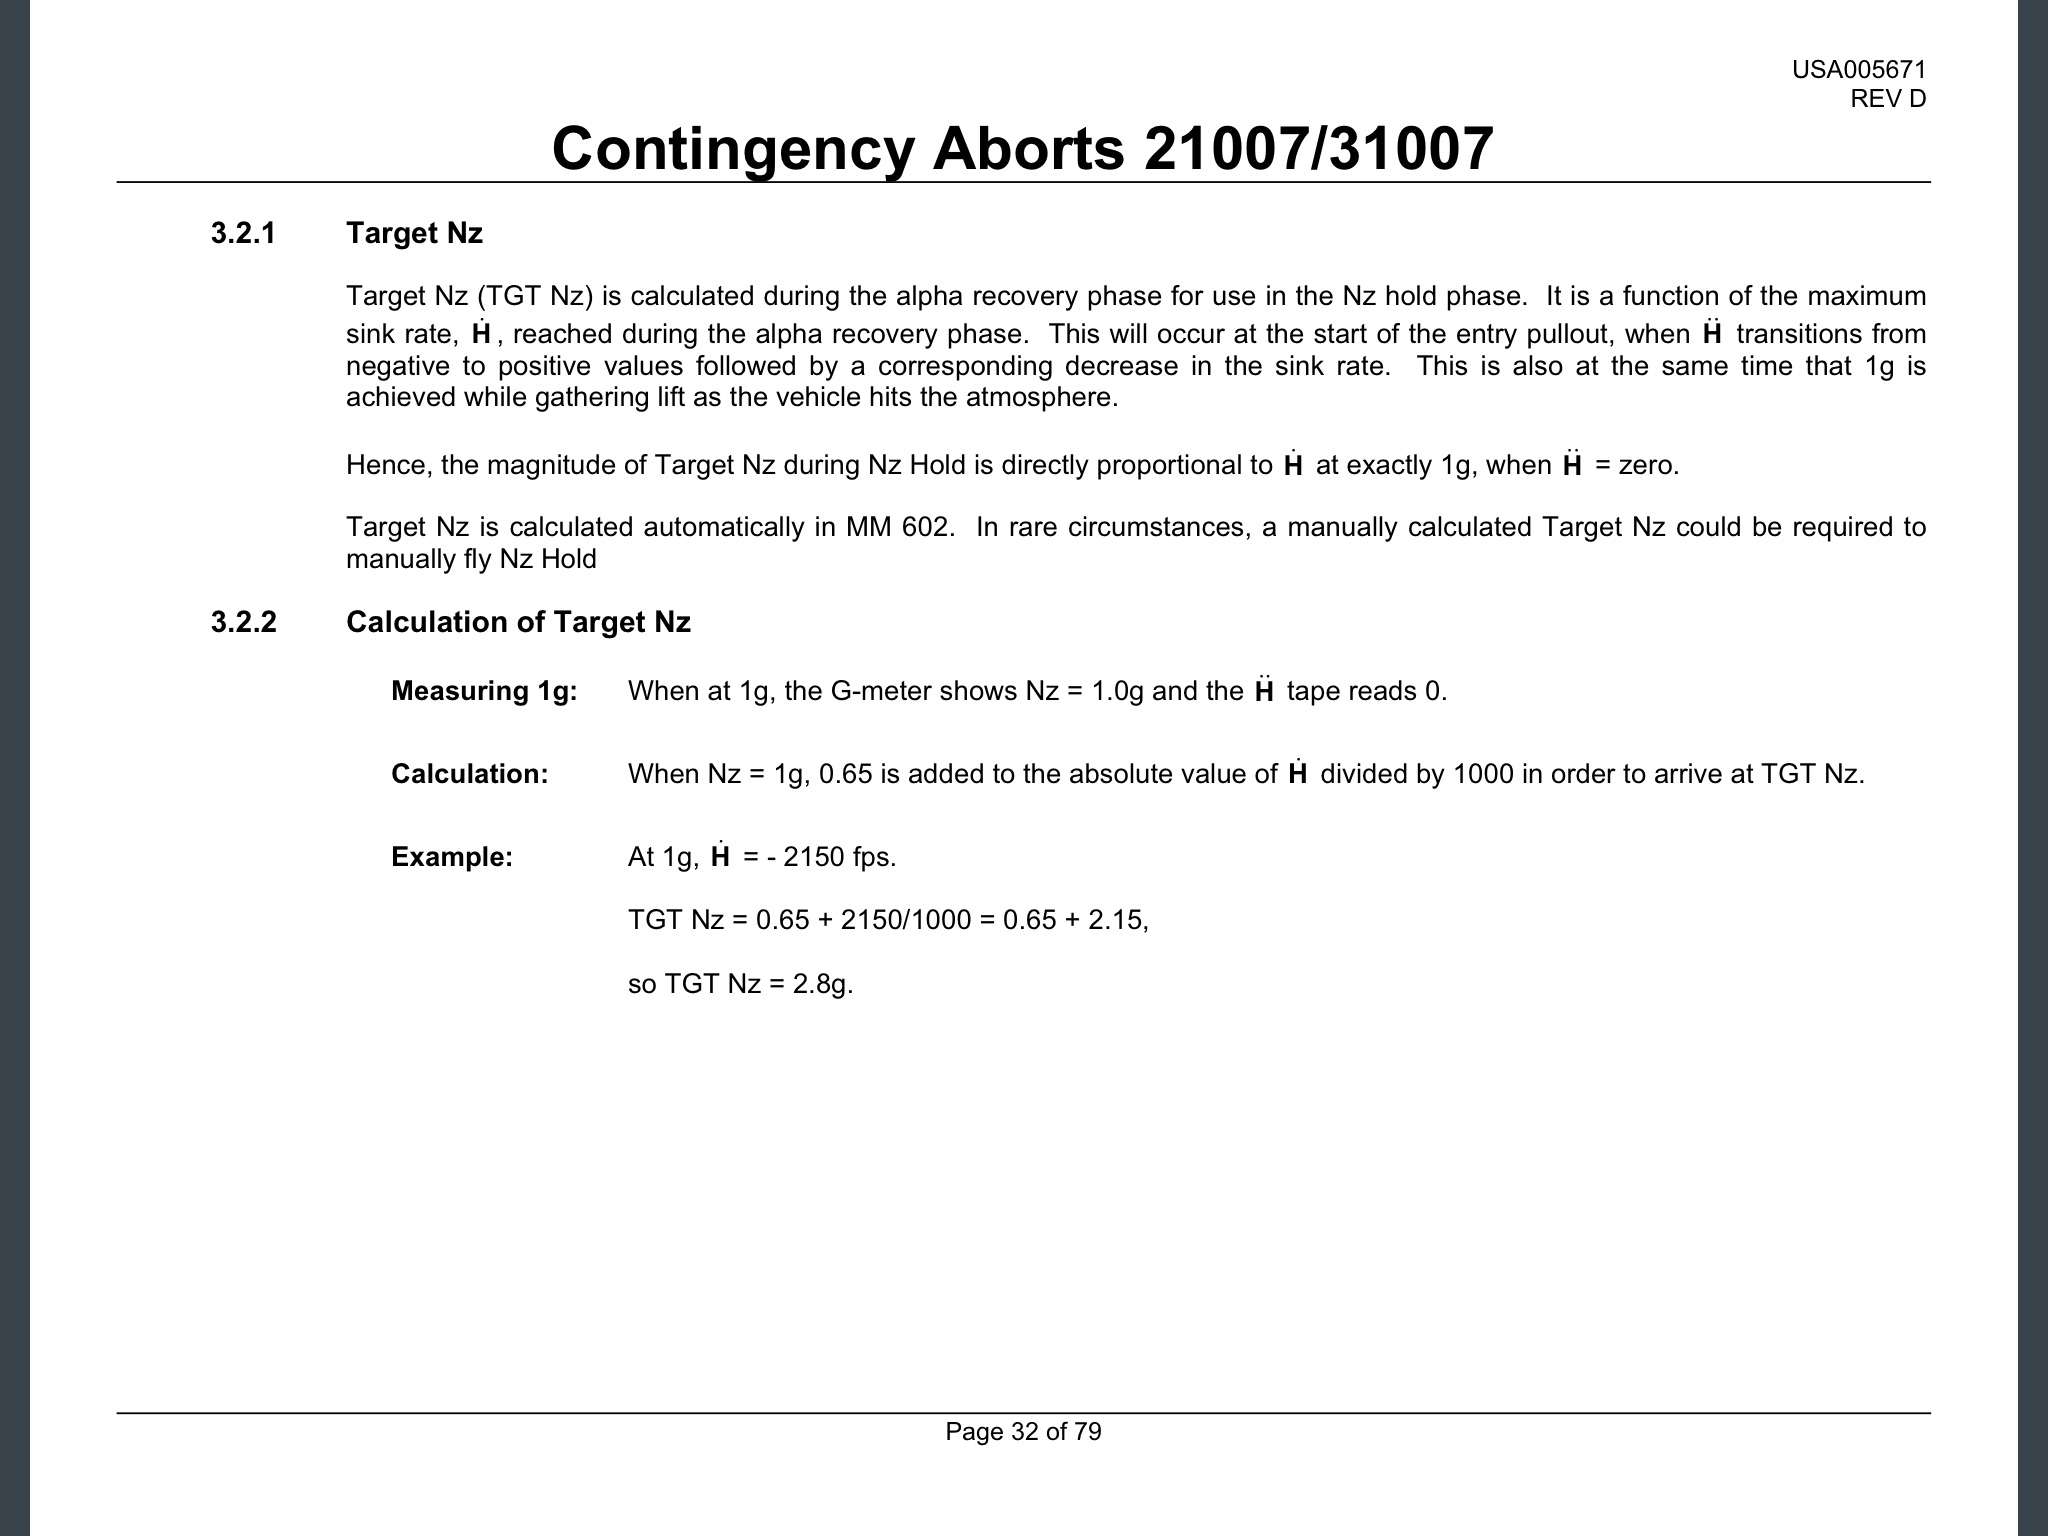
At 1G, we take the vertical speed, we divide it by 1000 and add 0,65.
Gotcha, we will have to hold Nz=3,1G
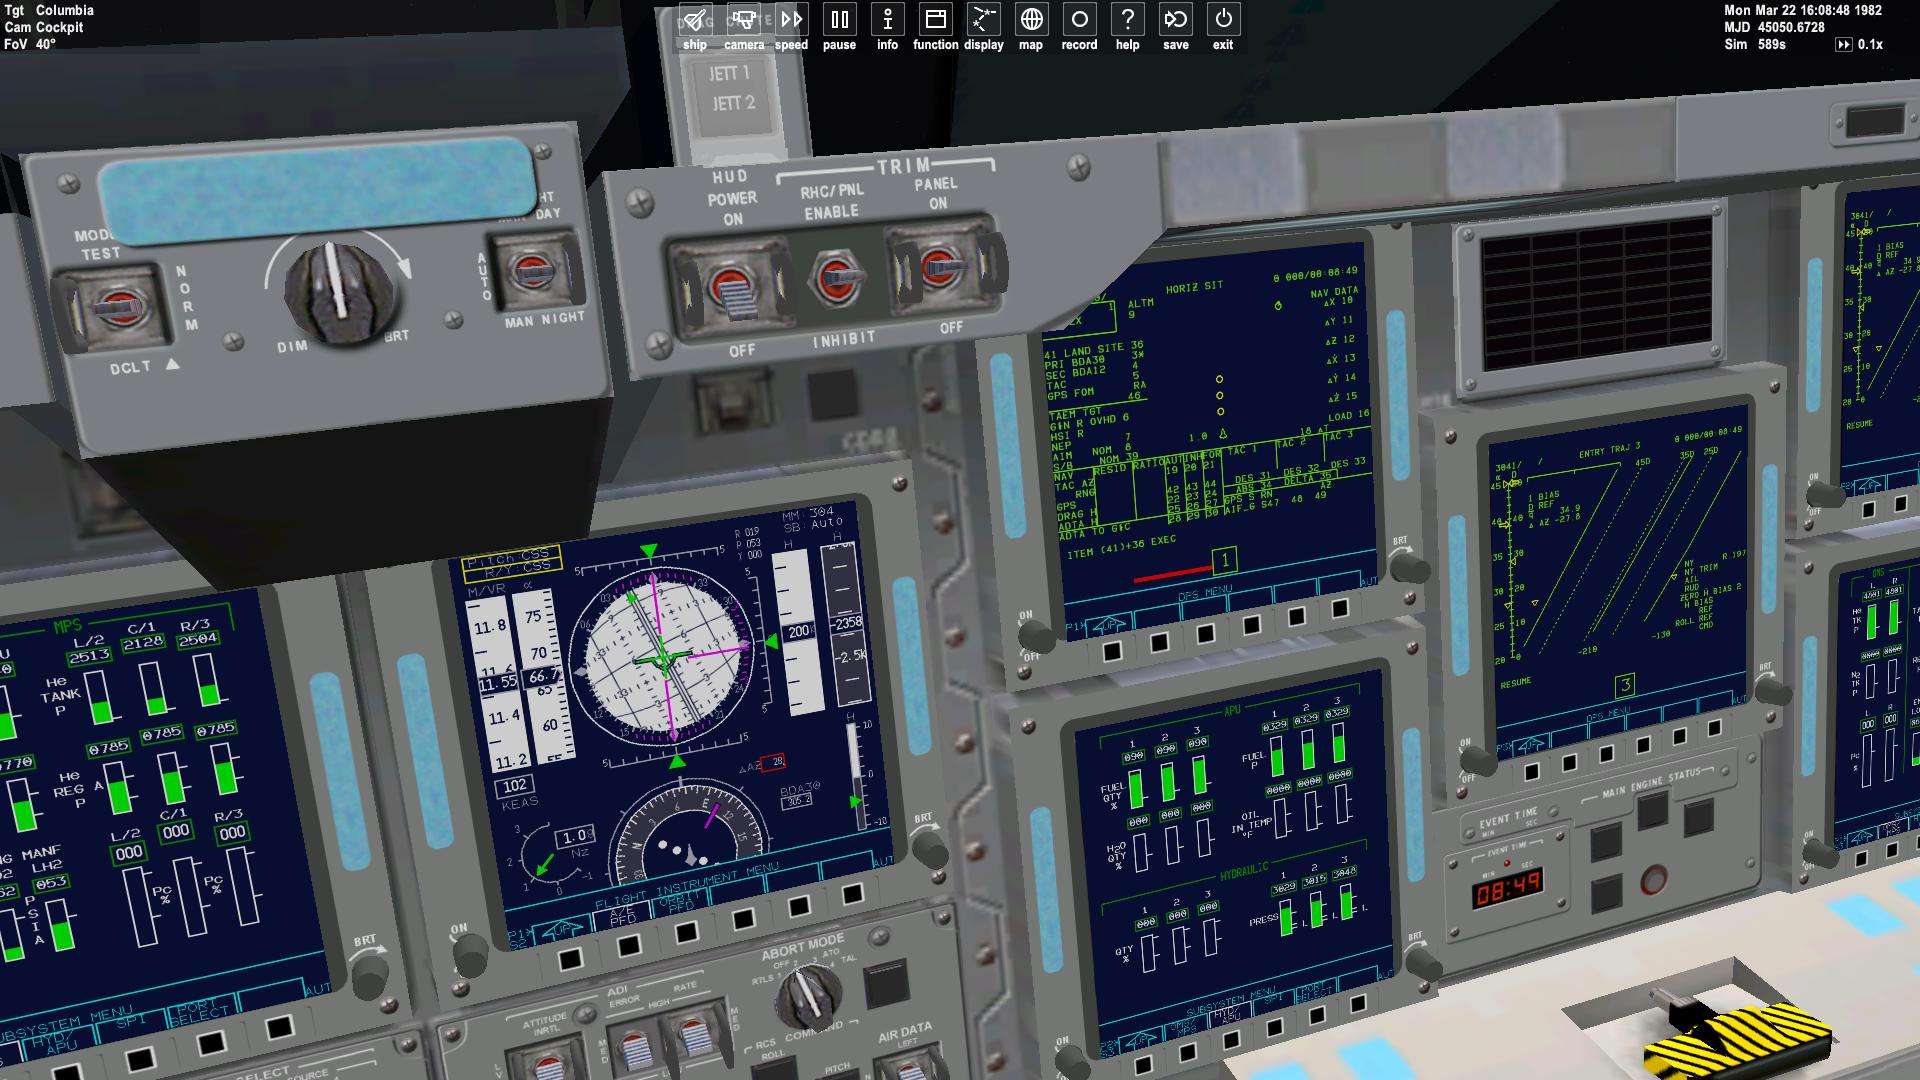
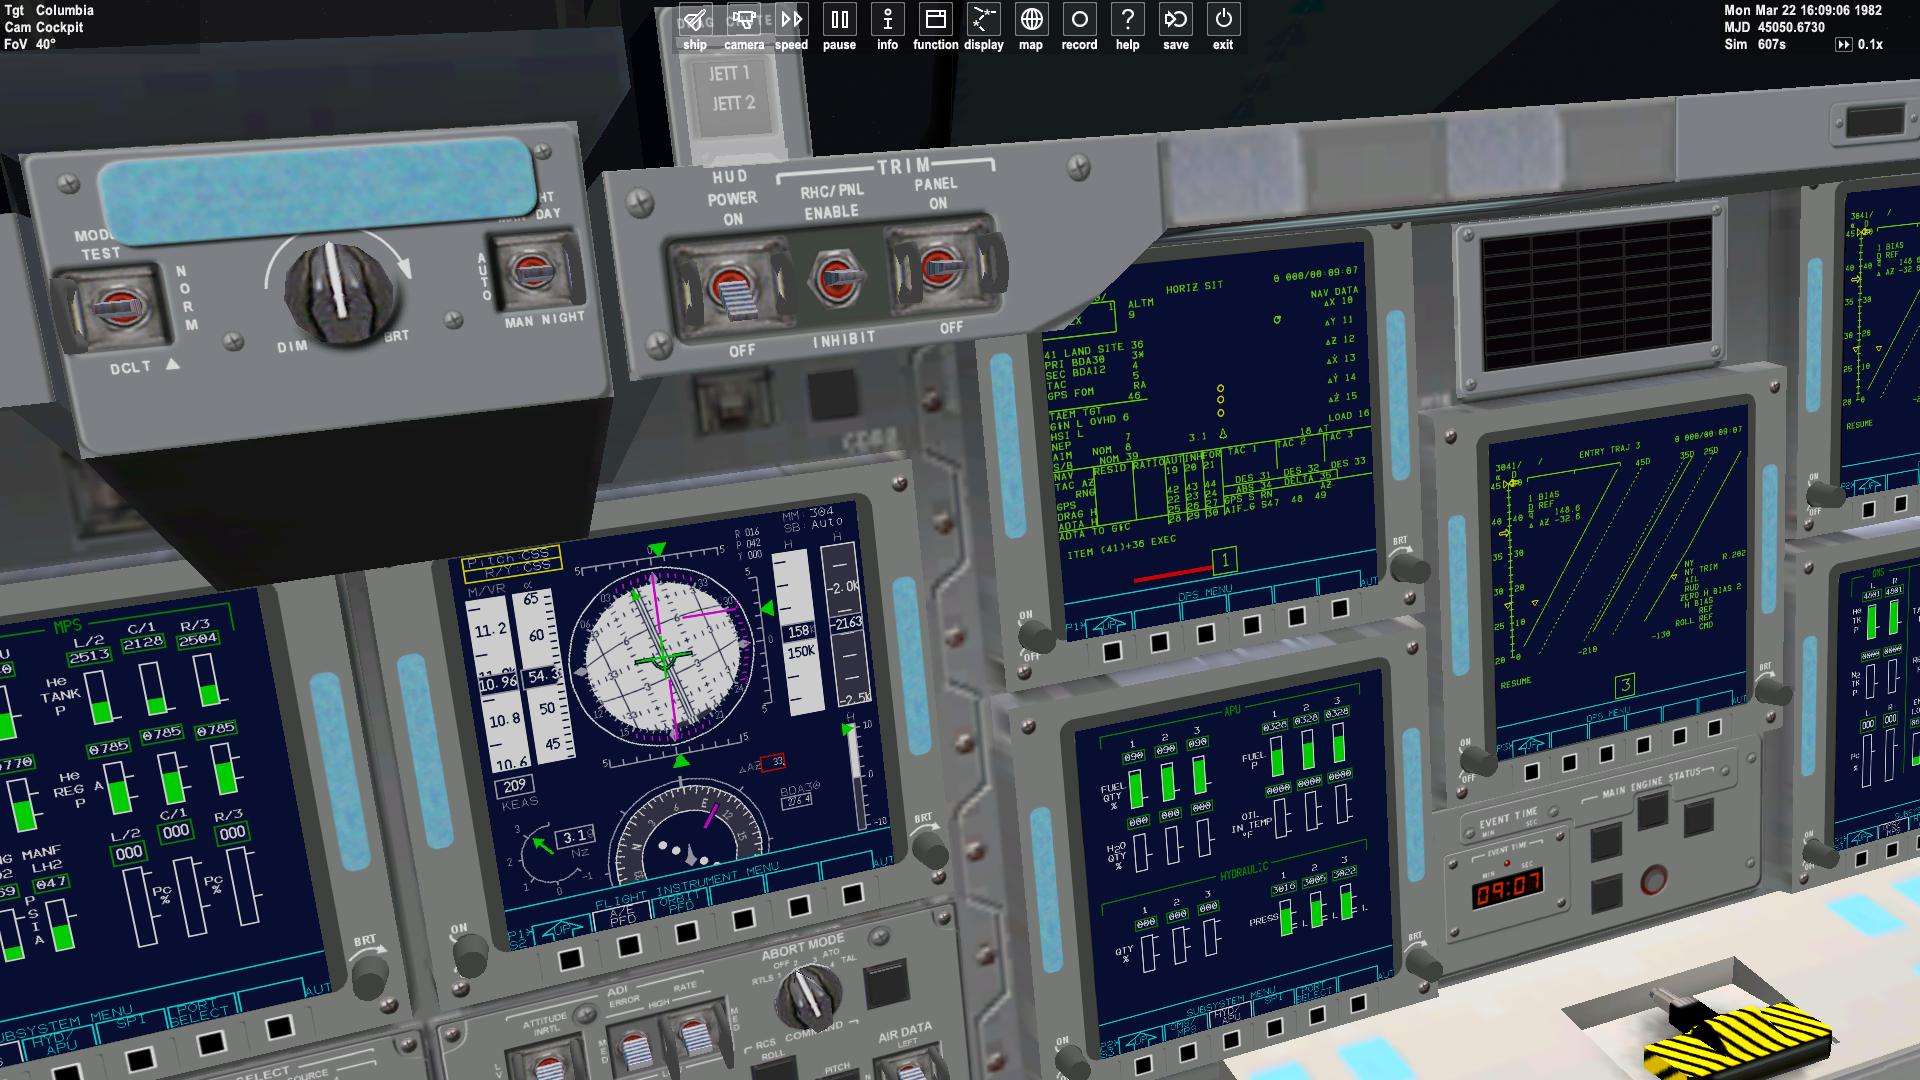
Here we are, charge factor is increasing. At Nz=3,1G, I gently push on the stick and don't allow Nz to go to high ( I stayed below 3,5G) In the mean time, EAS doesn't have to excess 470 kts
Basically, if Nz increase, EAS decrease and vice versa. So it's a bit tricky, but doable ( well in real life, I wouldn't bet on manual flying those stuff") )
)
I am still working on Abort Procedure, and I wanted to try a contigency one, the 2 EO Green abort to Bermdua
A link to Contigency abort workbook, very interesting reading. https://www.nasa.gov/centers/johnson/pdf/383441main_contingency_aborts_21007_31007.pdf
Contigency abort are the one dealing with multiple SSME failure.
It was created after Challenger disaster.
Before, if a 2 engine failure occured before 12000 ft/sec ( Single engine OPS 3) or a 3 engine before 18000 ft/sec ( Low energy TAL), both crew and shuttle would have certainly vanished.
Those aborts allow the shuttle to handle a tough re entry, in almost all phase of powered flight, even RTLS ( with still some black/lethel area). Aim is to stay below max structural limitations( EAS 470kt , G=4,2) and do a bailout once below 100 kfeet, or eventually proceed to BDA or ECAL landing site if in the right window.
Sum up of 2 EO color code
Between SRB separation and 12000ft/sec, we are in Green abort, we might try to reach Bermuda ( or ECAL for higher inclinaison)
Contigency procedure flight data files ( exept RTLS one)
Let's rock.
STS 3 scenario, 40° targeted inclinaison, we are good for a Bermuda Abort in case of dual failure late in the Green area.
Lift off, always eyes candy
Before SRB sep, we are in 2EO Blue
SRB Sep, we go to 2EO Green, a bit less dangerous in case of dual engine failure
I will put the double failure around 11400ft/sec.
Image below is STS 125 FDF for Powered bermuda Abort, it says than below 11400ft/sec, probabilies to finish in bailout are high, so let's give us a chance at least :lol:
Let's go, let's cut two engine :hello:
Just one engine is remaining. Vertical velocity is low.
Aim now is to pitch up around 90 ° to decrease the vertical deceleration.
In the mean time, we gonna yaw by 45° towards Bermuda ( Control Yaw Steering) and Roll To Heads Up if it's not down ( I did it just before the failure, very hard to roll with SERC)
We can notice also that Single Engine Roll Control is activated ( SERC On). It allows the RCS to wake up and help for attitude control.
Everything's gonna happen fast now.
We are quickly going down into atmosphere nightmare.
When KEAS increase above 4 kts, we have to start ET fast separation before we reach high density ( which would lead to....explosion of ET)
Normally, for a 2 EO Green, it's done by having a 3°/s pitch down and fast ET separation ( around 5 sec)
It's done, good.
Now we are diving at 2000ft/sec like a rocket into atmosphere.
Entry gonna be brutal and quick, we gonna have to handle carefully the shuttle to stay within max operationnal limits
First phase , Alpha recovery, we maintain a high angle of attack and a 20° bank roll towards Bermuda ( Delta azimuth is above 20°, quite offset)
2nd phase, Nz hold. We gonna have to hold a constant charge factor to stay within limitations.
We will have to calculate that manually, hopefully, NASA is here to help us.
At 1G, we take the vertical speed, we divide it by 1000 and add 0,65.
Gotcha, we will have to hold Nz=3,1G
Here we are, charge factor is increasing. At Nz=3,1G, I gently push on the stick and don't allow Nz to go to high ( I stayed below 3,5G) In the mean time, EAS doesn't have to excess 470 kts
Basically, if Nz increase, EAS decrease and vice versa. So it's a bit tricky, but doable ( well in real life, I wouldn't bet on manual flying those stuff
)
Last edited:


")
